Tick-tock, tick-tock

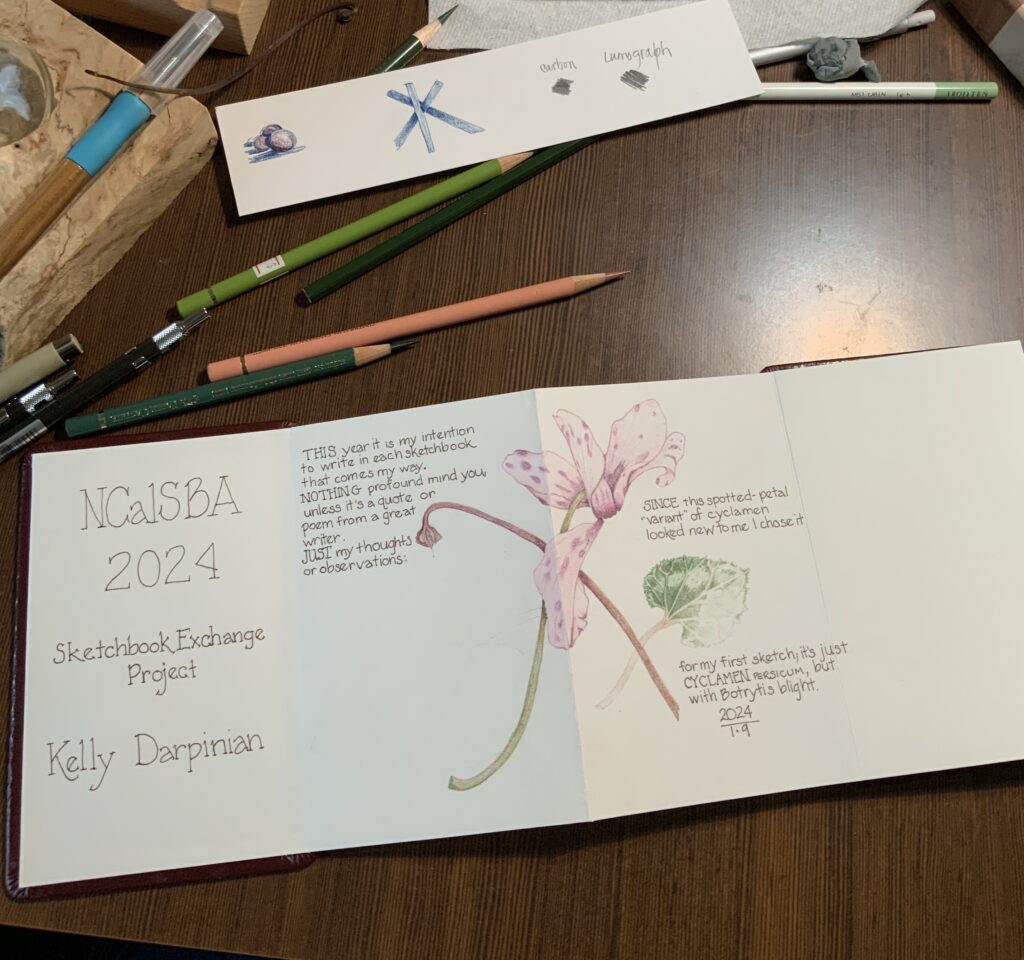
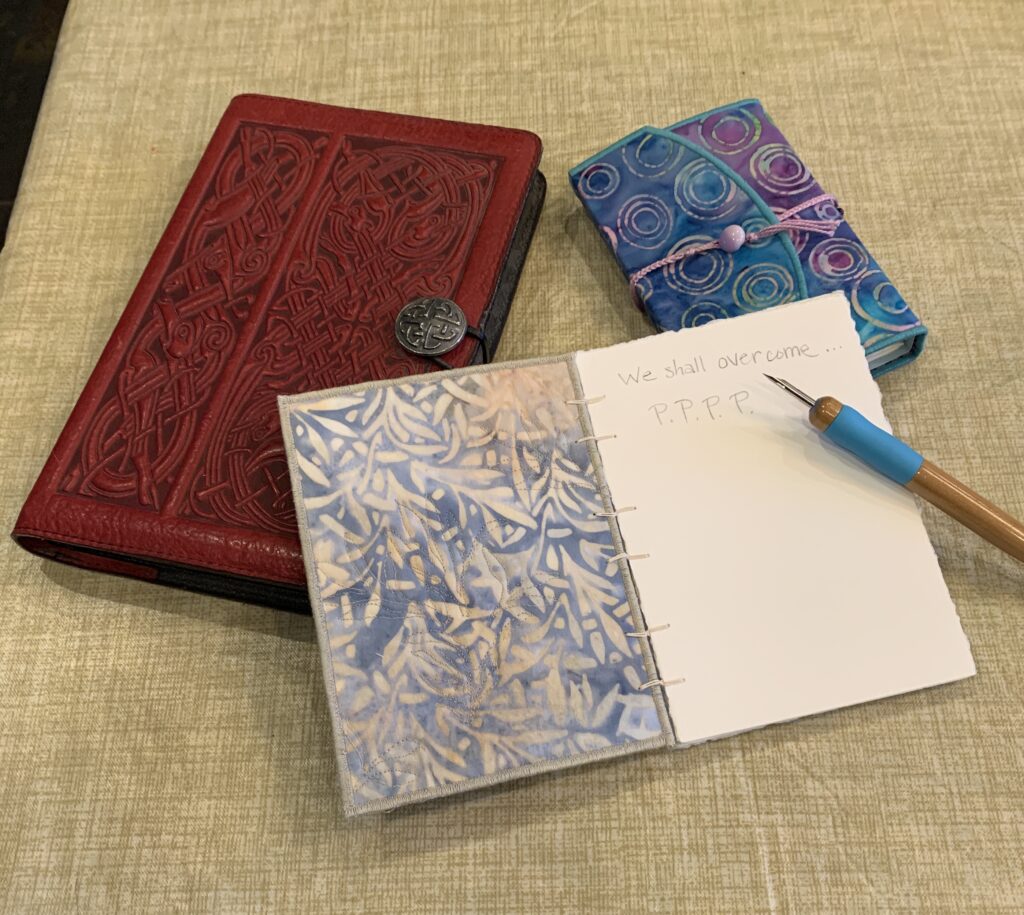
And no, it’s nothing to do with the internet, but a reminder that a deadline is fast approaching and it’s going to be down to the wire.  I’m participating in Round 2 of the Northern California Chapter of the American Society of Botanical Artists, abbreviated NCalSBA and I’m working on my title page and first ‘sketch.’  I put sketch in quotes because I think of a sketch as something that takes minutes to an hour or 2 at the most and these little illustrations have taken on a life of their own and I’ve been working on this one for well over a week.  I need to mail this to the next artist on the list around the 25th and here it is the 21st and I’ve still got one huge leaf to render after I finish the little one I’m working on now:


Note how I got all excited by the spotted petals of this flower. I went on the internet to research “spotted cyclamen” and couldn’t find any speckled or spotted varieties of cyclamen except one photo of a “rare spotted cyclamen” photographed on the plains of Galilee. A deeper dive revealed that dark purple spots on petals in cyclamens is a sign of a fungal infection called Botrytis blight. Sigh. Not so rare. Botrytis blight is a very common plant pathogen that attacks all sorts of ornamental flowers but I think it usually shows up as brown spots. These purple spots are actually quite pretty and the plants and flowers looked healthy, but closer inspection showed holes at the center of some of the spots. That’s a dead giveaway. Farmer Gary recognized it as blight immediately from afar, of course.

For any pencil artists in the audience, and really more as a reminder to myself, I discovered a few useful new pencil colors on this project as I was trying to replicate the colors of the stems and leaves. Cyclamen stems are a very interesting mix of reds and greens and the leaves are a dull green that was easily replicated with a few of my standard greens (Polychromos 174 and 165) and I have backups for those colors in my stock, but those lighter areas of dull green were a little more challenging. I found Polychromos 189/Cinnamon and Tombow Irojiten LG-6/Mist Green were quite helpful (you can see them on the table) and I’m well on my way. I just have to buckle down and draw!

Lost Art

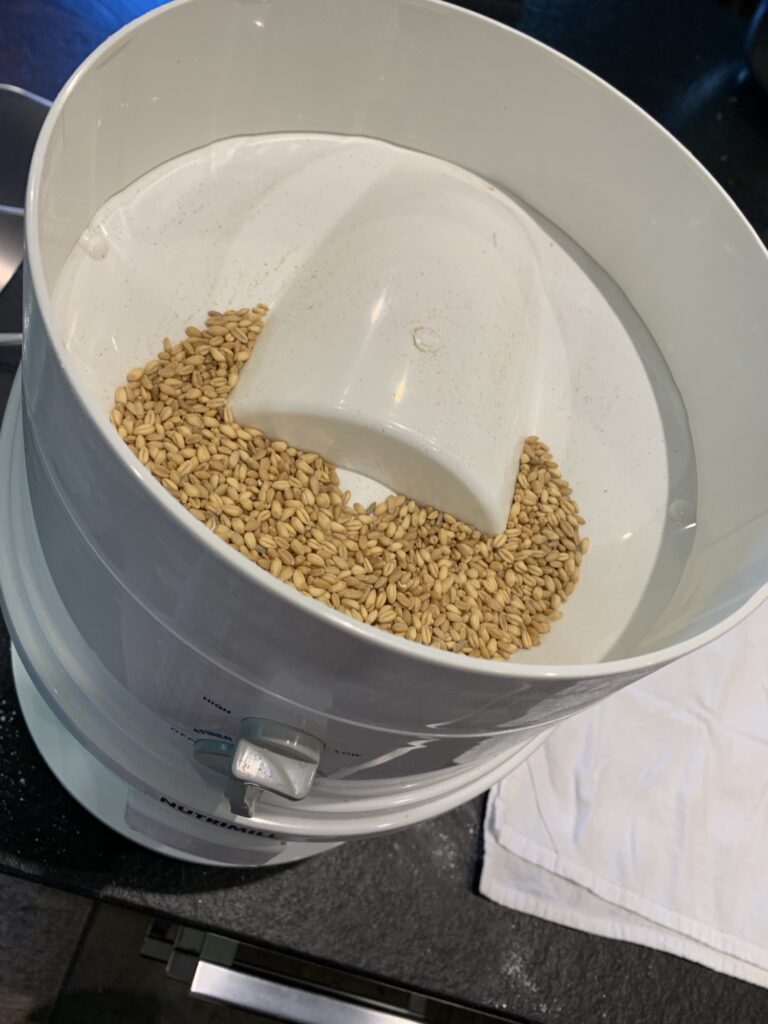
Of separating…

the wheat…

from:

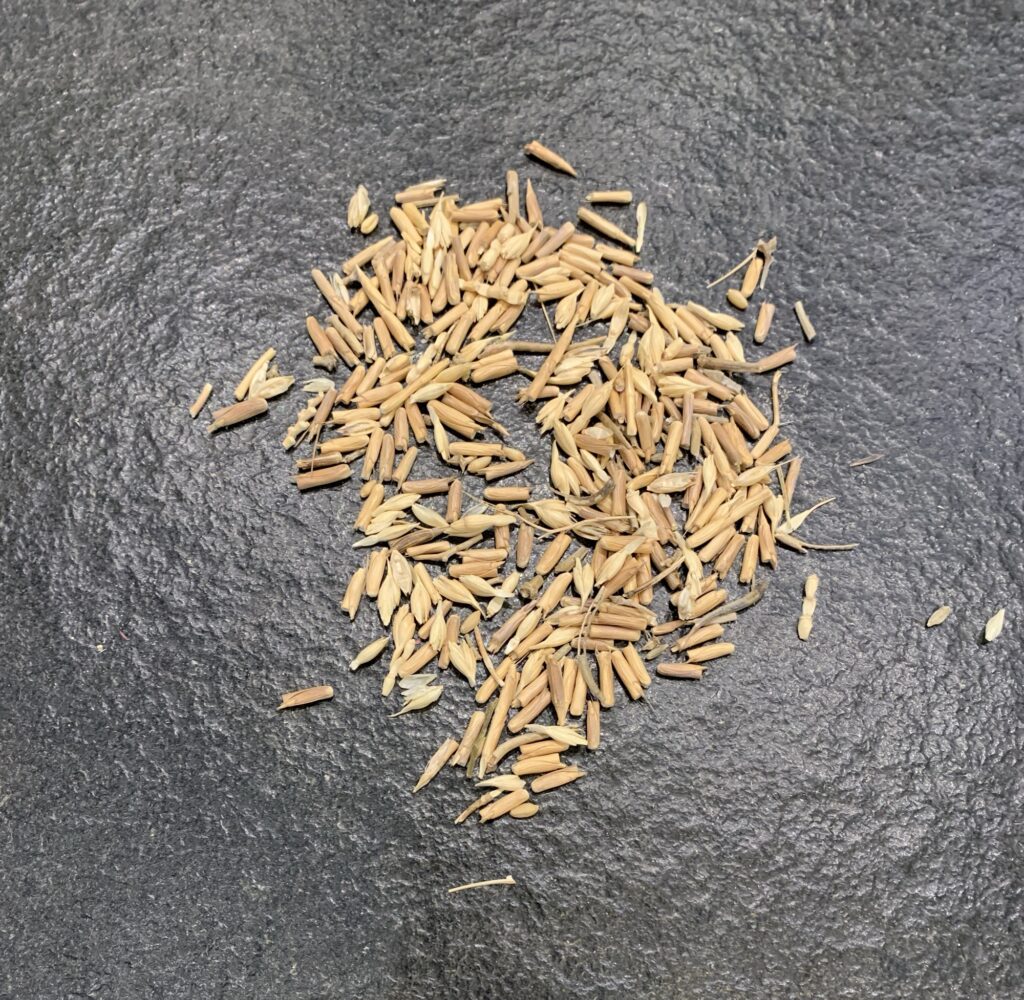
the chaff.

If you don’t take the time to eliminate the chaff, you’re going to destroy your grinder and/or contaminate your flour and one way or another you’ll be unable to make successful bread.

Nice metaphor for life. Be the wheat. Eliminate the chaff. Leaven with joy and make wholesome bread.

Streamlined Sketching Kit

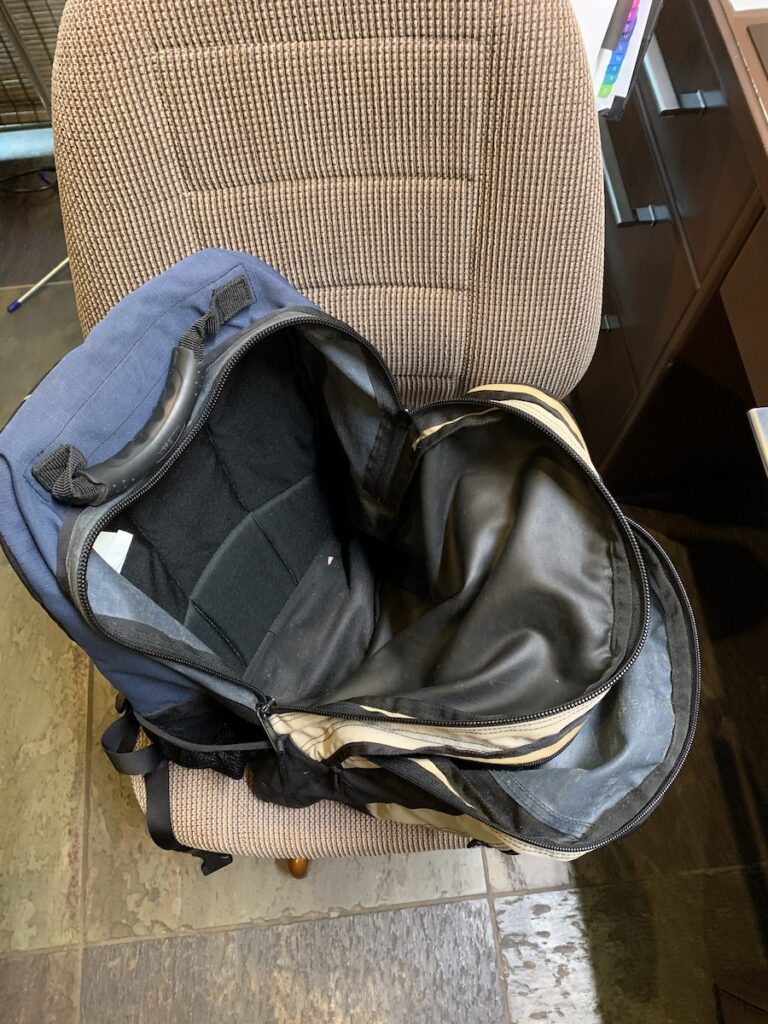
After years of trying to find a system of carrying sketching tools that works I finally saw a kit that looked exactly like what I wanted during a presentation in JML’s (John Muir Laws) online Nature Journaling Workshop the last time I attended.  I cannot recall the sketcher’s name but I do remember that people kept asking him about his kit and no one seemed to get a decent answer about where to get the simple small pack that he used.  He had an Amazon affiliate site where you could buy pens and sketchbooks and books he’d written and other supplies he likes, but nowhere was the pack that so neatly held all that gear you could buy from his site.  Well, I have all the gear I need and then some, but I’ve never found a way to carry it that would allow me to access it easily and quickly on the go.  JML suggests using a cross-body bag, but I tried that and found that it bounced around when I walked and unbalanced me and I still couldn’t access the contents quickly or efficiently.  Plus, most of the cross body bags I saw or tried were really too big and tempted me to carry more than I thought I really needed to execute the kind of sketches I like to do en plein aire. 

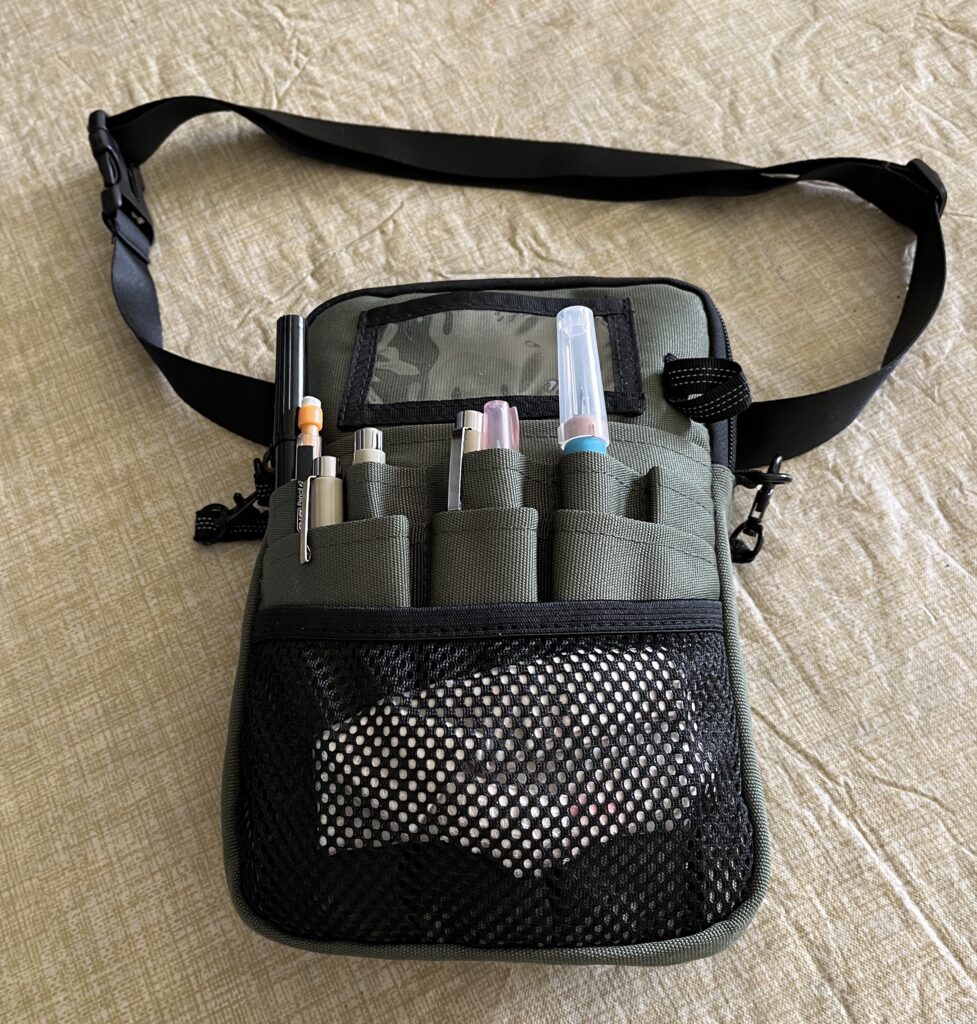
So I just went searching on Google and Amazon, knowing that if I entered the right search words I would eventually see something that looked close to the mystery pack that the speaker used but for some unknown reason wouldn’t identify when asked, and sure enough, I did.  I can’t tell you now what search terms I used but in the end what finally came up were “nurse fanny packs.”  There were a slew to choose from and I chose the 2 that looked most like they might suit.  In the end this one is the one that fit the bill for me.  As of this writing in December of 2023, the link is active and Amazon still carries this exact same item at a very reasonable price.  Below are photos showing how I’ve kitted out this great little pack.  I’ve used it for some time and I find it is just about perfect: 

Here is the pack all ready to go out into the field.


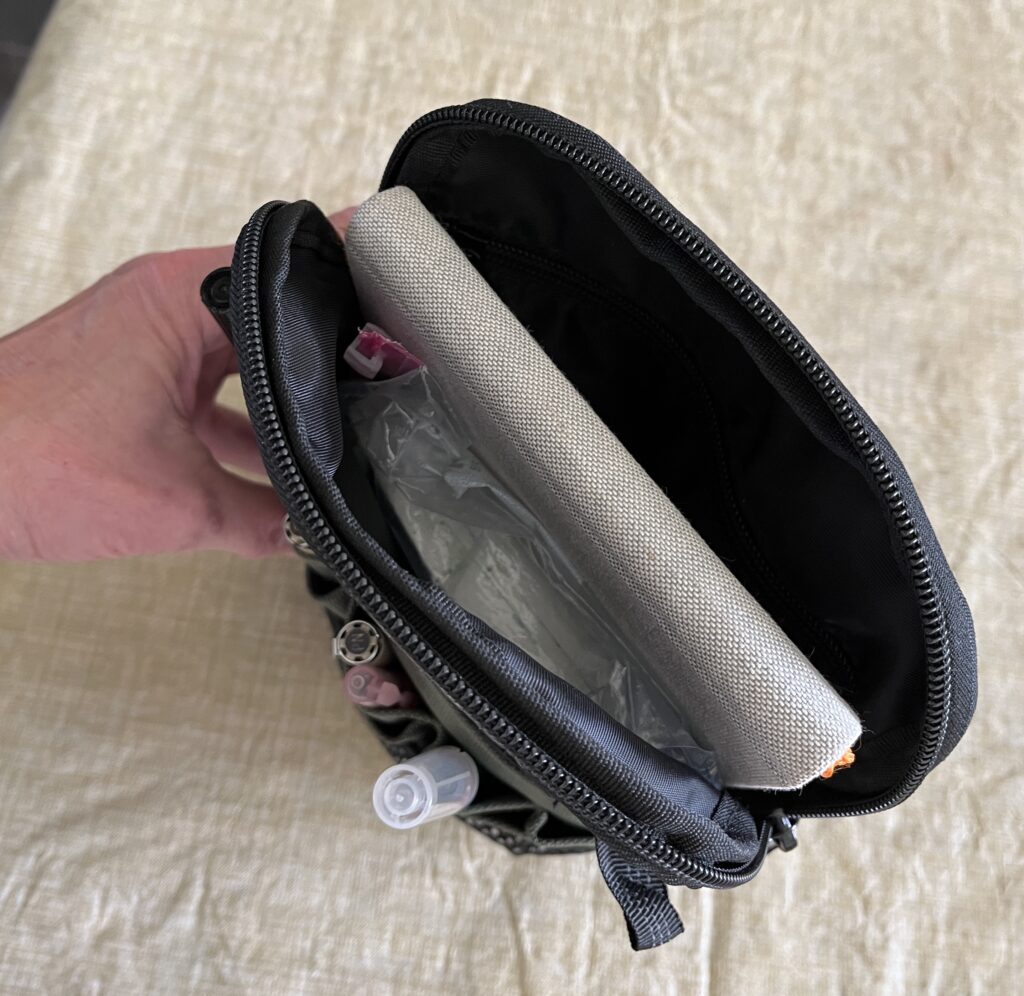
Here is a top view showing the pack opened with my sketchbook and travel palette inside.


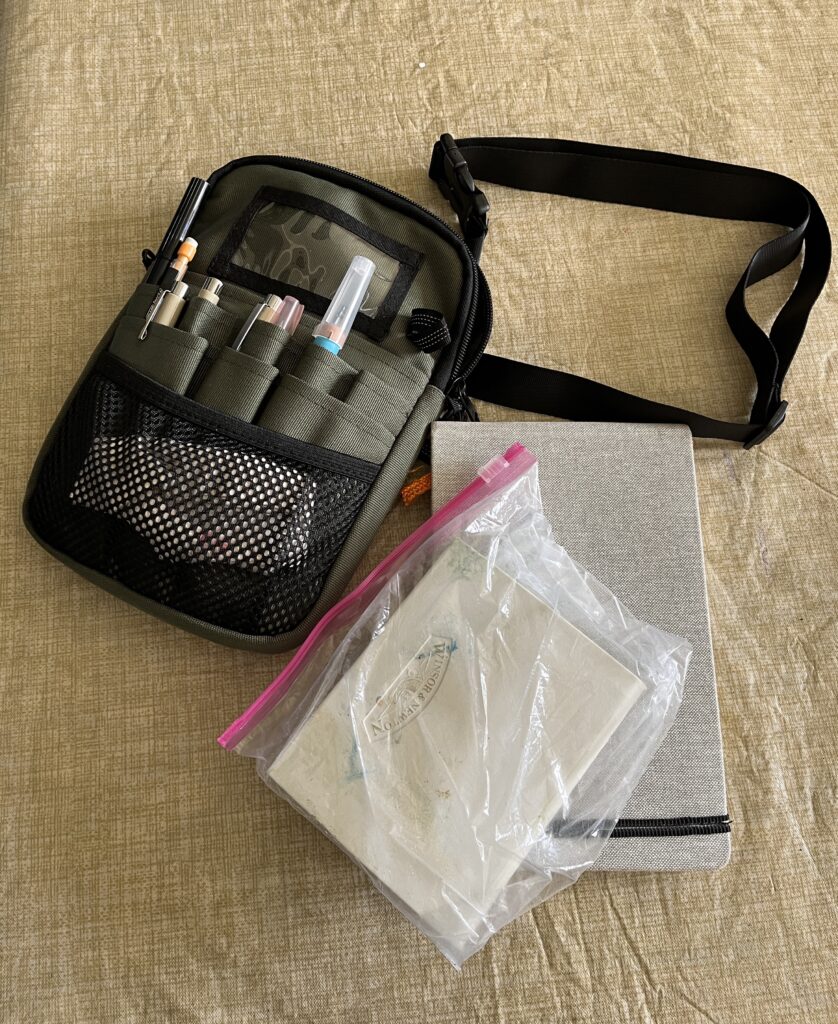
Here are the Handbook sketchbook and Winsor Newton palette I use.


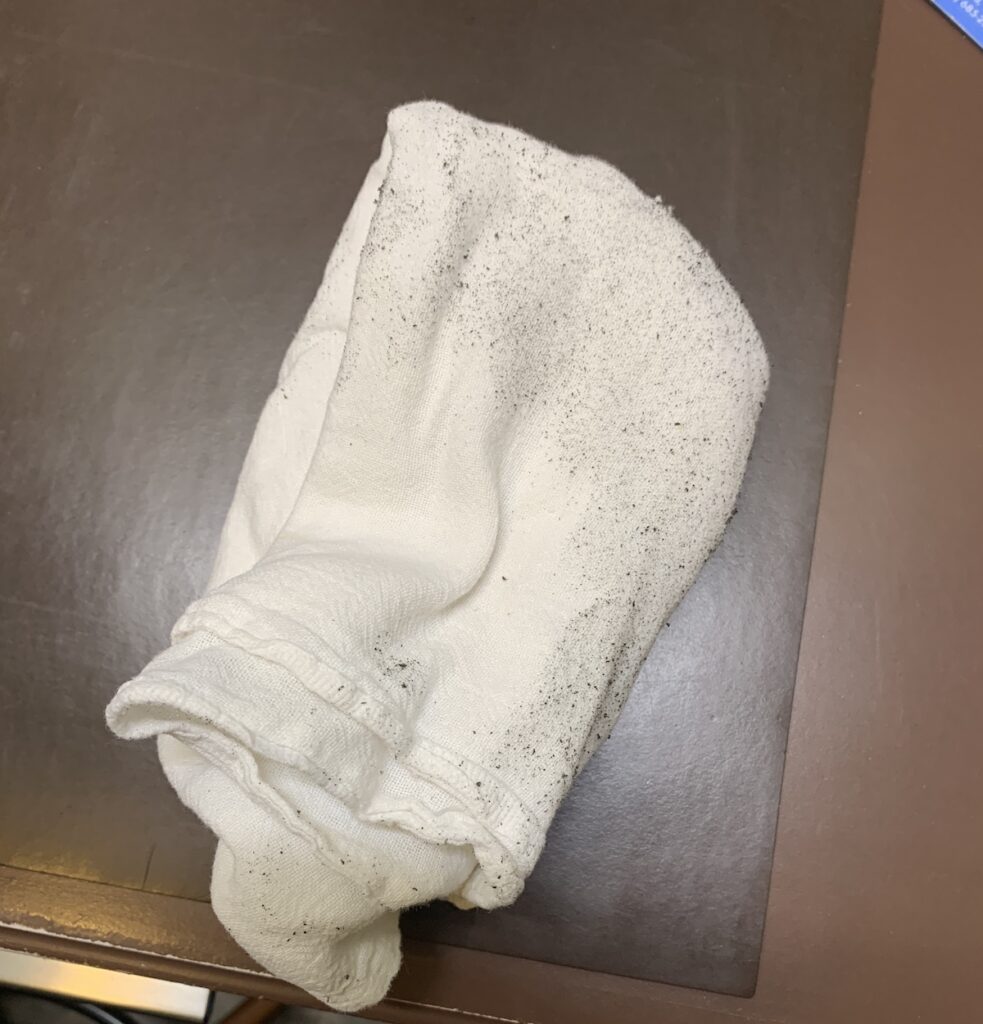
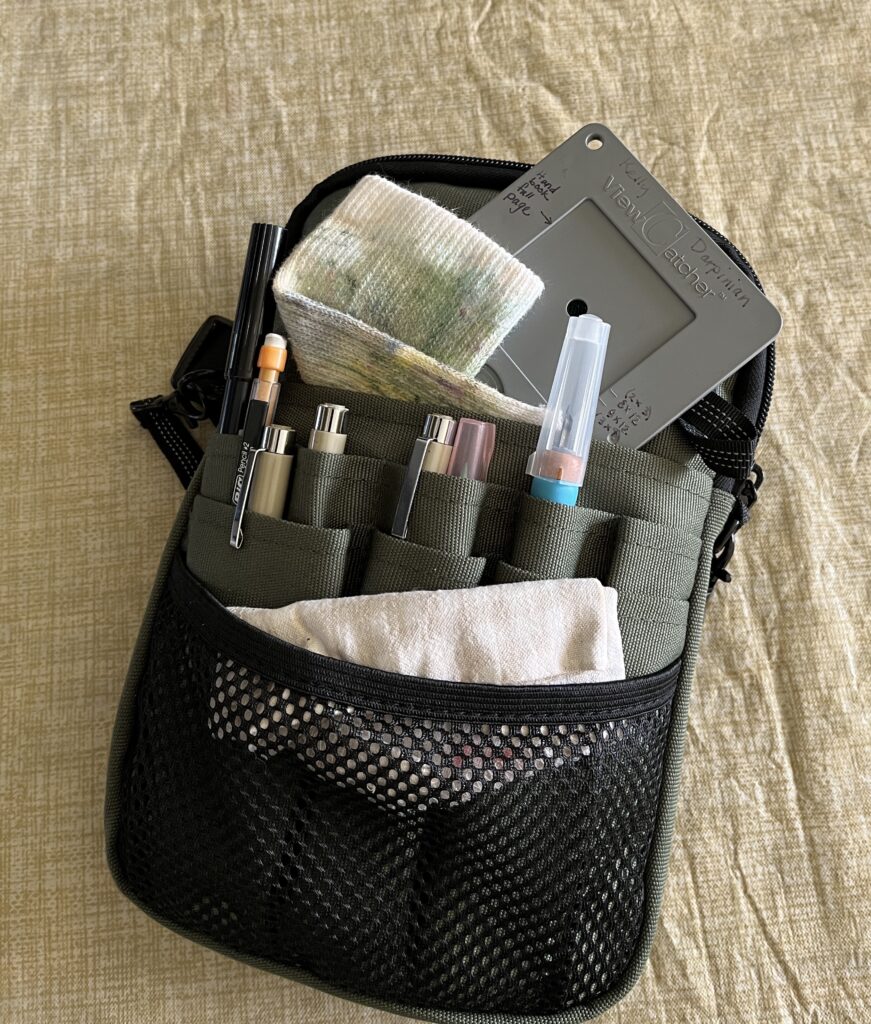
And a few other things I like to carry that also fit inside: the JML sock blotter, a view finder and a bit of a cotton rag.

Here are a few other things I carry:

  • The JML cotton crew sock top to wear on the wrist for a handy water brush cleaner.
  • A view finder.  I love these view finders for landscapes.  
  • A water brush.  My palette actually holds a very nice DaVinci number 6 sable travel brush that I like better than waterbrushes, but I still carry a waterbrush for situations where I can’t set up a container of water to wash brushes and because I like to use it to release ink from the…
  • Tombow marker pen.  Since college I’ve used old-style black plastic barrel flair pens to do drawings with lines that I would then release with water and a brush to get a nice wash effect.  Recently, Flair ink has been reformulated and the technique no longer works with the new “improved” pens.  The ink smears terribly while you’re drawing and when you touch it with water it releases way too much pigment.  I’m on the hunt for a new pen that will function more like the old Flair.  These Tombow markers are meant to be used with this technique, but the jury is still out.  I need to do more experimentation before I can recommend them wholeheartedly.
  • Micron Pigma Sepia 005 and 01 pens, plus a black Micron PN. The sepia pens are for drawing and the black PN is for writing.  None of them smear with water or when writing on any paper so you can draw and then go back and add watercolor without fear you’ll release the ink from the drawing.
  • Crowquill drawing nib in a Tachikawa holder with a cap.  I keep this not for doing pen and ink drawings because transporting ink and using it in plein aire settings is too difficult, but sometimes I like to use a drawing nib to get fine lines with watercolor.  I will fill the nib from a brush and draw with the watercolor wash I’ve mixed rather than with ink.  This saves me from having to carry a very fine brush for calligraphic linework I will sometimes need do at the end of watercolor landscape sketches if there are fine lines needed, like telephone wires, window panes, signage or boat rigging.
  • Tiny Spray Bottle.  You can’t see it because I added it later and then updated this post.  I use this spray bottle to re-wet the paints in my watercolor palette.  It dispenses a nice fine mist that doesn’t flood the colors.

This pack is sufficient for my sketching needs and I can carry it in the small of my back while walking but easily bring it to the front and access my drawing materials immediately.  I can also still wear a backpack for other items like a jacket, water bottle, binoculars, wallet etc.  Why was that workshop instructor so reluctant to tell people he was using an inexpensive nurse’s fanny pack to carry his sketching essentials?  Maybe he was concerned that the links wouldn’t be stable and people wouldn’t be able to find exactly the pack he uses anymore.  Who knows? Suffice it to say that if the exact version I link to above becomes unavailable, that there will always be other nurse fanny packs available that are similar because nurses are not going to stop carrying all that stuff around and clearly these little packs are what they need to do their very important jobs.  Lucky for me they make for perfect field sketching kits as well!

On the Road Again

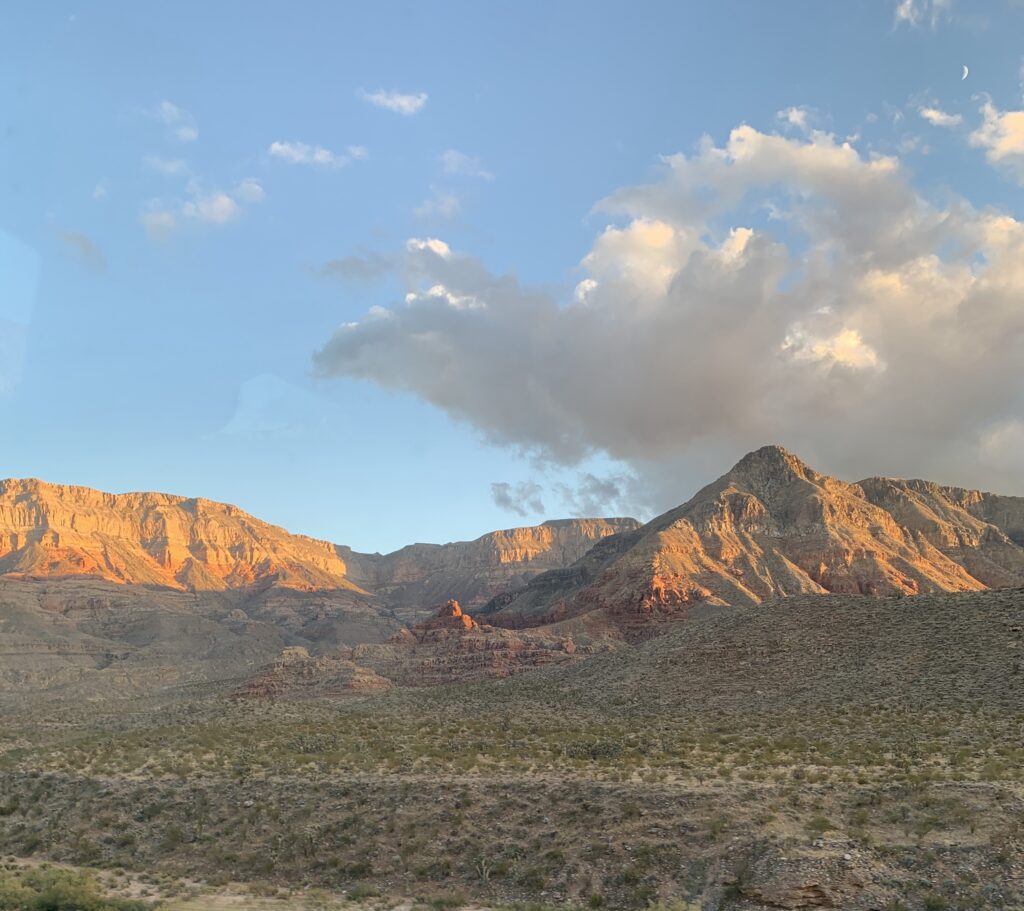
On the road somewhere between California and Utah, possibly even in Nevada.

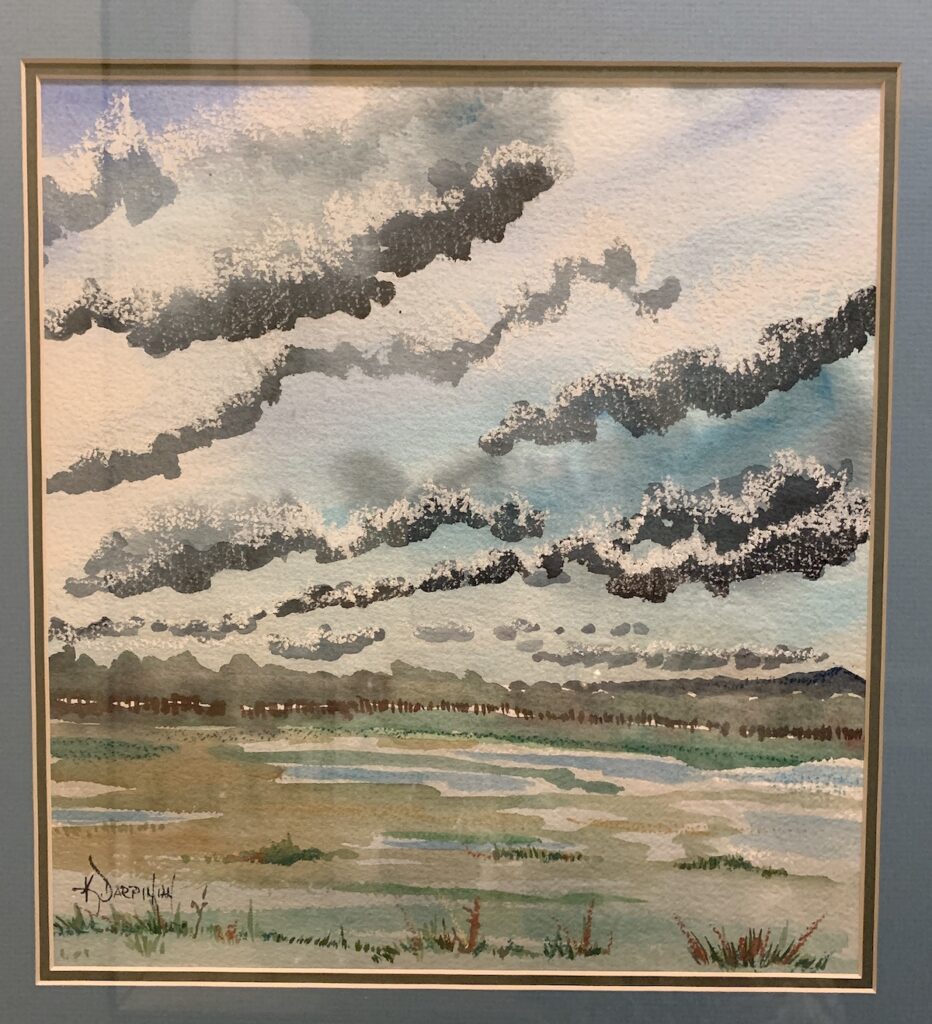
We are enjoying the wide open vistas of southern Utah. The screeching flash flood warning that came through everyone’s phones this morning was a bit of a flashback to last January’s killer wave incident on our vacation to the beach. We seem to have developed a way of attracting historic weather conditions when we vacation. Just call me Chicken Little. But the resulting skies are so beautiful, it’s hard to complain about being asked to sit still for a day while the storms pass through. We’re safe in our hotel room on high ground.

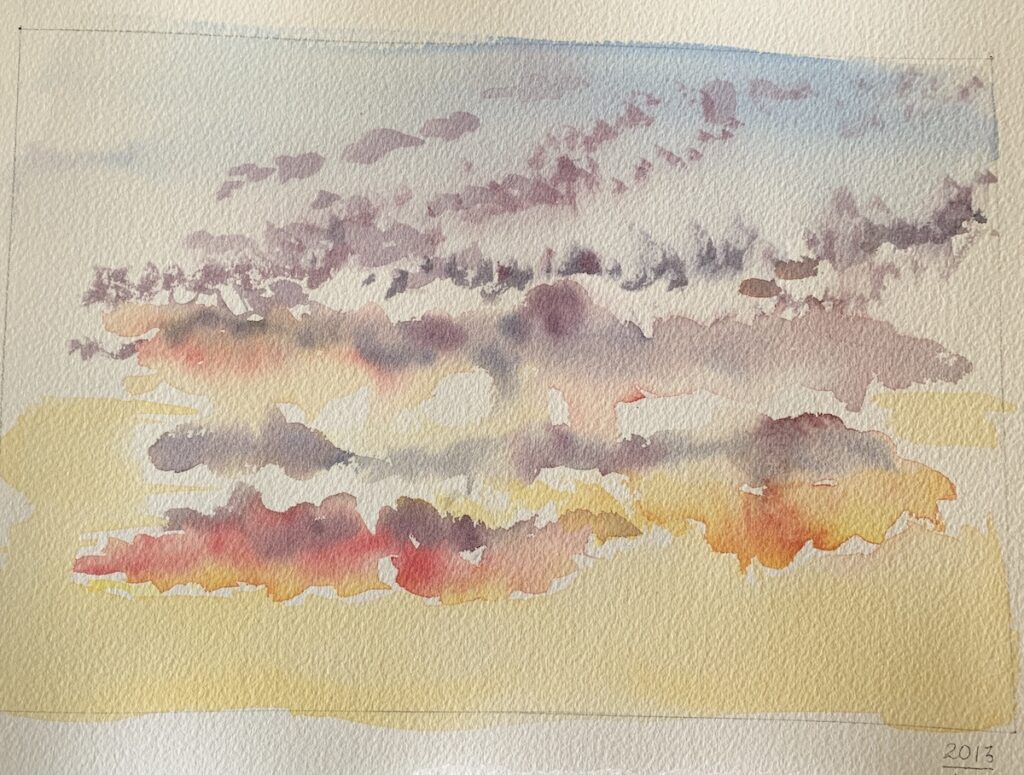
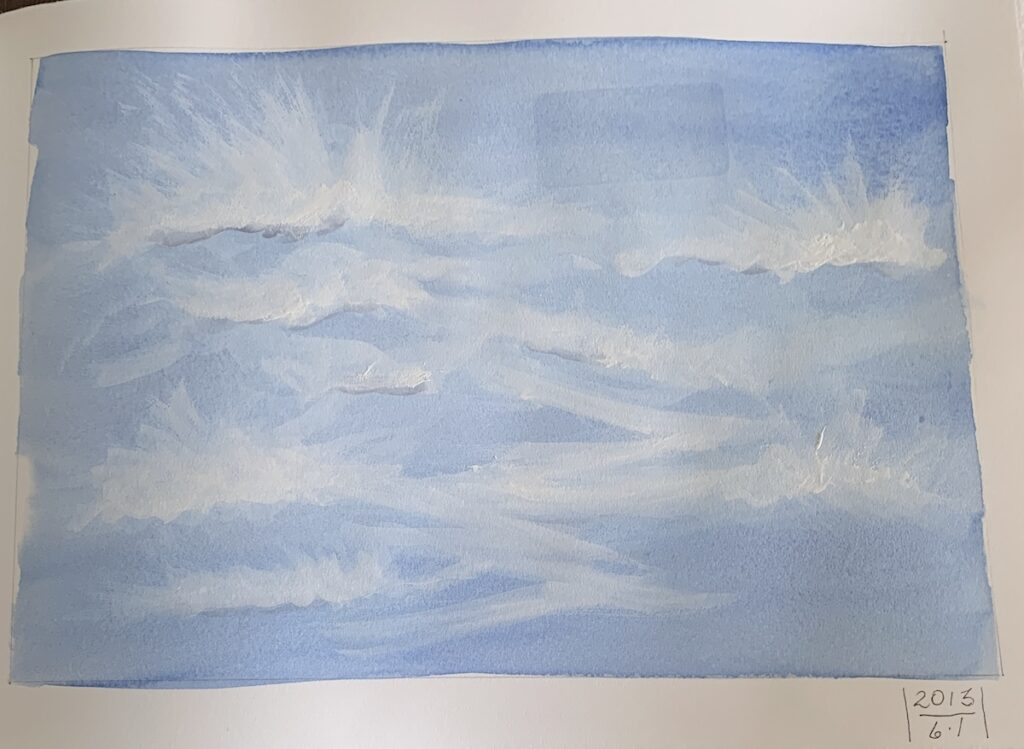
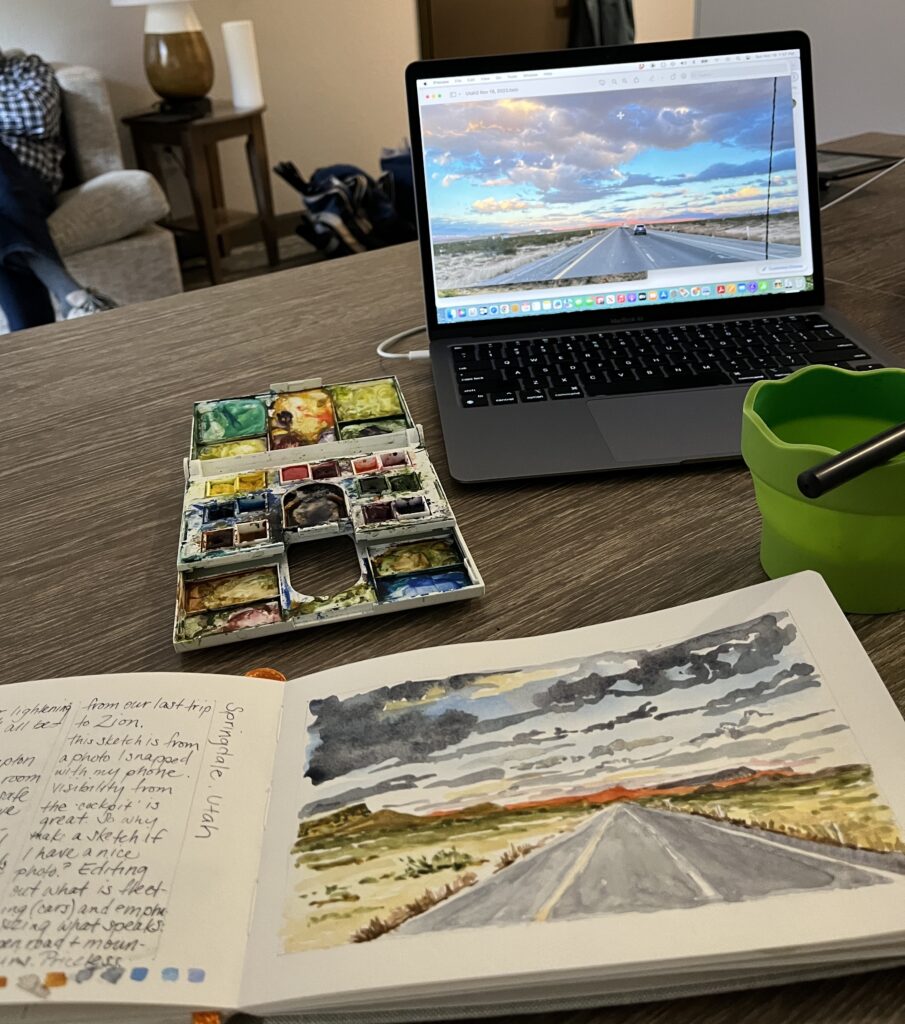
So why, if you already have a lovely photo of a dramatic sky and were unable to sit and sketch that sky in real time because you were either rolling down the road, or it was too cold, or you didn’t have time, would you want to then want to go back and make a duplicate of that in your sketchbook? Oh, so many reasons! Let’s look at a few:

  • To narrow the focus on what excited you about the view
  • To eliminate things in the view that don’t excite you like cars, antennae, or other interlopers
  • To fill time stuck in your hotel room during a winter storm
  • To really cement the memory of what you have seen in a way that a photo cannot
  • For practice with your materials so that when you are able to work in nature, you will know the materials well and be able to work faster
  • As an adjunct to written notes you’ve made in your journal
  • So that it will be in your journal and not lost in the thousands of photos on your phone
  • Because you can

Another wonderful sweeping Utah sunset sky.

Let me give a shoutout to our new Entegra Expanse RecVan for the sweeping views from the cabin as we rolled down the road. Never have I been able to capture the true feeling of a landscape while moving down the road in a vehicle until now. Also props to iPhone cameras and the onboard photo editing software. Snap-Edit-Snap-Edit-Snap-Edit is all I did for 2,000 miles, except when I was knitting.

Who Uses Pens With Nibs and Bottles of Ink Anymore?

I was asked this question today. The short answer is, “I do!” Also Calligraphers and Cartoonists do, but I’m no Calligrapher or Cartoonist, just a backyard sketcher.

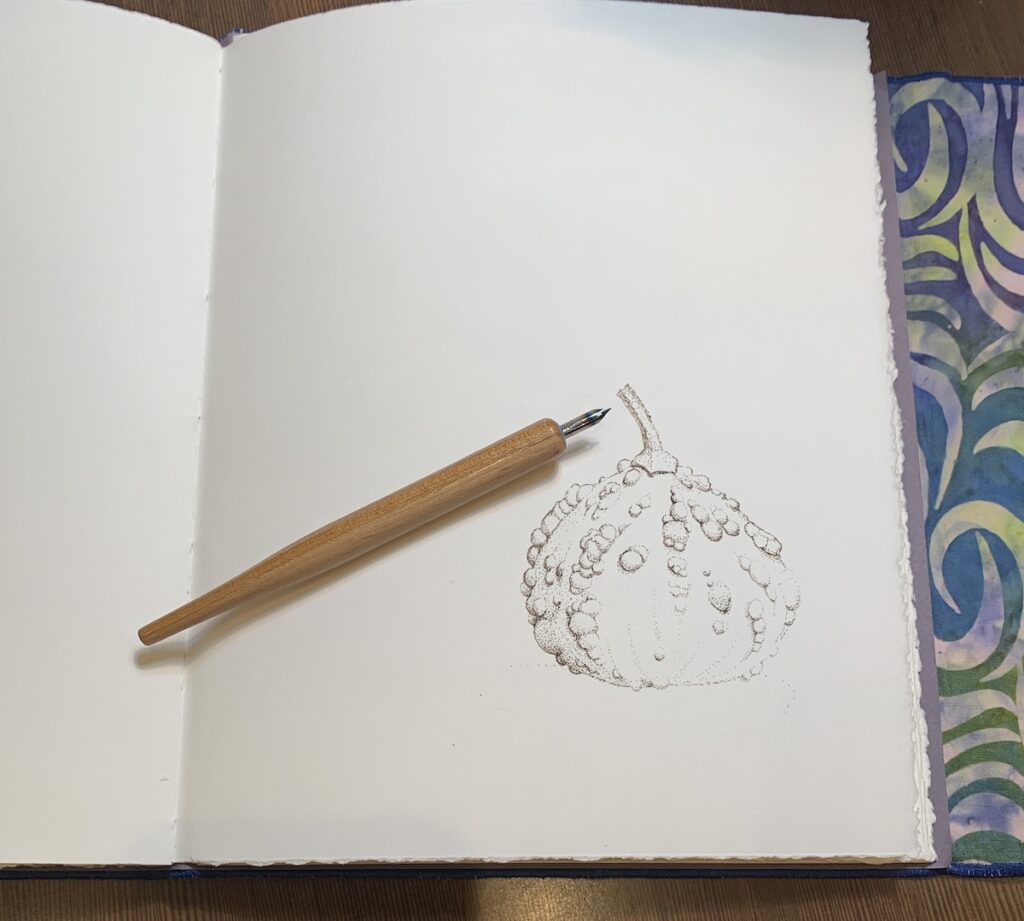
I think the natural follow-up question would be, “Why would you, then?” Well, and I think the Calligraphers and Cartoonists of the world would agree, my simple answer is that these tools produce marks that are noticeably different from marks you can make with other types of tools. Also, at least for me, using these pens is ergonomically better than using comparable modern pens. Because you have to stop and dip the pen periodically, you get a break from the constant repetition required to shade with the stippling technique I prefer. I can choose nib holders that are a better fit for my hand than the cylindrical barrels of the ubiquitous Micron Pigma pens and the flexible dip nib gives less resistance when you touch down to the paper, over and over and over, until your hand cramps if you don’t take breaks.

I’ve been enjoying my dip pens with Walnut Ink so much lately that I’m on a mission to make them a portable medium I can take on location. For years I’ve used microns in my journals for ink drawings and they have performed well, but the dip pens are calling.

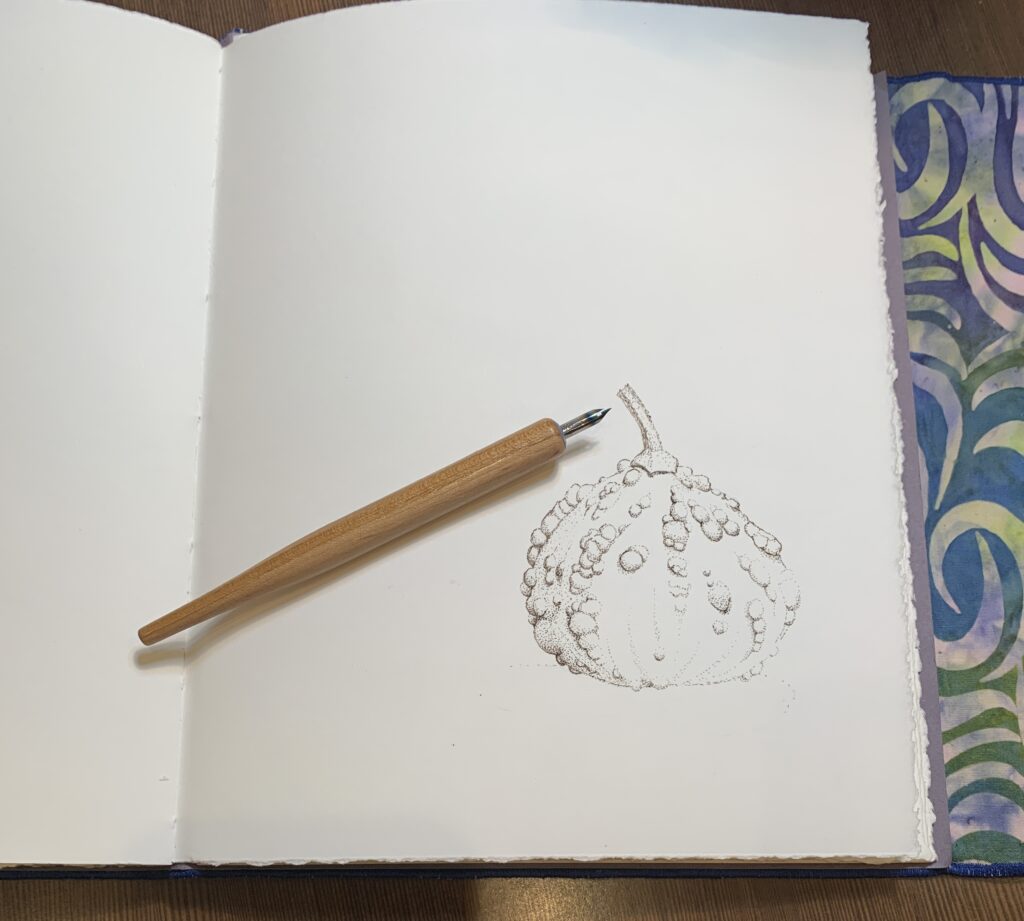
Tachikawa T-25 holder, Hunt 104 nib, gourd image about 50% complete in my multi-year journal.

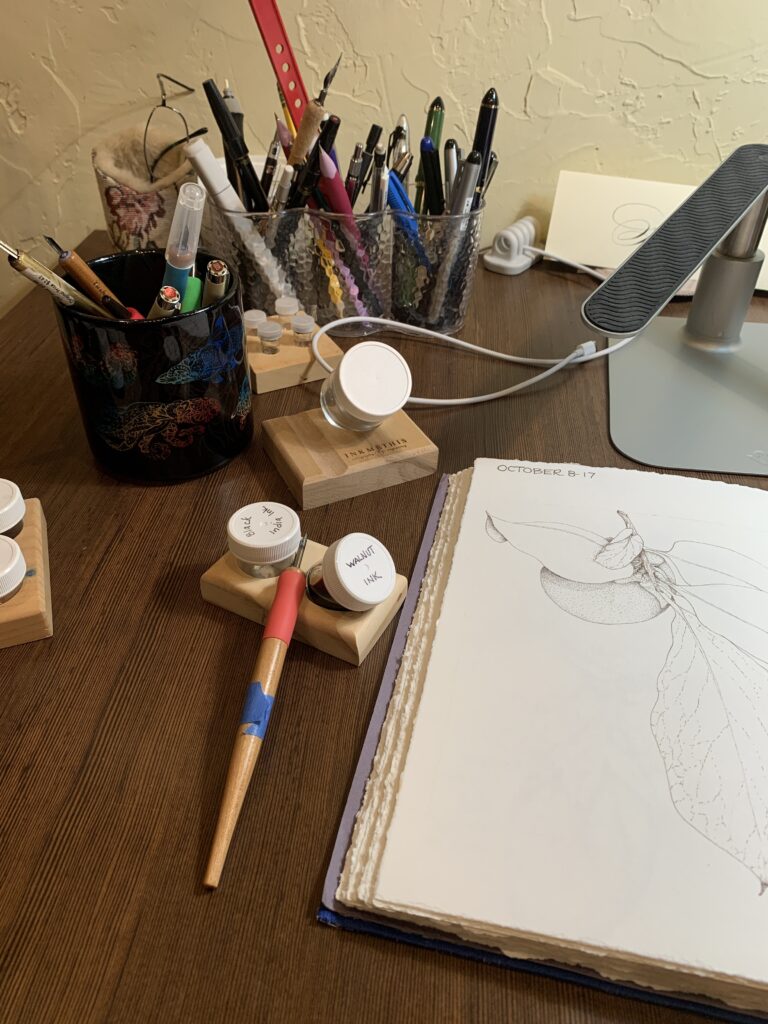
More nibs and holders and my favorite tilted inkwell that makes dipping so much easier:

Front and center: T-36 holder and a Nikko maru mapping nib. Next door an unfinished persimmon drawing from last year that looks suspiciously like it was done with the micron Sepia 005. How can I tell? It’s the uniformity of the stippled dots. The difference is subtle, but I can tell. To me, the work with the dip pens is livelier somehow. Anyhow, that’s how I’m feeling today.

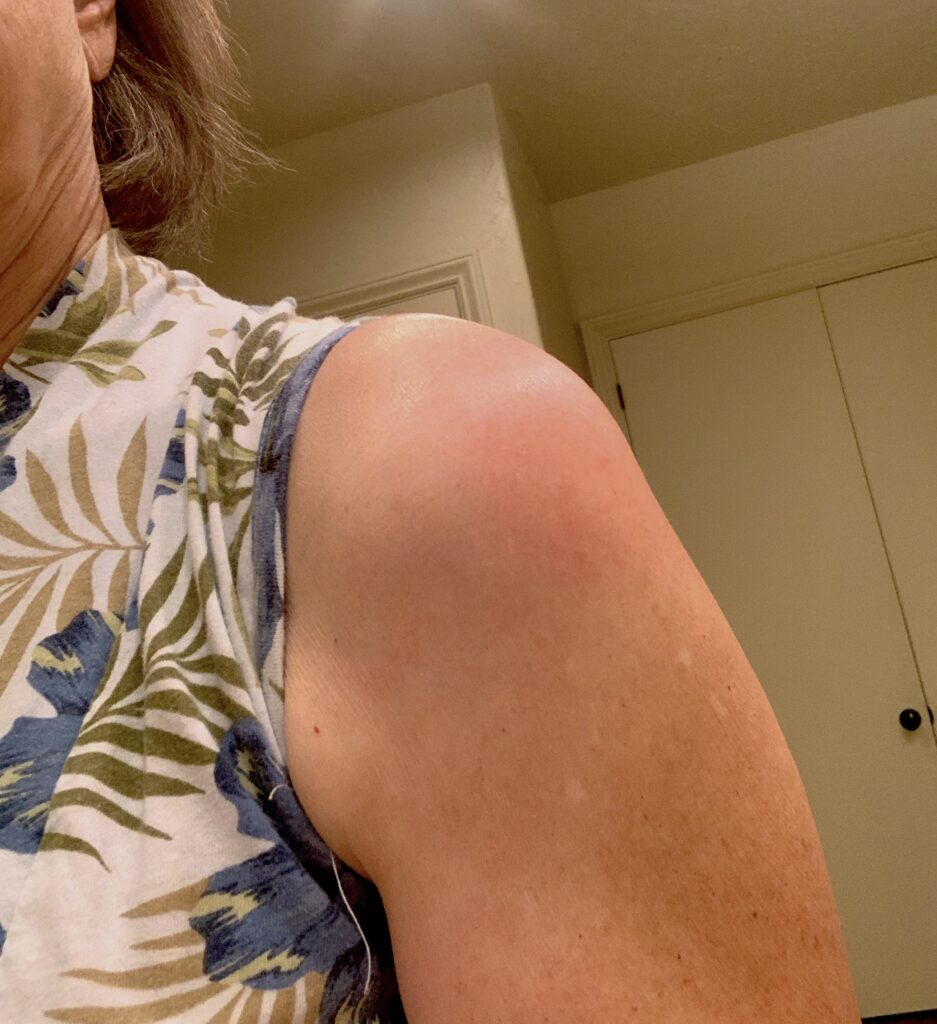
Goodbye Fever, Hello Covid Arm

File this under “It’s Always Something.”  This one is not too bad, just unexpected.  It turns out that you can have a delayed reaction to the Covid vaccine that causes this itchy red rash at the site of the jab.  Well that actually seems like something you’d expect to happen after a vaccination, but right away, within the first 24 hours. What’s unexpected about this one is that it develops later rather than immediately.  So just when you’re feeling better from the systemic effects of the vaccine and are expecting the usual post-vaccine soreness in your arm to be getting better as well, you suddenly feel like it’s getting a little worse instead of better and it’s red, hot and itchy too.  It can last for a while.  They call it Covid Arm, of course, and just Google it for all the information anyone could want about the condition, but I’ve already done that and the bottom line as far as I can see is that it’s harmless and might actually be a good sign that your immune system is working quite well in response to the vaccine.

Well this time the fever and body aches were mild and only lasted 24 hours, so I will happily trade the 3 days’ worth of fever spiking at times up to 102 degrees that I had after my last Moderna shot for a milder, shorter fever episode and the later-arriving hot, red spot on my arm that may hang around for a while I got from this Pfizer shot…assuming it doesn’t get worse…  

Pass the lollipops, please

Who remembers getting a lollipop at the doctor’s office after getting a shot?  Well I just got my Covid and RSV inoculations this morning and all I got was an opportunity to stroll the aisles and spend money in Walgreen’s while I waited the requisite 10-15 minutes to make sure I wasn’t going to pass out or go into anaphylactic shock from the vaccine.  I did buy a few things while not passing out and now I think I’ll have a little nap while my body decides whether it’s going to make me really sick over this, or just a little uncomfortable.  Prepared for the former, hoping for the latter.  I never really liked lollipops anyway.  Here’s a much better reward:

Gourdapalooza

Thought I’d plant a few gourd seeds and see what would happen.  This happened.  These beauties are ripe for sketching.  I especially like the Daisy variety, but each one has its own appeal, even the dumpy, warty white ones.  Do you see the lone little orange pumpkin and 2 little white ones hiding in there?  I also planted some smaller varieties of pumpkin this year but they didn’t perform as well as the gourds, sadly. I think the cucumber beetles and the odd early summer weather had something to do with it.  The choice of shirt was purely accidental.  I wasn’t planning to look like a large gourd standing there in the background, but that also happened.  Life is funny that way.

Kufta – for the record

Kufta is an Armenian specialty dish that you really must learn to make at the elbow of someone who knows how, but if you do know how and are just not sure about ingredient quantities, here’s my most recent method:

Make the filling balls a few days ahead and freeze.

Filling:

  • 1 lb. ground lamb
  • 4-6 yellow onions (enough to fill my largest skillet), chopped into approximately 1/2″ size pieces in Cuisinart.  Be very careful not to over process the onions.  They need to be chopped, not macerated.
  • 3 cubes butter, 4 if the lamb is very lean.
  • 1/2 tsp salt.
  • Dried Basil–to taste, but at least 2 tablespoons

Melt the butter in a very large skillet and brown the lamb gently over medium heat in the butter, chopping it into every smaller pieces.  The best tool for this is a Chinese Wok Chuan/spatula/turner.  When the lamb is uniformly brown, stir in the onion.  The skillet should be completely full.  Begin cooking and stirring the meat and onions, reducing the heat as needed to prevent scorching of the onions.  Cook until the onions are greatly reduced in volume, transparent and no longer sending off much steam.  As you stir this filling, use the Wok Chuan to cut pieces of onion that are too large if you find any.  You cannot walk away from Kufta filling.  It takes well over an hour of constant stirring for the filling to reach the right consistency because you cannot allow it to brown.  Once you are satisfied that the onions are cooked down as far as they will go before disintegrating, add the basil and salt to taste.  Stir this thoroughly off the heat and place in a dish with a tight fitting lid and allow to cool a bit before covering and placing in the refrigerator overnight.  The next day, form the inner filling balls and place them on a wax-paper covered cookie sheet(s).  Cover gently with waxed paper and then with foil, sealing well.  Freeze these pre-made filling balls thoroughly.  Overnight is best.  They can hold in the freezer for a few days, but no more than a week or they will start to dry out and get freezer burn.

Keyma, or outer covering:

  • 3 lbs. leanest available ground beef, passed through the grinder a second time.  The butcher will complain about doing this but it makes ALL the difference.  He will tell you that the meat is already finely ground.  Just smile and ask him to please pass it through the grinder once again because you are making something special that requires the meat to be almost paste-like in its consistency.  If he tells you that you will lose some of your 3 pounds of beef to the grinder as it passes through, let him sell you a quarter pound extra.
  • 3/4 cup fine bulgur
  • 1 1/2 teaspoon salt
  • 1/3-1/2 cup water for mixing into the meat and more for dipping your hands while forming the meatballs

Mix all of this together very well, kneading in water as needed to achieve the proper texture of Keyma.  This cannot be described, it can only be shown.  You must knead the Keyma thoroughly and notice the way the texture changes as the bulgur absorbs water and the meat responds to the kneading.  If you’ve made kufta before, you can see and feel when the texture is right.  If you have not made kufta before, all I can say is that I hope you have a sweet Armenian grandma nearby to show you how to make it like I did.  Once the Keyma has achieved the proper texture, remove the frozen filling balls from the freezer and begin forming the Keyma in a consistent layer around the outer surface of the frozen filling balls.  Usually the ideal is to use a volume of Keyma approximately equal to the volume of the filling ball.  I form a flat patty in my hand, place the frozen filling on top and gently form the Keyma around the frozen filling.  A more traditional method is to form the Keyma into a ball and hollow out the center with the thumb of your opposite hand.  I have never been able to get this technique to work.  After you form the Keyma around the filling, use water to seal any edges together and smooth the surface of the Kufta.  Then place on another waxed paper-covered cookie sheet.  Work quickly as the frozen balls will begin to soften.  If they are frozen on more than one cookie sheet, only remove one sheet from the freezer at a time.  Having the filling balls made ahead and frozen makes the job of forming the Kufta much easier than the old method where the filling was only refrigerated and not frozen and you formed each filling ball as needed for each portion of Keyma.  That tip came from Ernie Darpinian via the Fresno Armenian Church Ladies.  The tip of using beef for the Keyma came from Laura Basmajian.

Is it a weed…

Or a plant?

Oxalis Triangularis

Well I’m constantly complaining about the oxalis growing in my yard where I don’t want it and it’s really hard to weed out. It’s truly a pesky little weed with nothing to recommend it beyond tenacity.

Oxalis the weed…Corniculata if you please.

But then I got this month’s sketchbook with a lovely sketch of Oxalis Stricta, or Common Wood Sorrel. well there is never anything common about the paintings of Ellen Blonder. Her lyrical sketch of the weedy sorrel growing wild in her environs inspired me to snag the oxalis above for my monthly sketch as I was strolling about the nursery looking for inspiration. Here are the 2 illustrations together and a closeup of mine in progress below that.