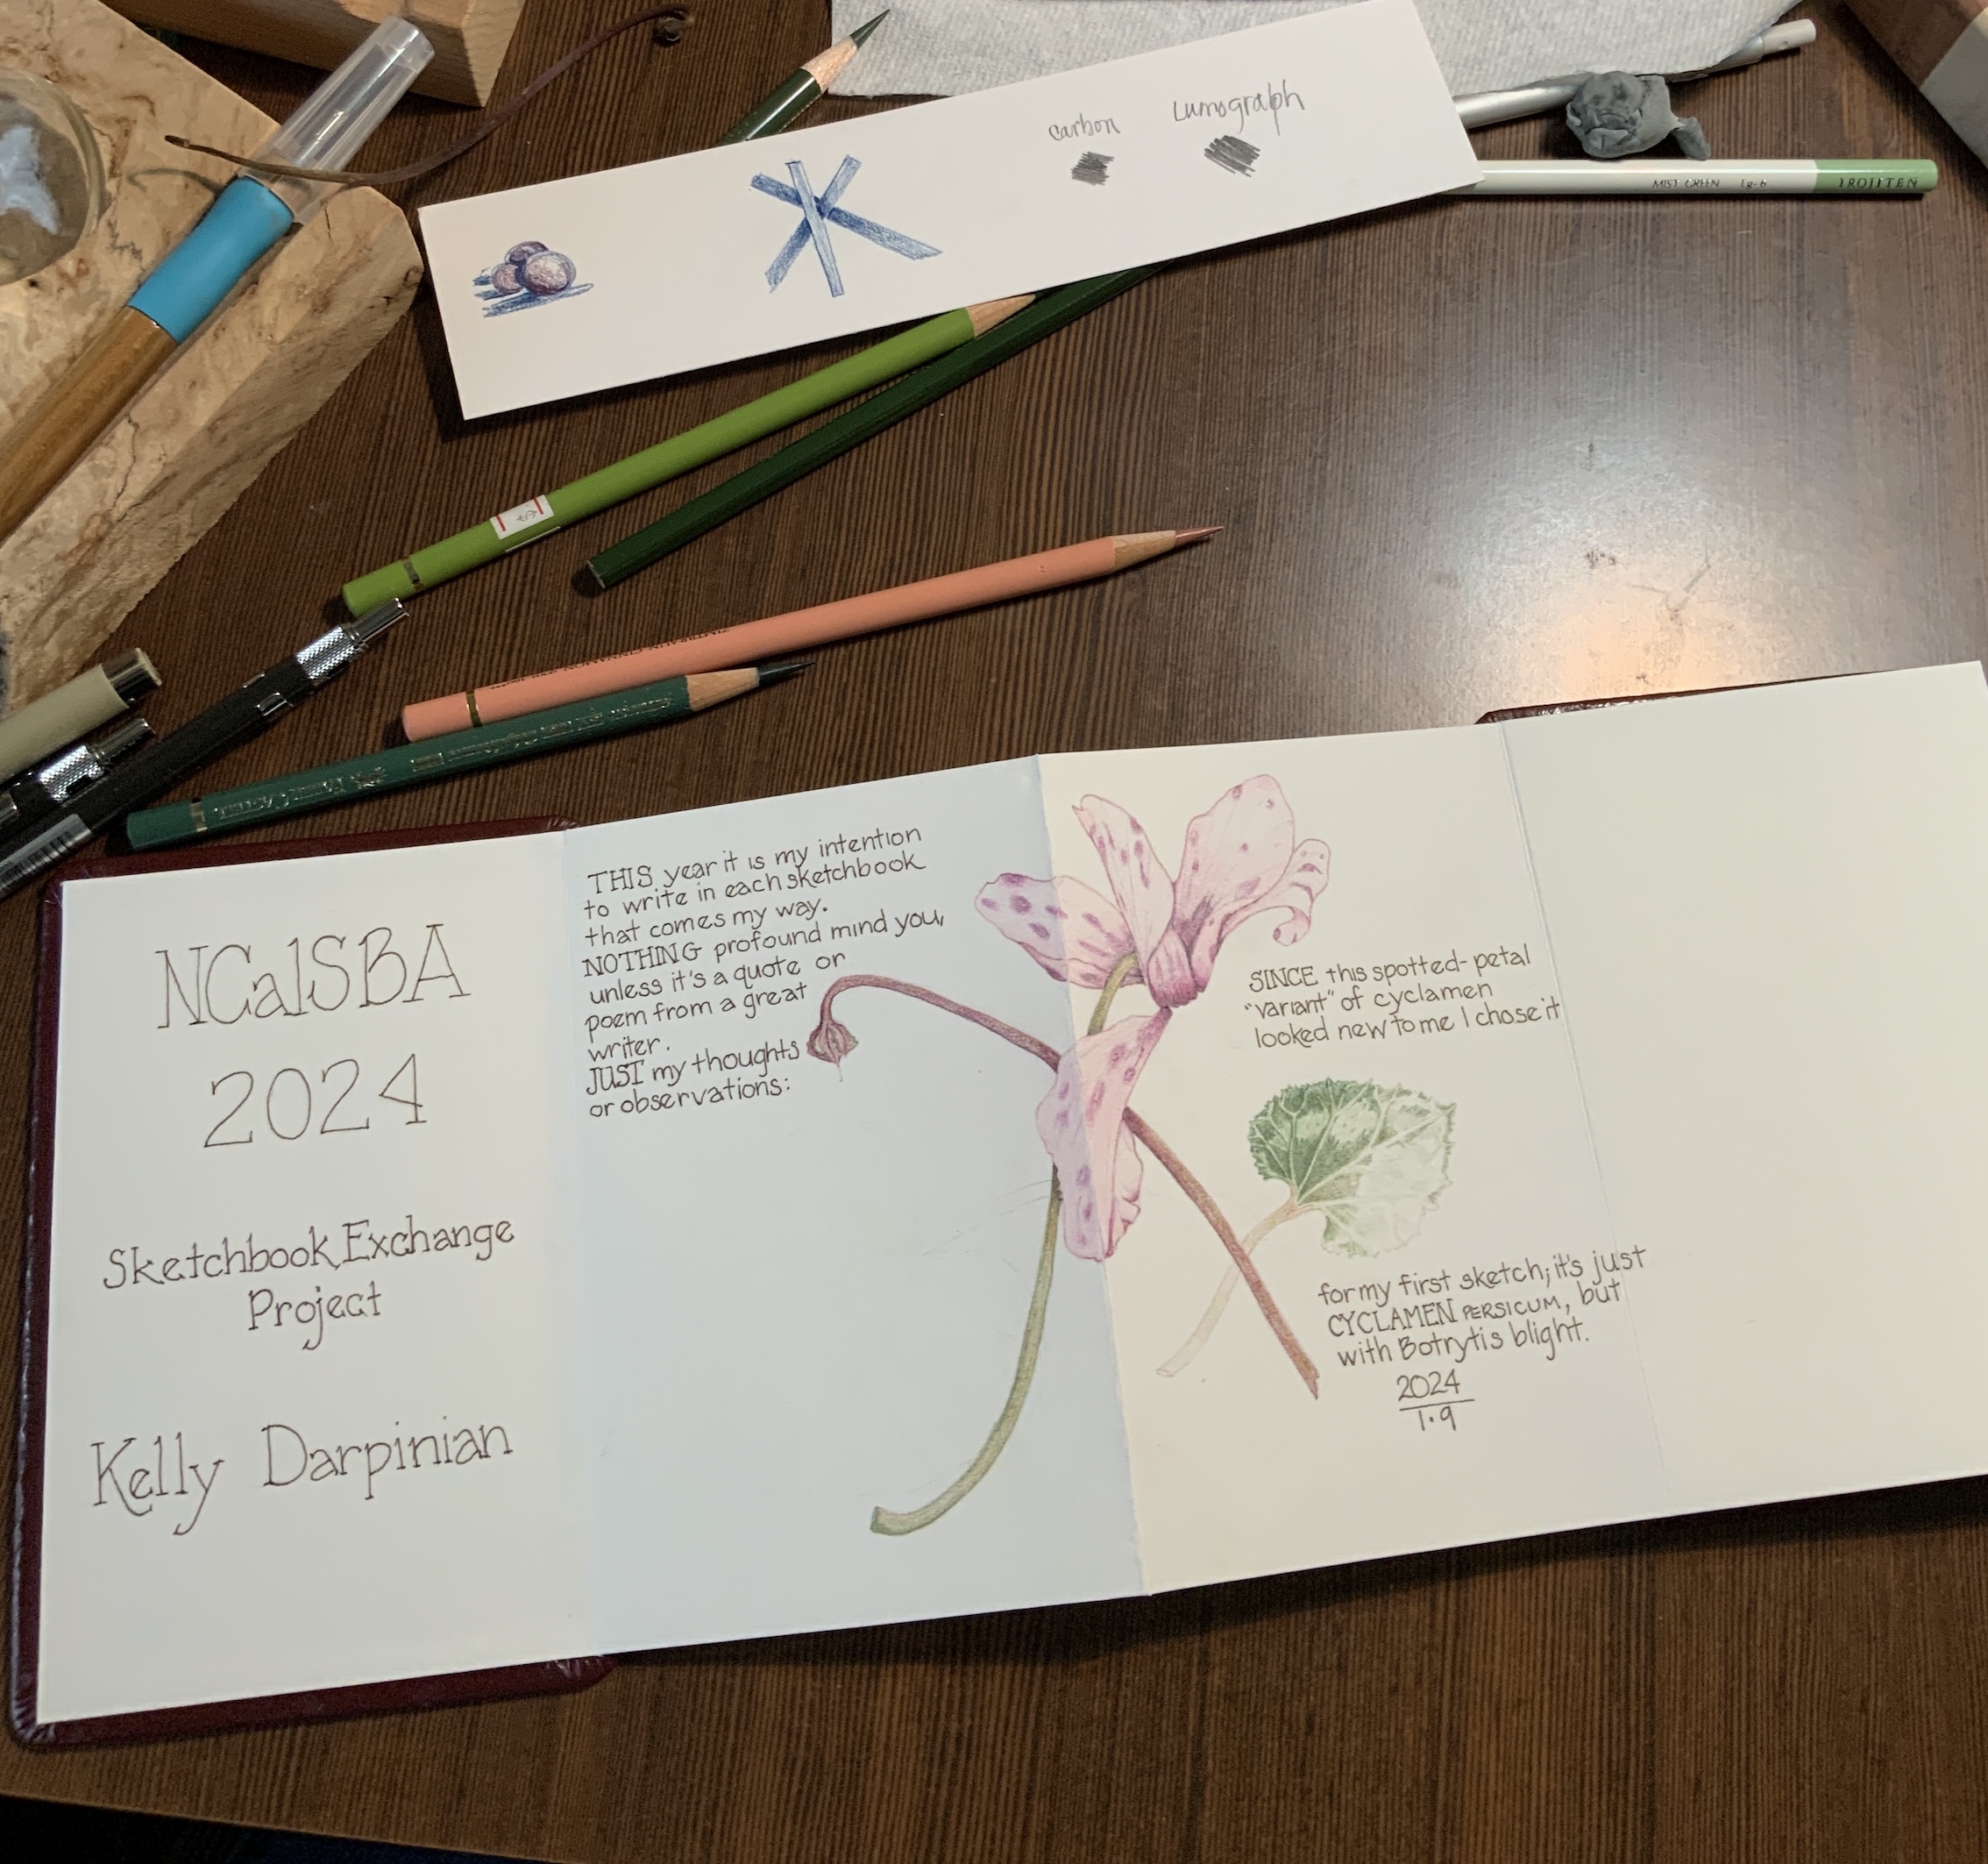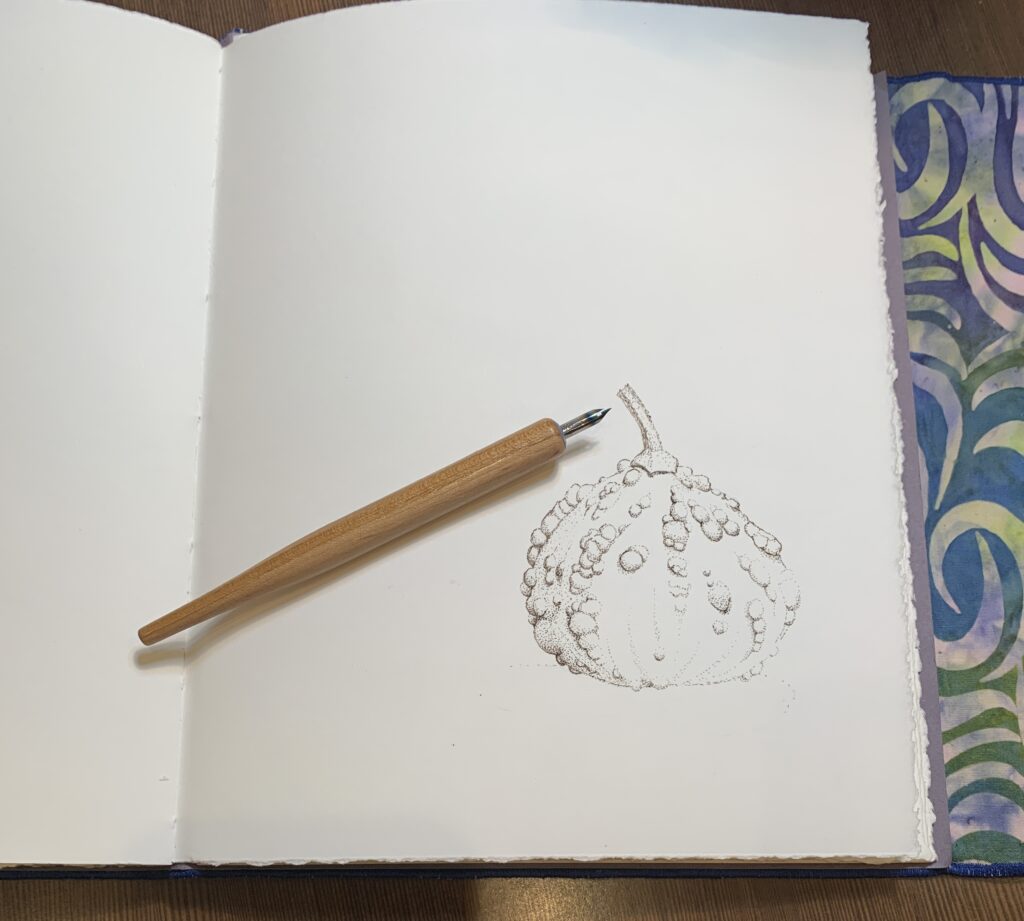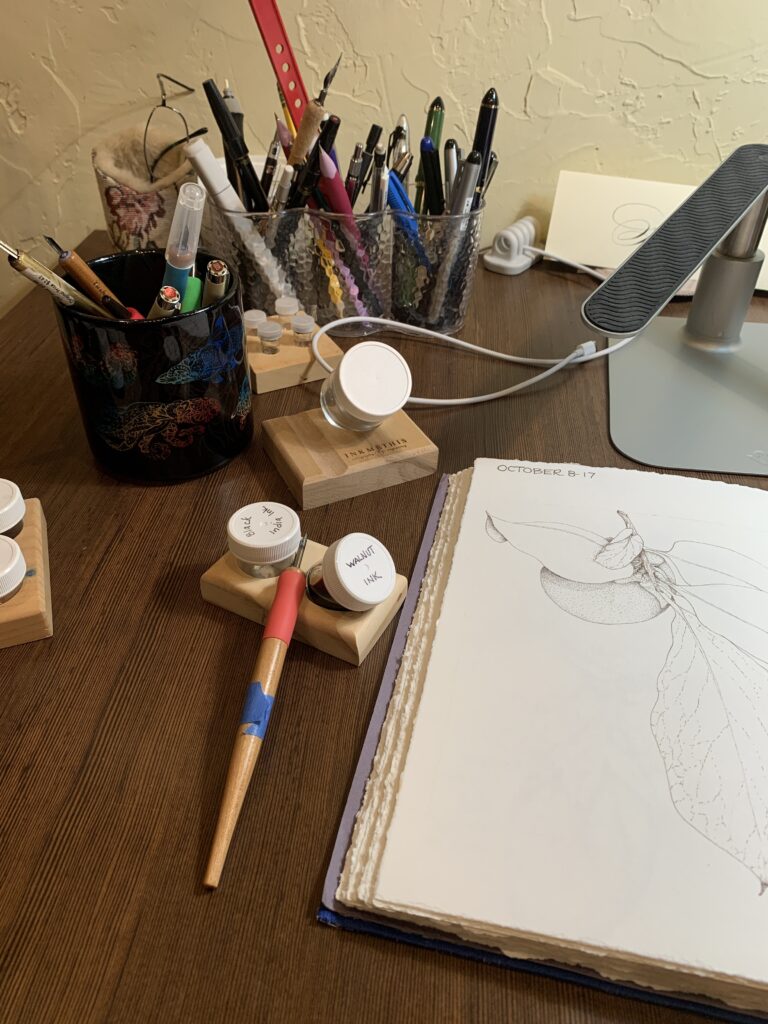
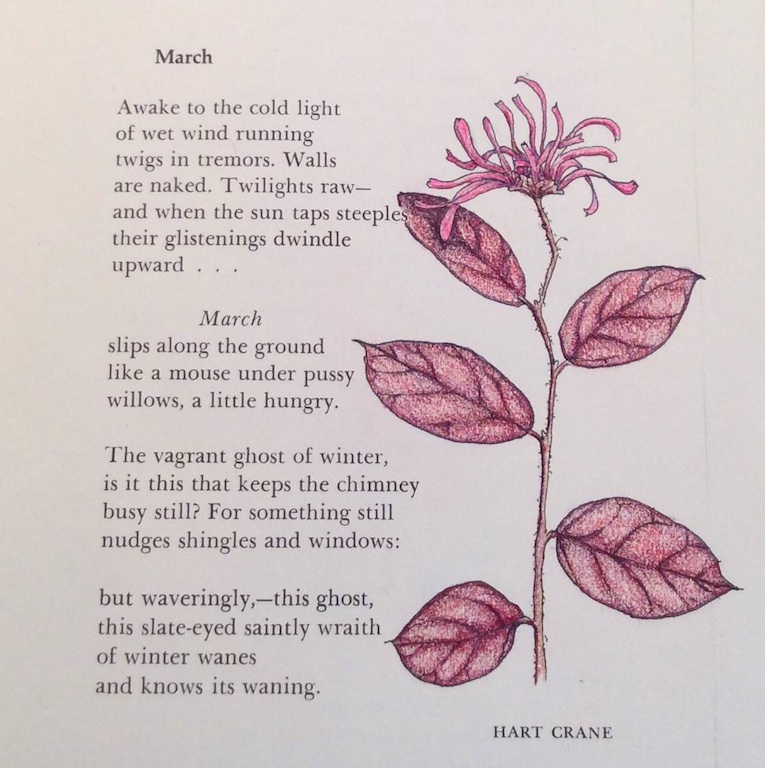

A few years back I started a Perpetual Journal inspired by the work of Lara Call Gastinger
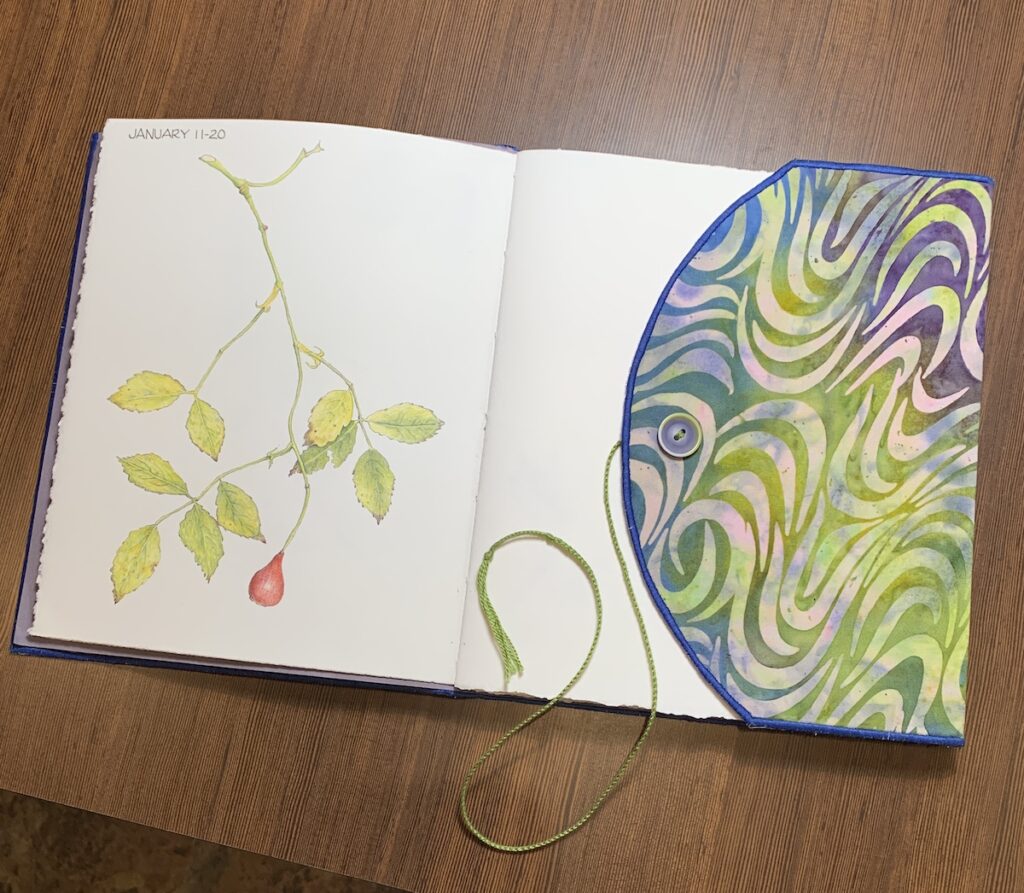
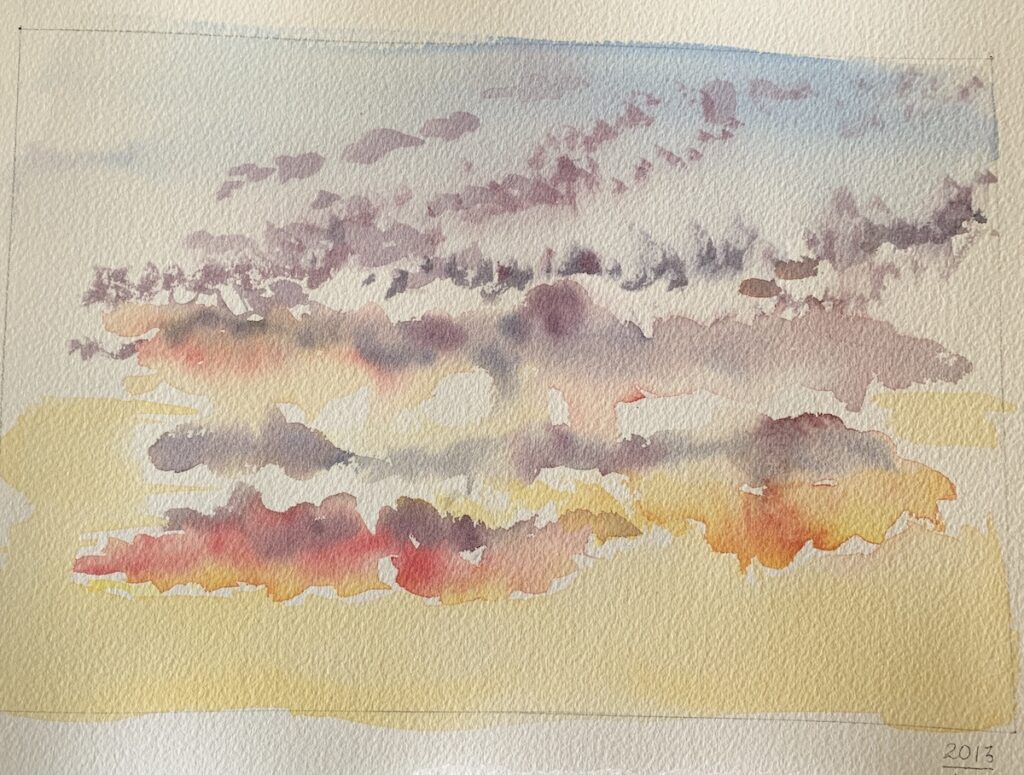
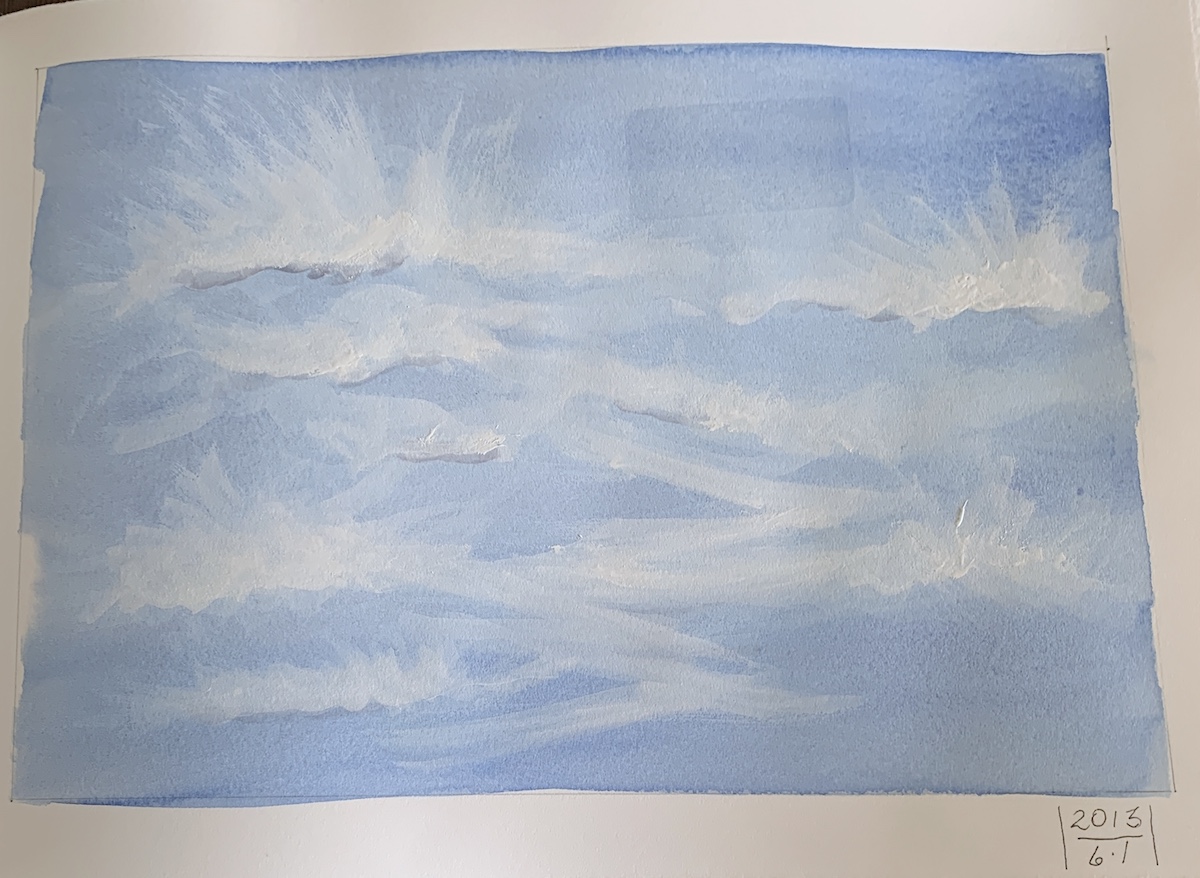
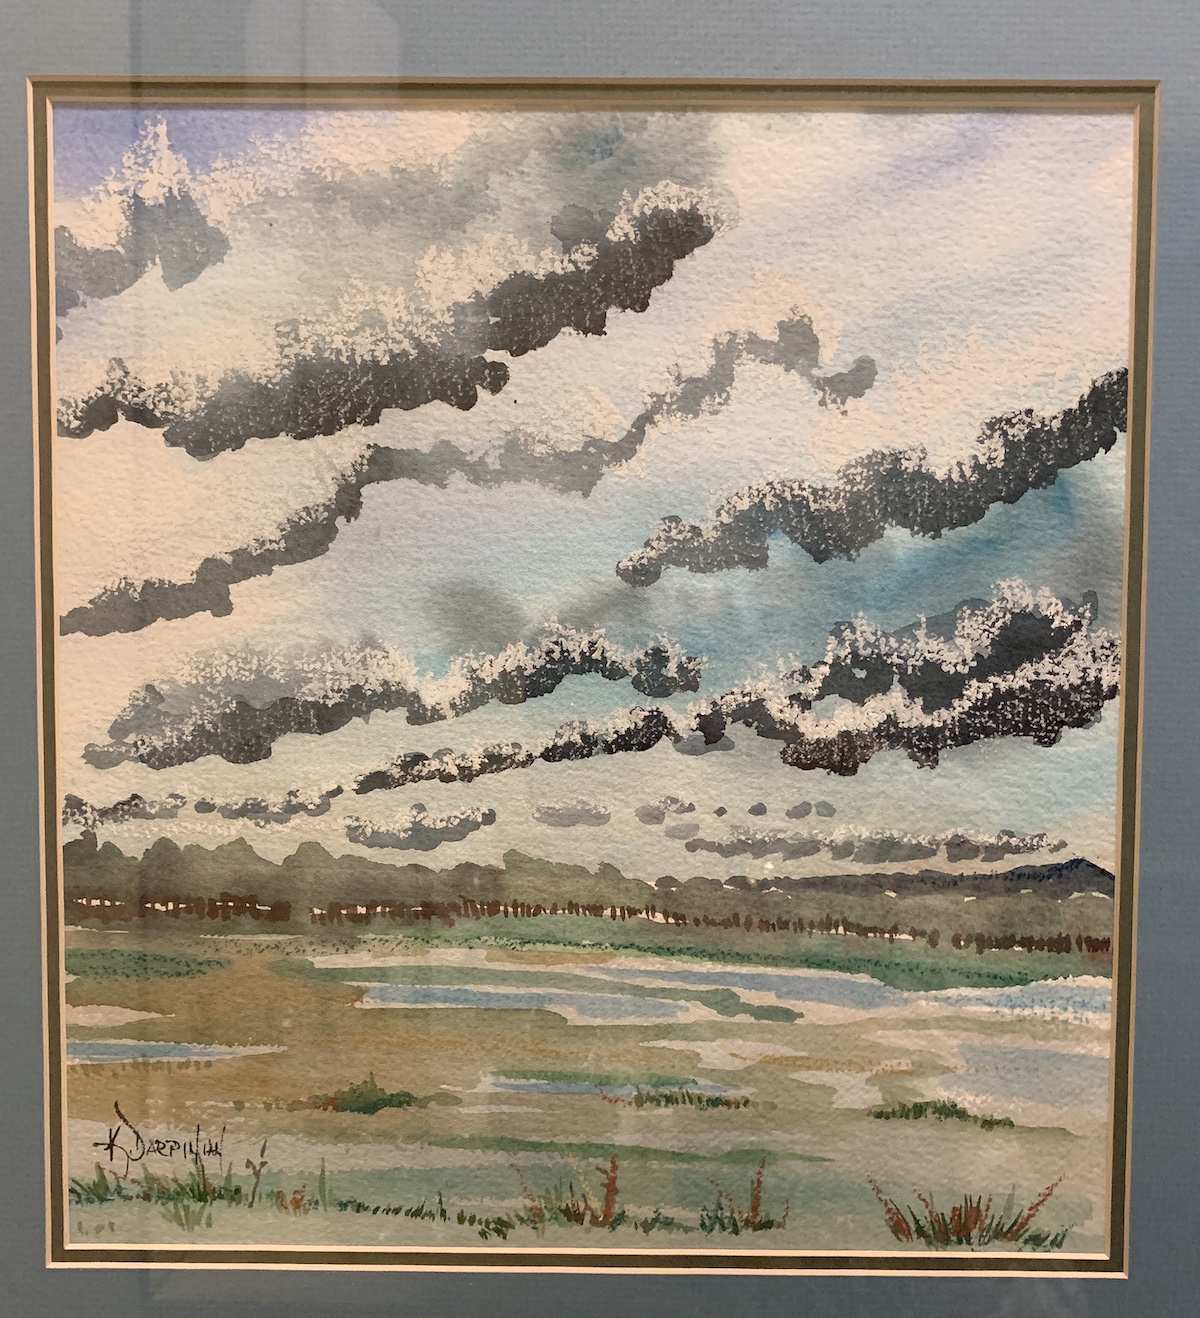
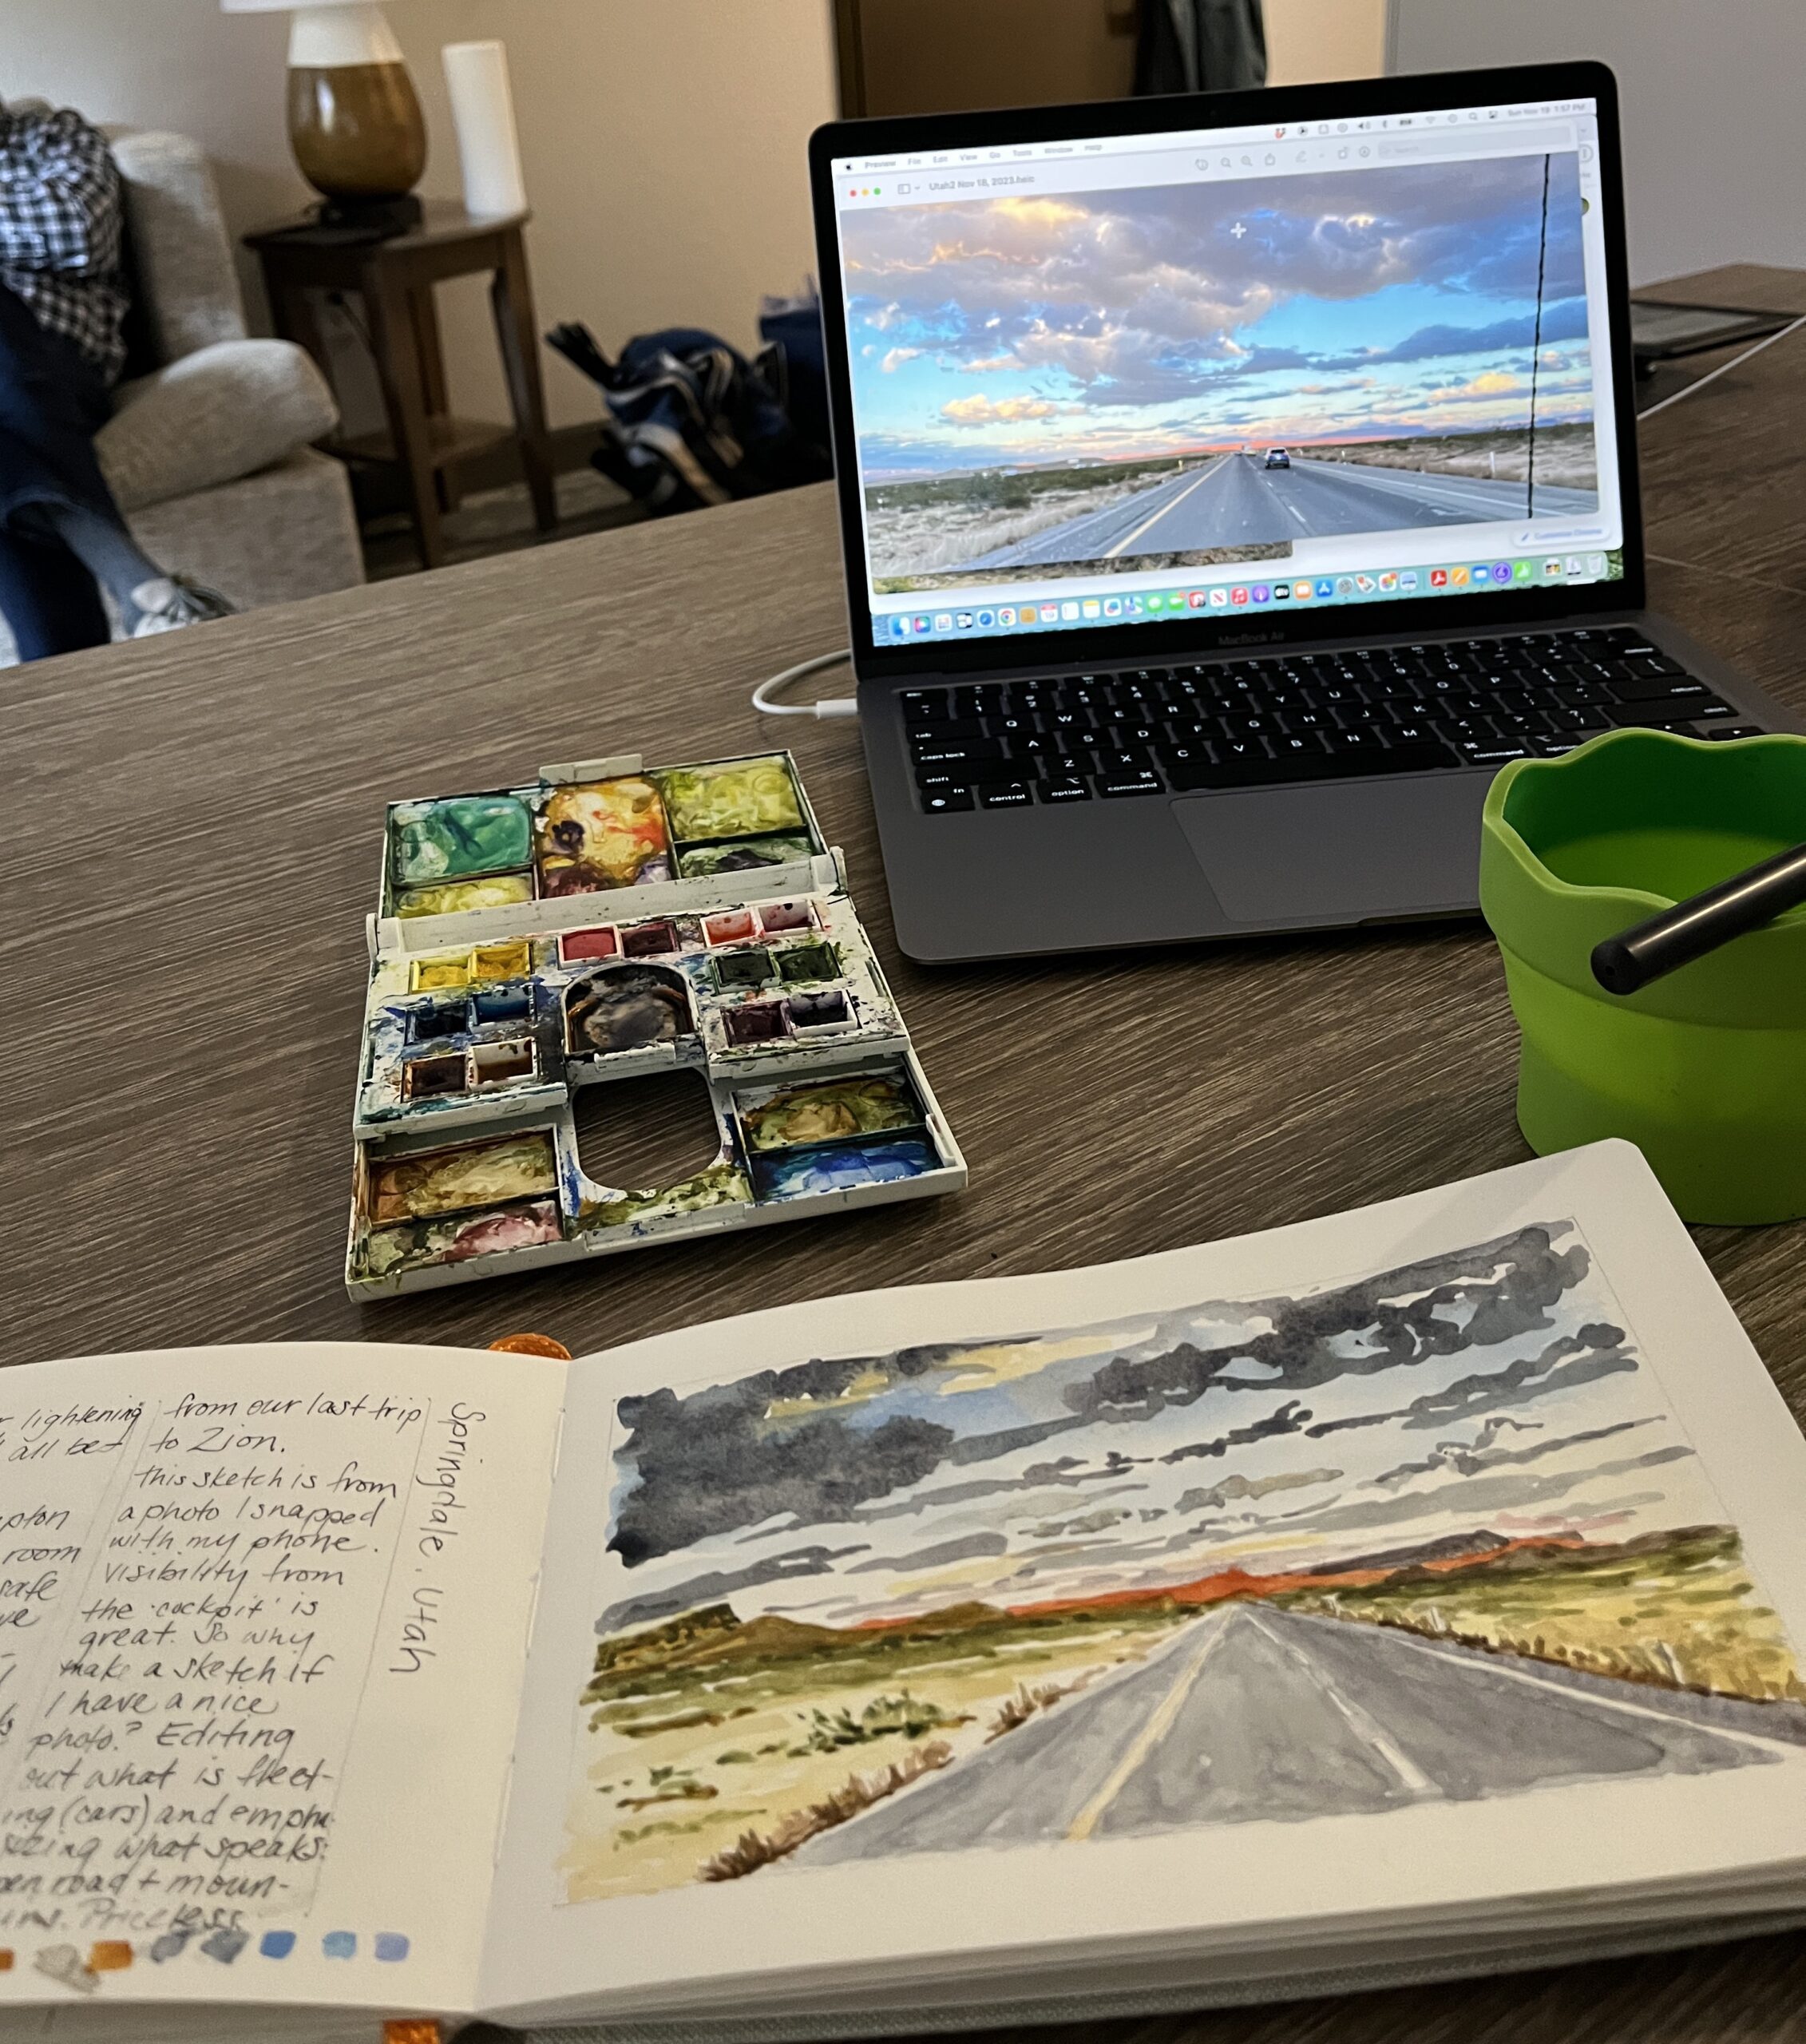
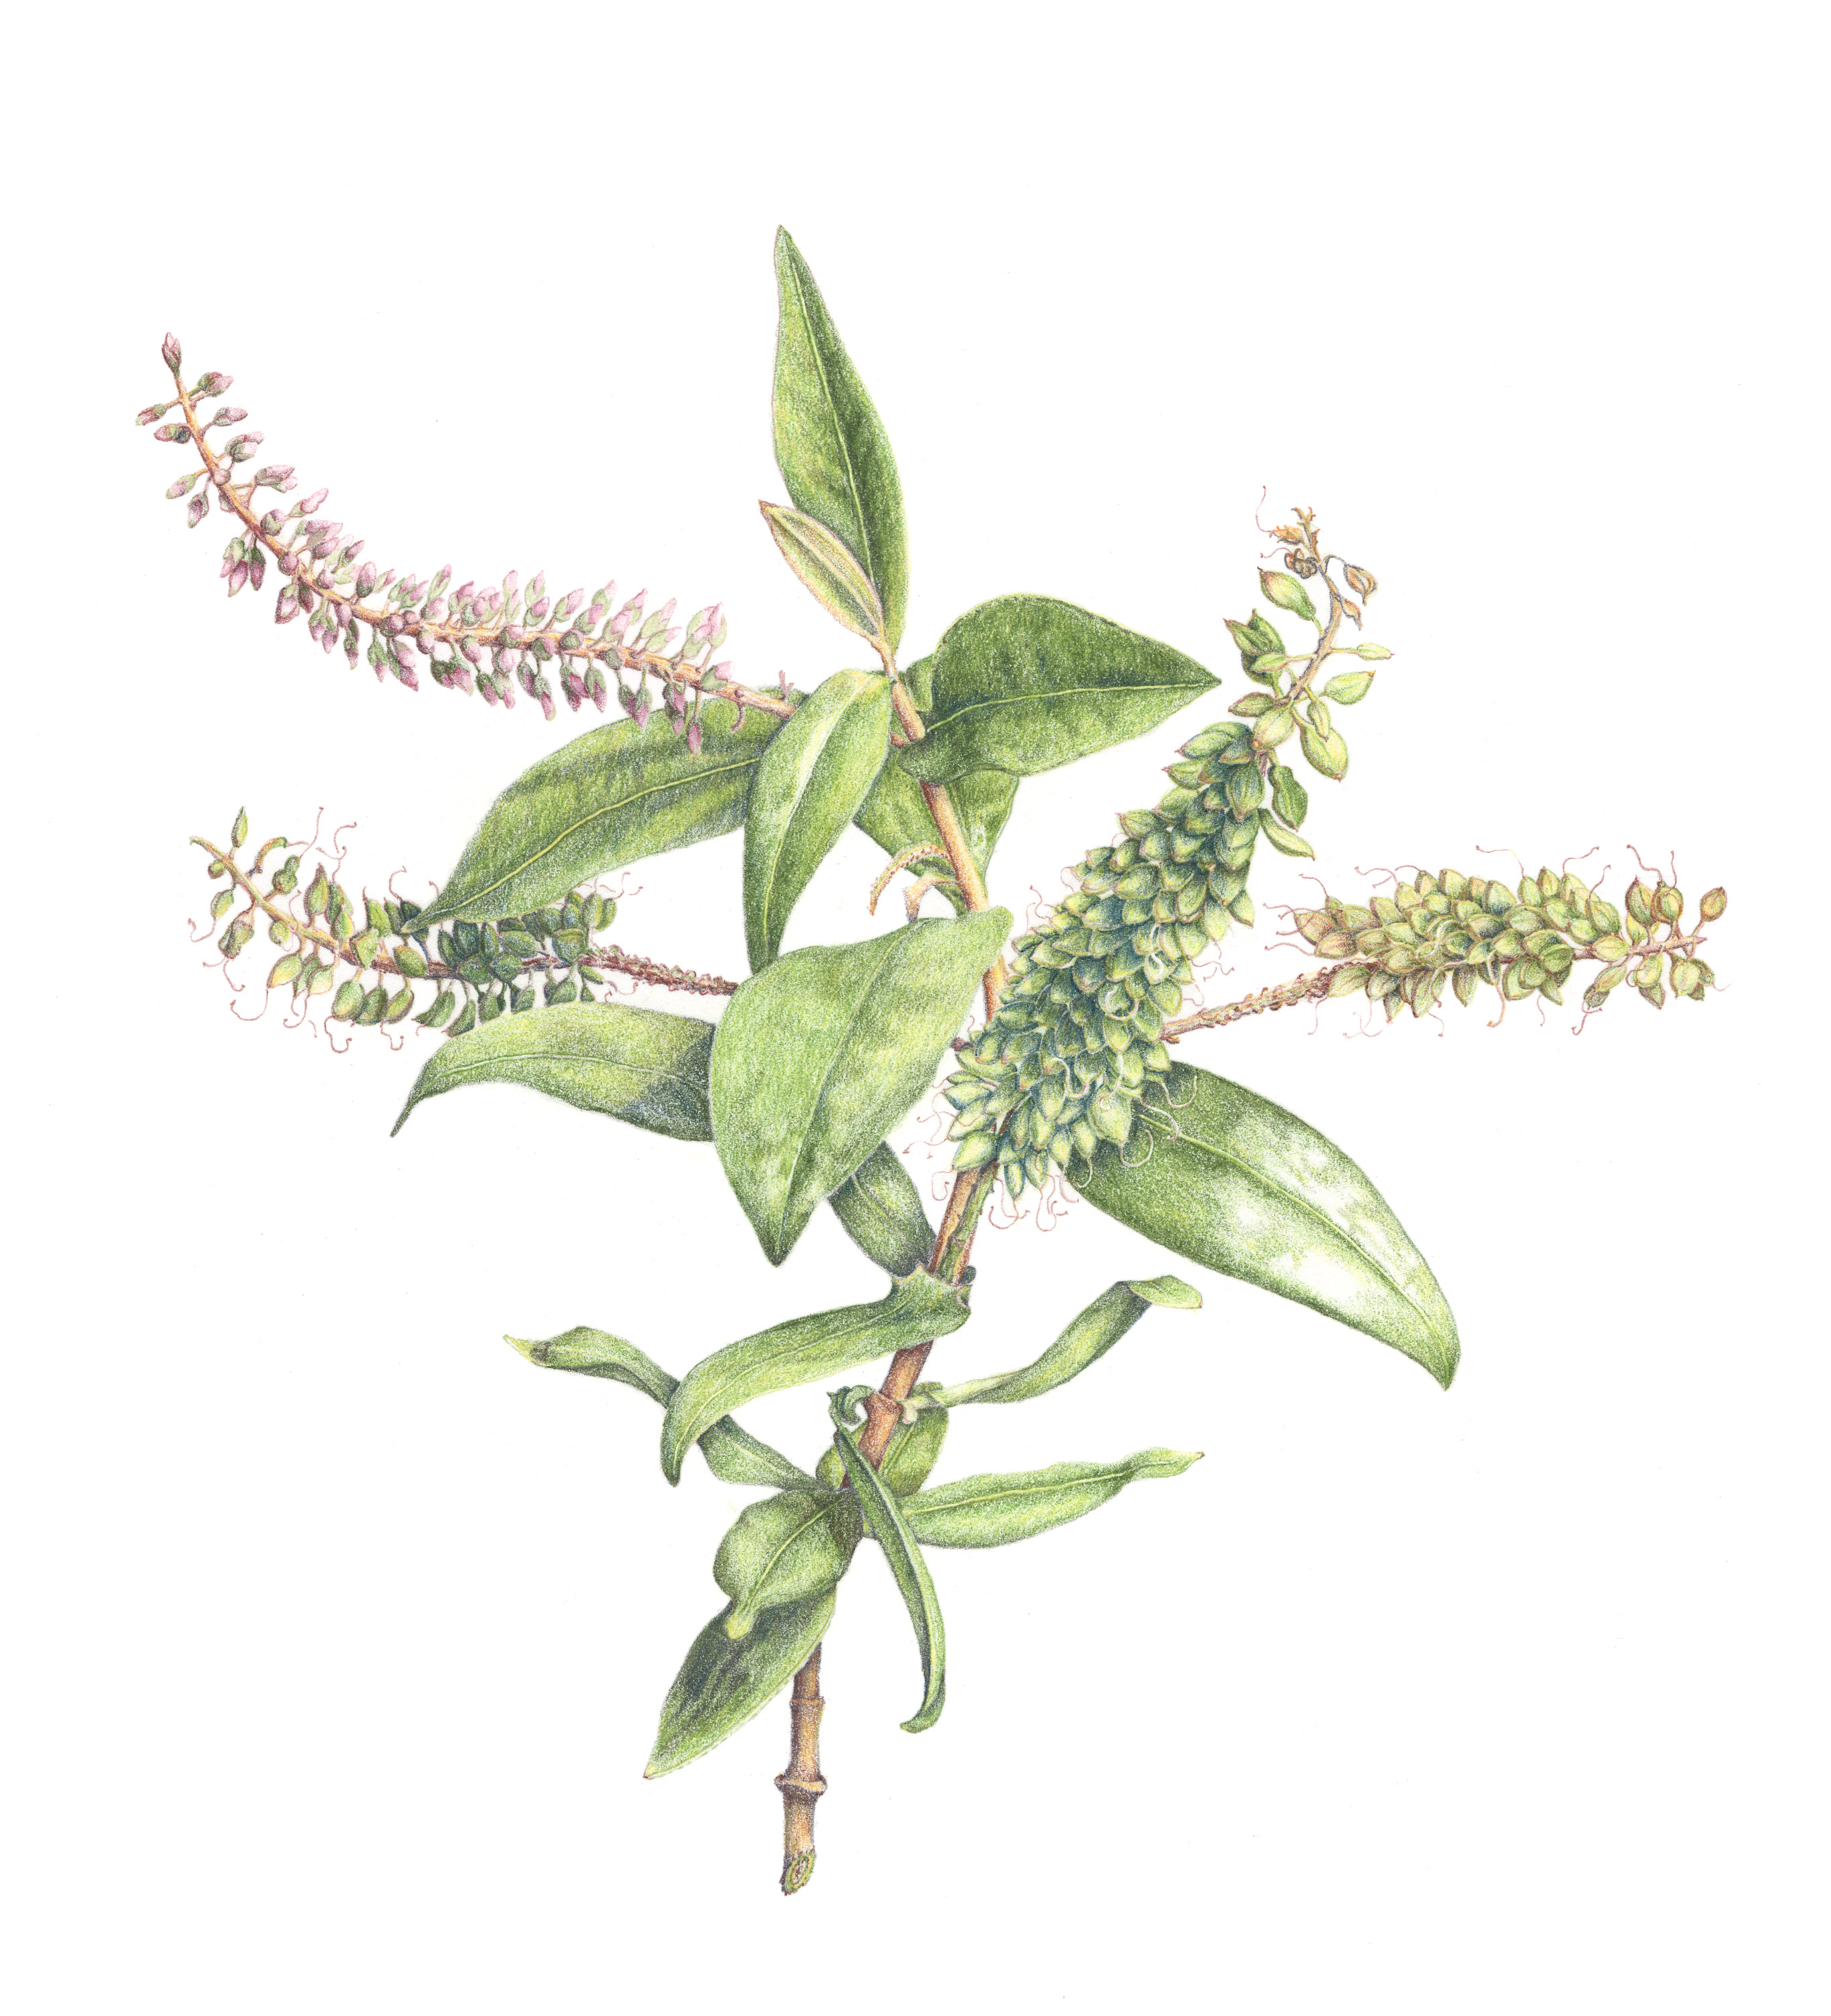
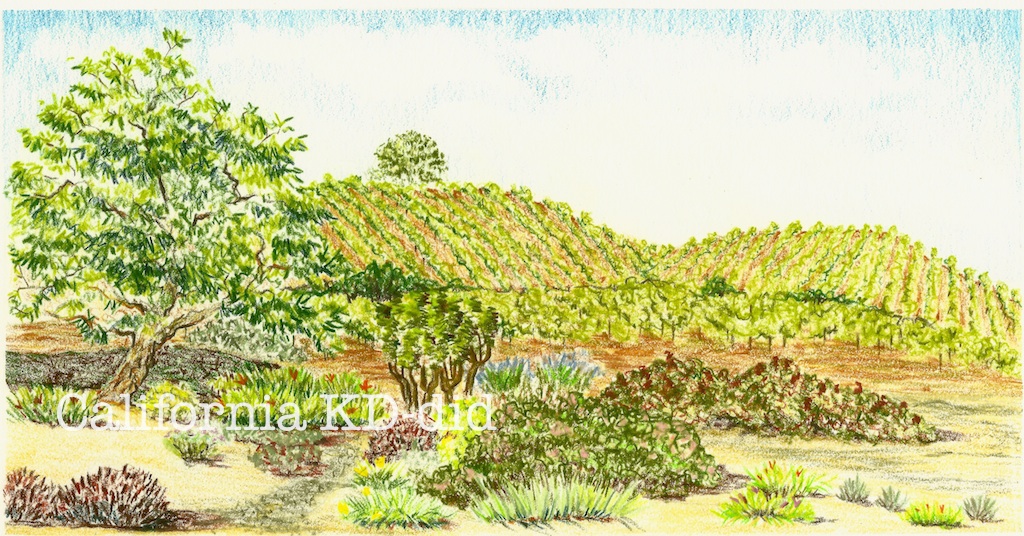
I used a journal I’d made and still had on hand that was blank. Lara divides her books into weekly spreads, but I didn’t have enough pages in my chosen journal to do that so I did some math and decided I’d use 10 day increments in my book. That worked out perfectly. I figured I could manage a drawing every 10 days or so throughout the year if I was diligent. Of course I haven’t been as diligent as I hoped and my journal has many gaps 3-plus years later, but it also has lots of drawings in it and is progressing more or less how I hoped it would, just a little more slowly. It’s a project that is close to my heart and I carry this journal with me both into my own backyard and also whenever I travel about the country. I use it mostly for botanical subjects but I’ve been thinking I might insert some small landscapes here and there as well. Carrying the journal with me so I can do field work is essential.
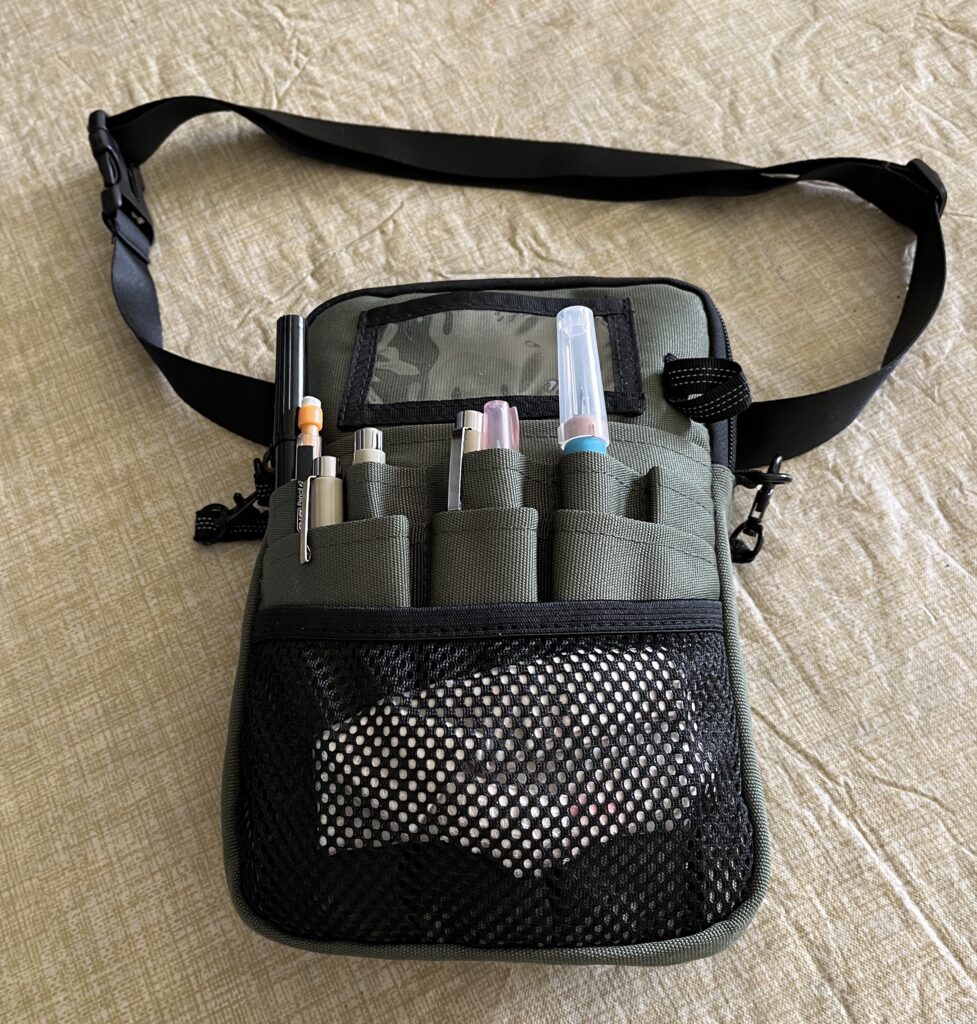
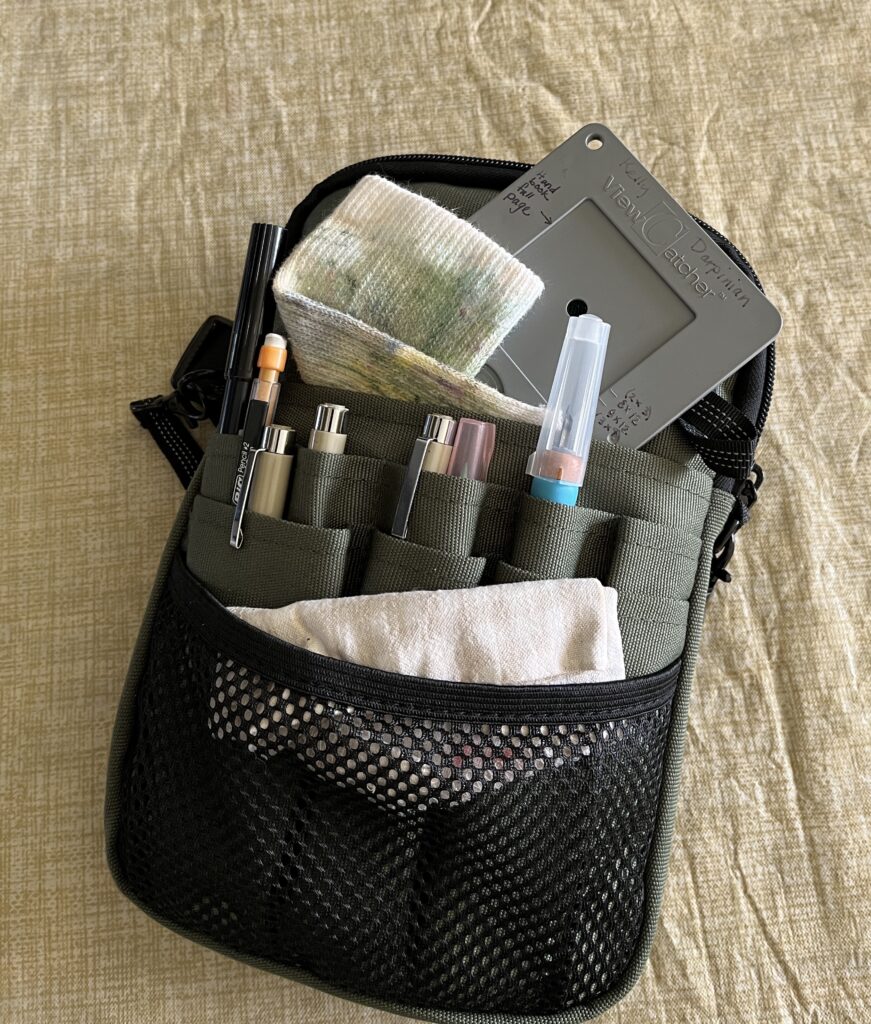
Enter my aging LL Bean backpack:
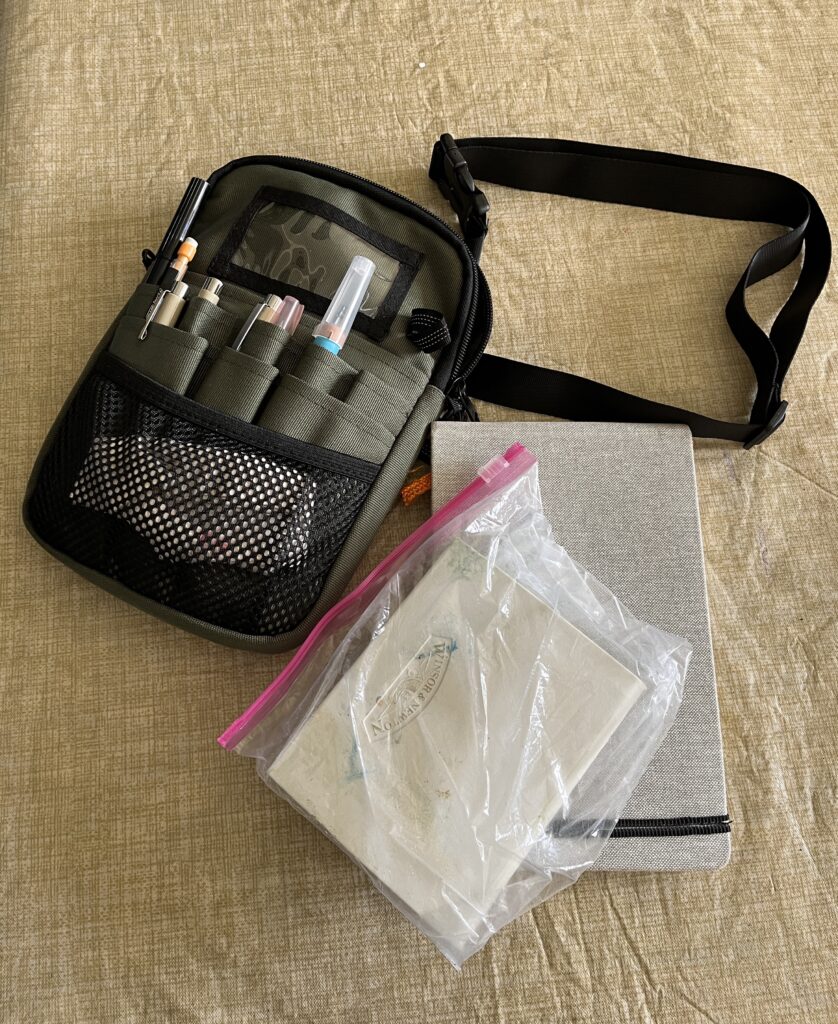
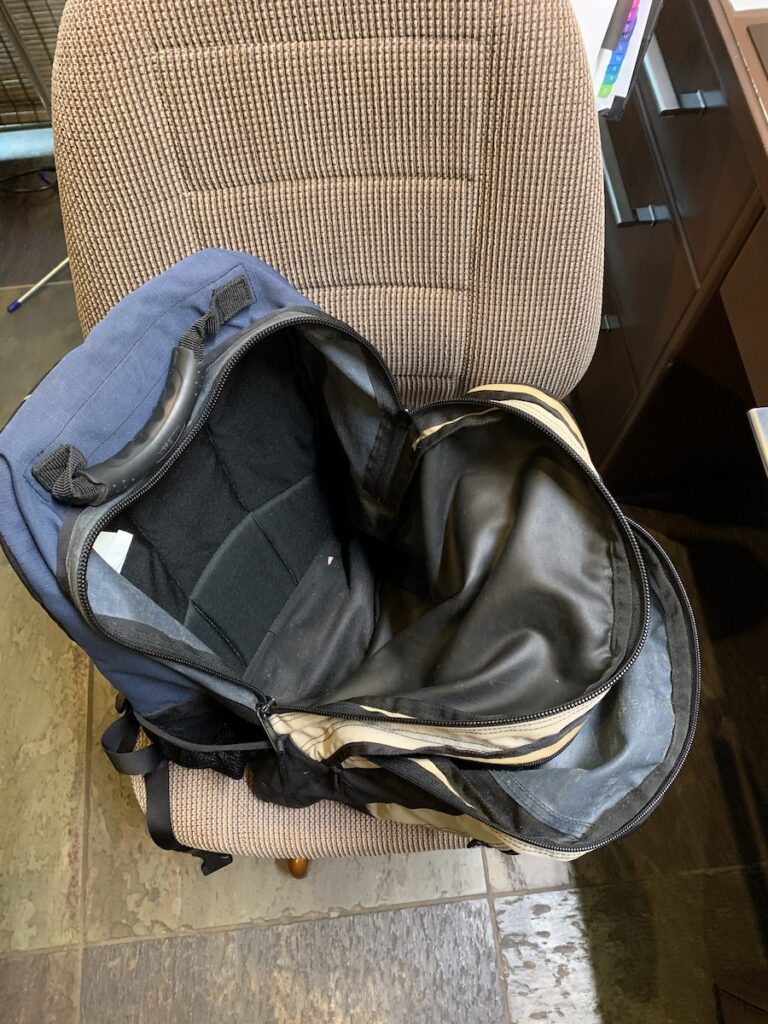 I’ve carried this pack for years and it is still quite serviceable. In fact, it looks almost new from the outside. When we travel, I use it to carry all of my art supplies and often games and books as well. It is capacious and the divided sections allow me to separate the books and journals from the supplies that might soil them. BUT, when I pulled out my journal after our last trip to the coast where I never got a chance to draw at all, I noticed there were black specks of something scattered throughout the journal on every page, some worse than others. I assumed a pencil sharpener had exploded or something similar and was so saddened by the dirt everywhere that I just set the book aside and moved on to another project.
When I got the book back out and started trying to remove the specks of dirt that were behaving exactly as if they were flecks from a black colored pencil lead scattered across the pages, it seemed wise to stop and really figure out what had caused this explosion of particulate matter that was significantly worse at the bottom end of the book. So I removed everything from the pack and discovered that all of my pencils and sharpeners were intact and safely stowed apart from the journal. It was the lining of the pack itself that was disintegrating, but only in certain places where there was a water-resistant coating. I took a white cloth rag and swiped across the area at the bottom of the pack that had the coating and here’s the result:
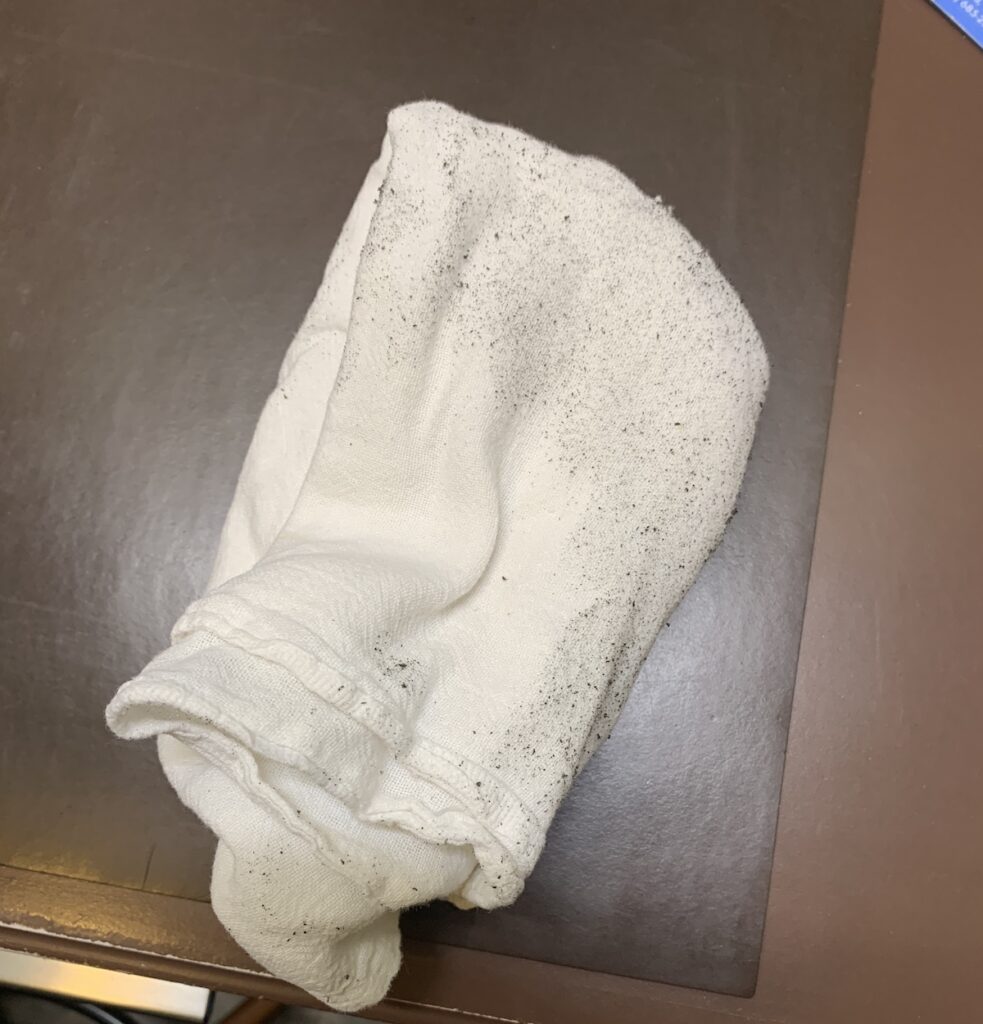
Oh my goodness! This reminds me of the material they used at about the same time to make the soles of some Clark shoes that suddenly and unexpectedly began disintegrating years later, especially in shoes that had been stored in boxes, like my favorite red shoes I trotted out each holiday season. Each one of those flecks of rubber-like material has the capacity to leave a mark on clean white paper. I have spent hours with a very fine X-acto knife carefully attempting to lift each speck off of the paper before it smears an indelible mark. I’d say my success rate has been about 85%-90%. Many of the specks came cleanly away from the page and others left marks that could be lightened with an eraser. Very few left marks so dark that I won’t be able to cover them with a subsequent drawing and none of the drawings I’ve done so far was ruined. So it’s not an unmitigated disaster at all. And as I was looking at one of Lara Call Gastinger’s perpetual journals displayed on her website, I saw some embedded dirt in the spine area of one of her page spreads so I guess I’m in good company if my perpetual journal has a few stray marks here and there. Whew! Now, back to that drawing board after I issue a warning to any of you who might have LL Bean backpacks that are 15-20 years old: check that any waterproof interior linings are still intact before each use!