This week I’m attending the Wild Wonder conference and having way too much fun.
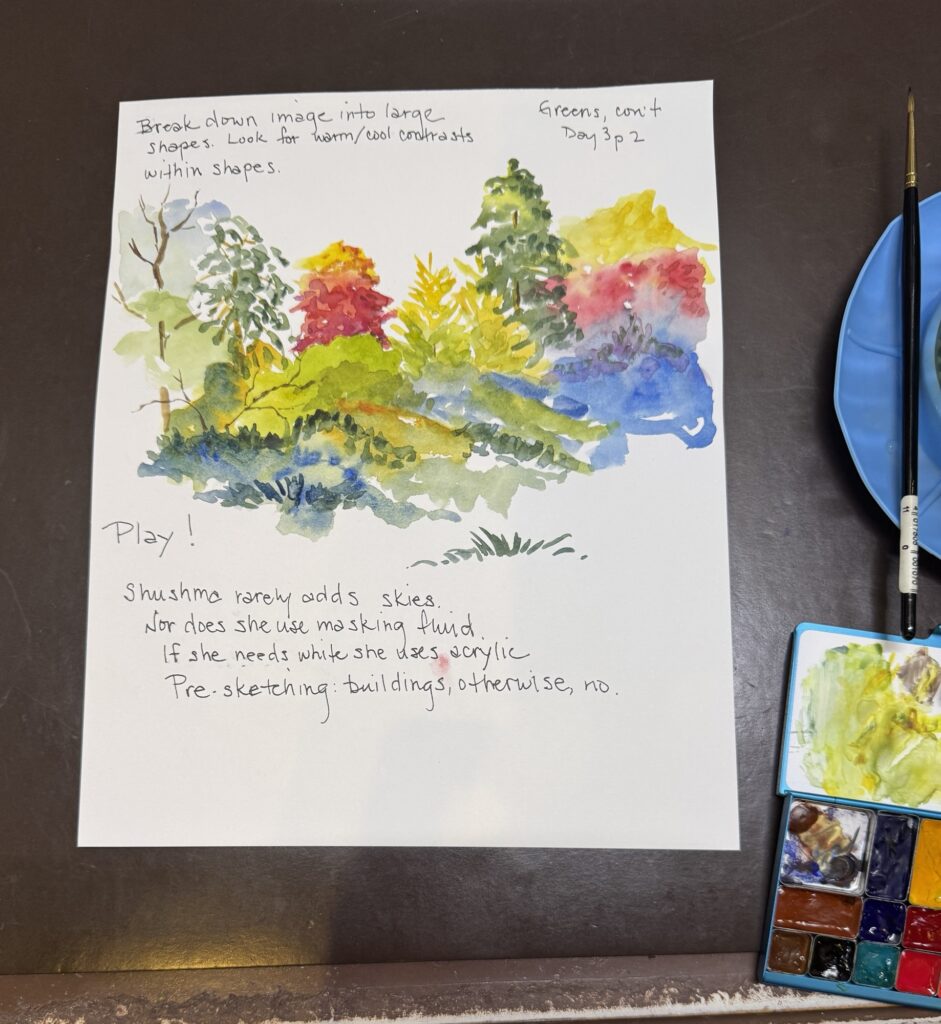
This week I’m attending the Wild Wonder conference and having way too much fun.
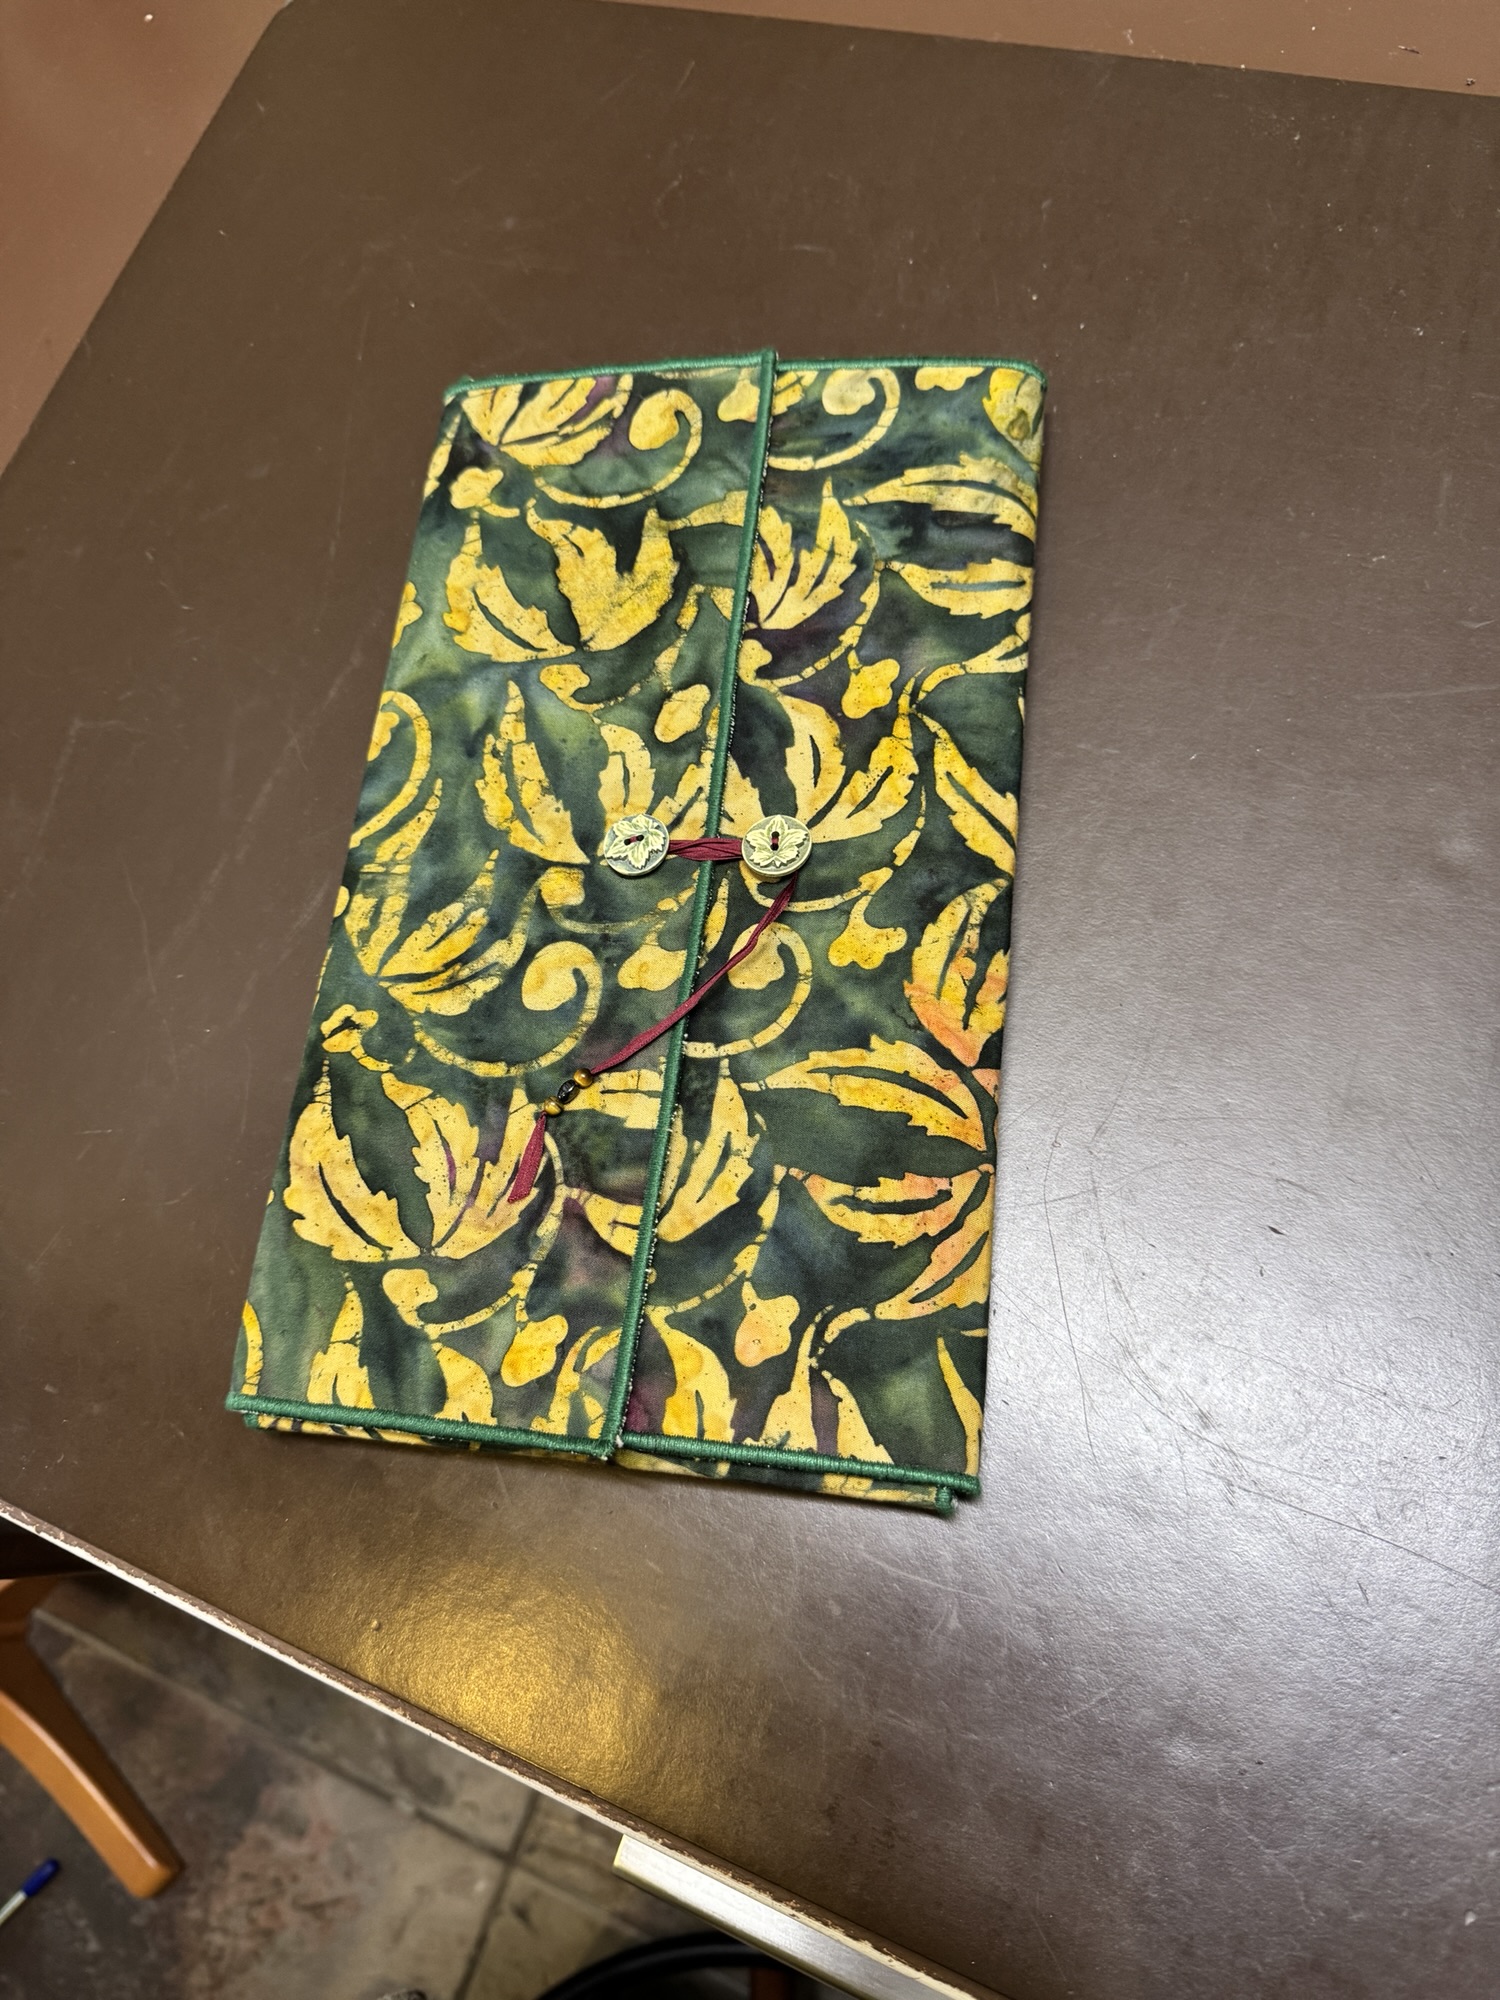
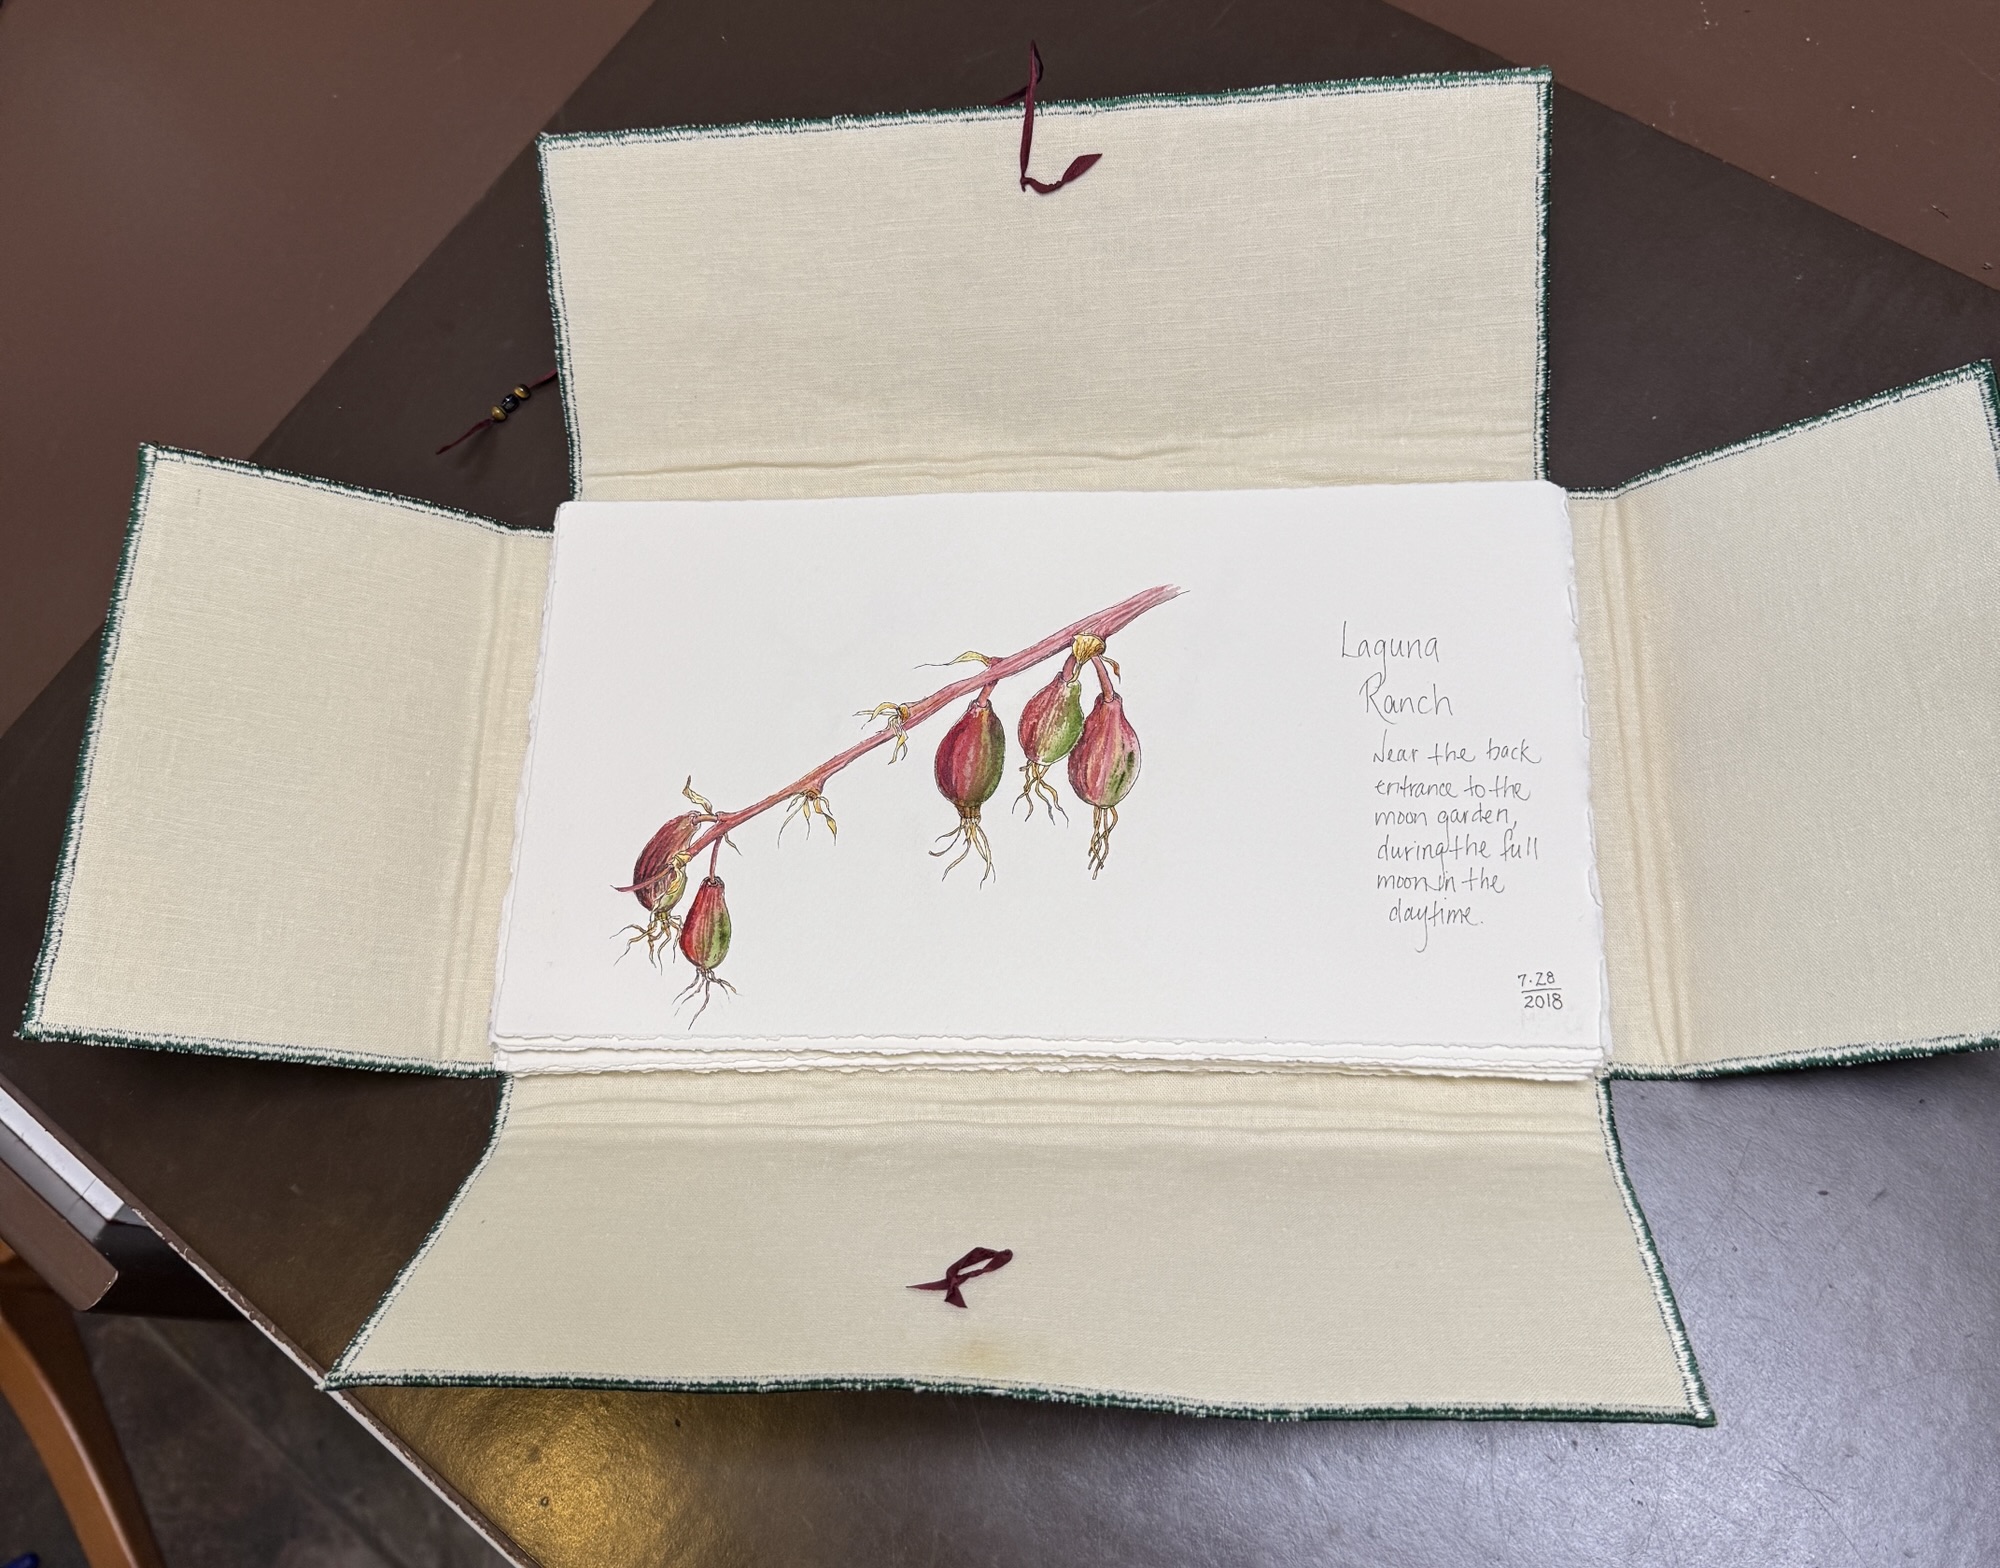
Padfolio, portfolio, envelope, whatever you want to call it, if you enjoy working in the field on loose sheets of paper, you’re going to have to protect those sheets before and after use. I’ve made 2 of these fabric protectors for a size of loose sheet I’ve used in the past, 6″ x 11″. That’s a size that uses all of a full sheet of 22″ x 30″ paper with no waste and the paper grain is aligned for easy thumbing through the pages. I abandoned this project in favor of working in bound journals, but you never know when I might pick it up again. Here’s the one I use for keeping the finished sheets together and safe on my bookshelves:
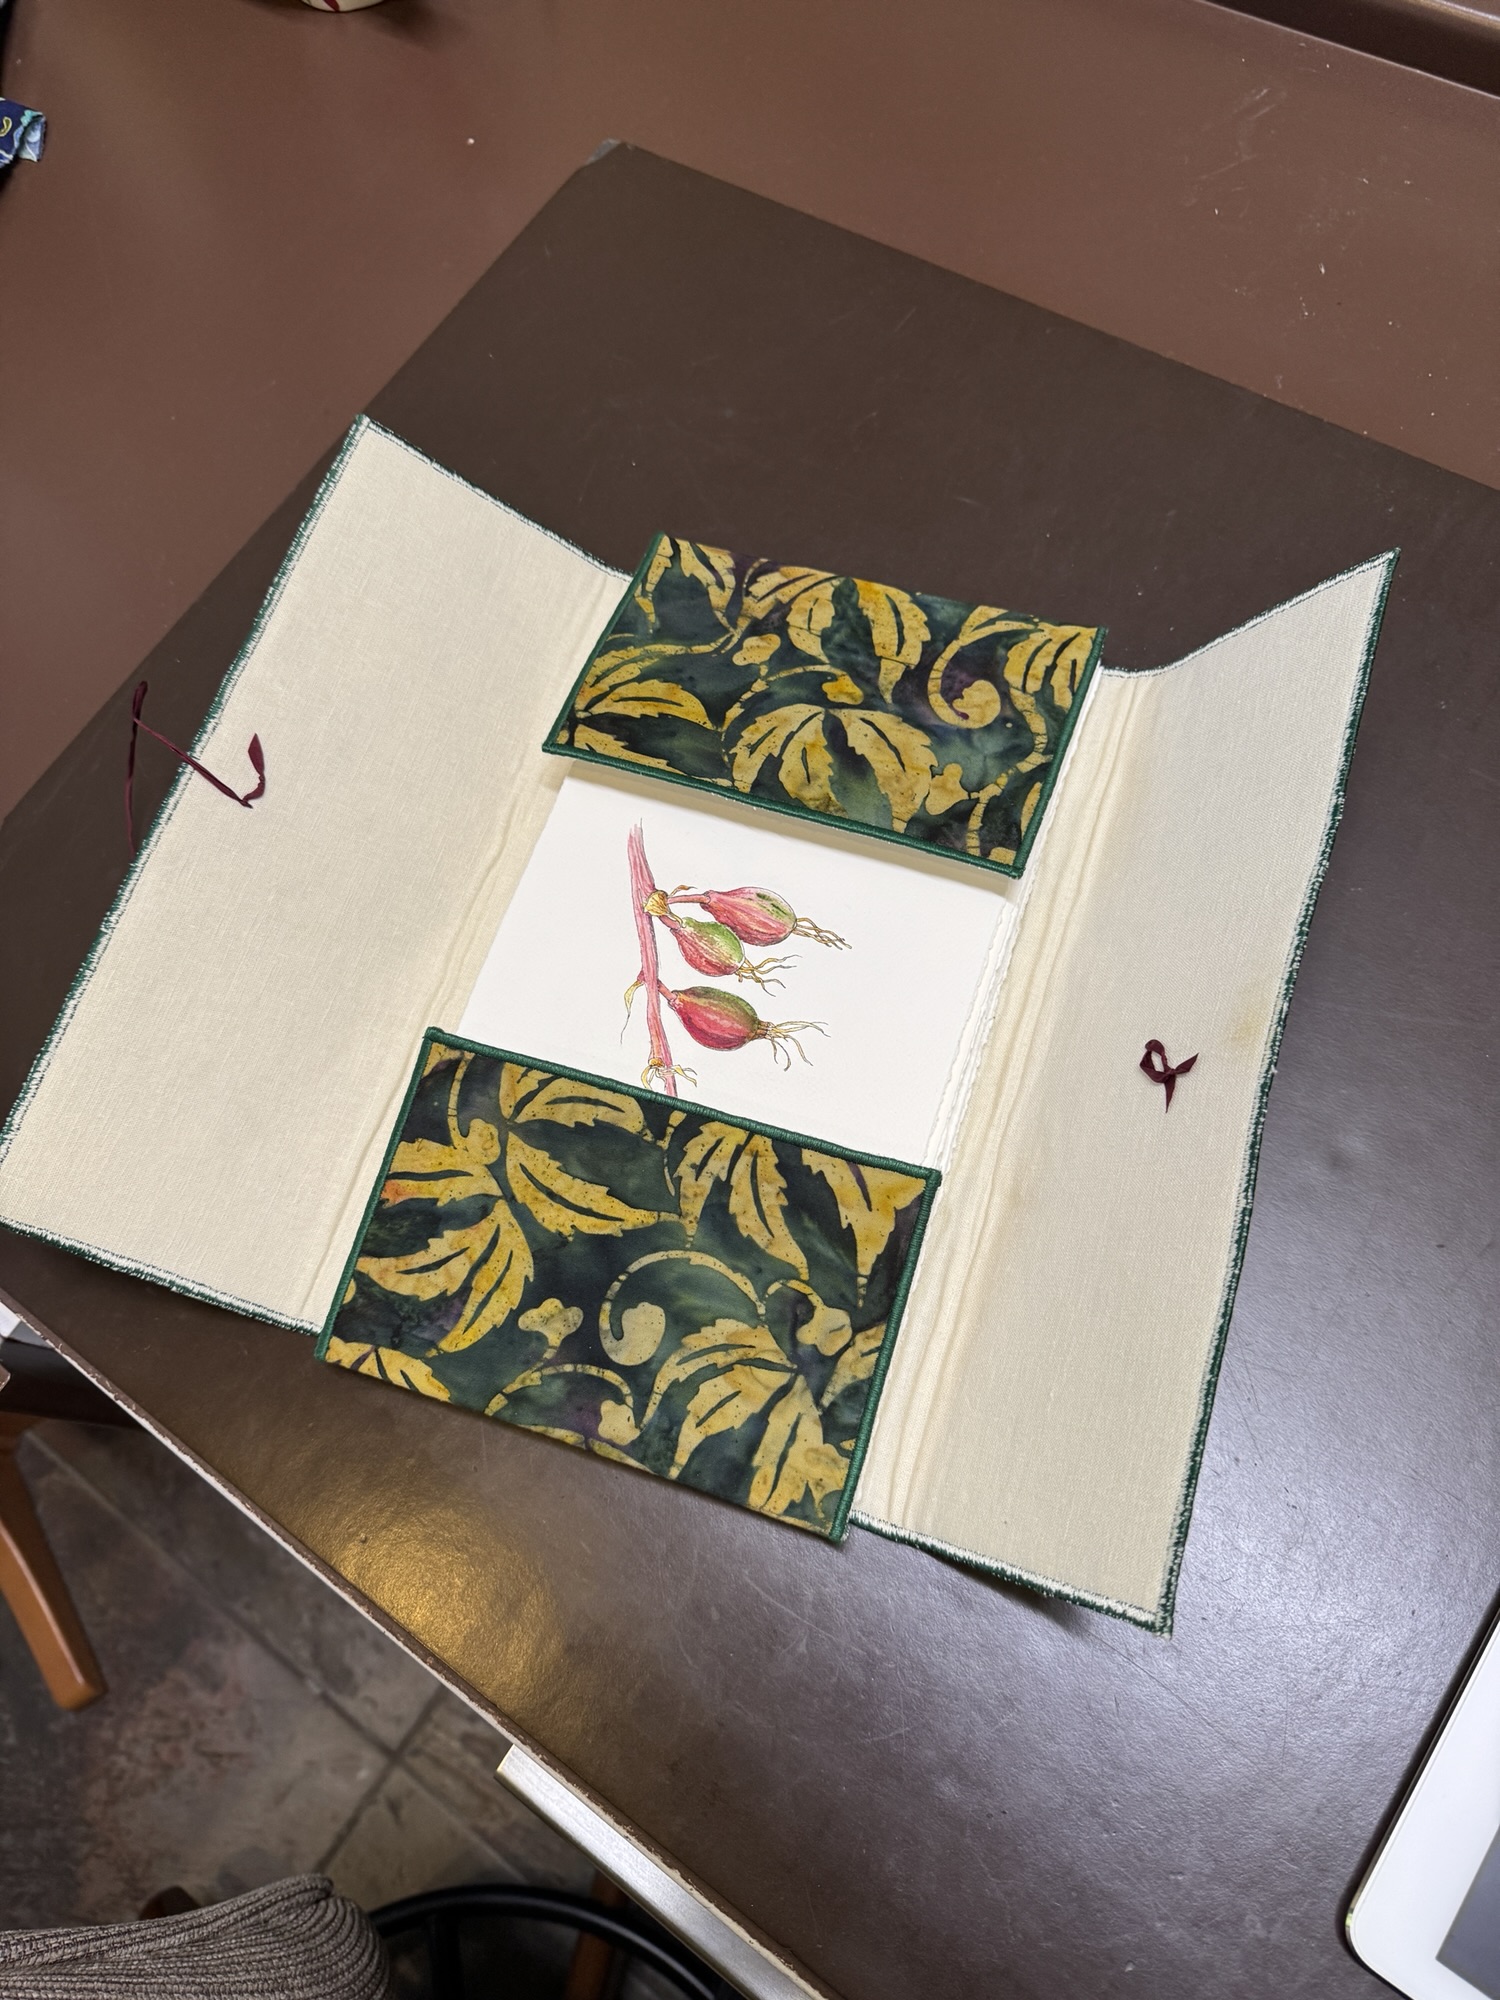
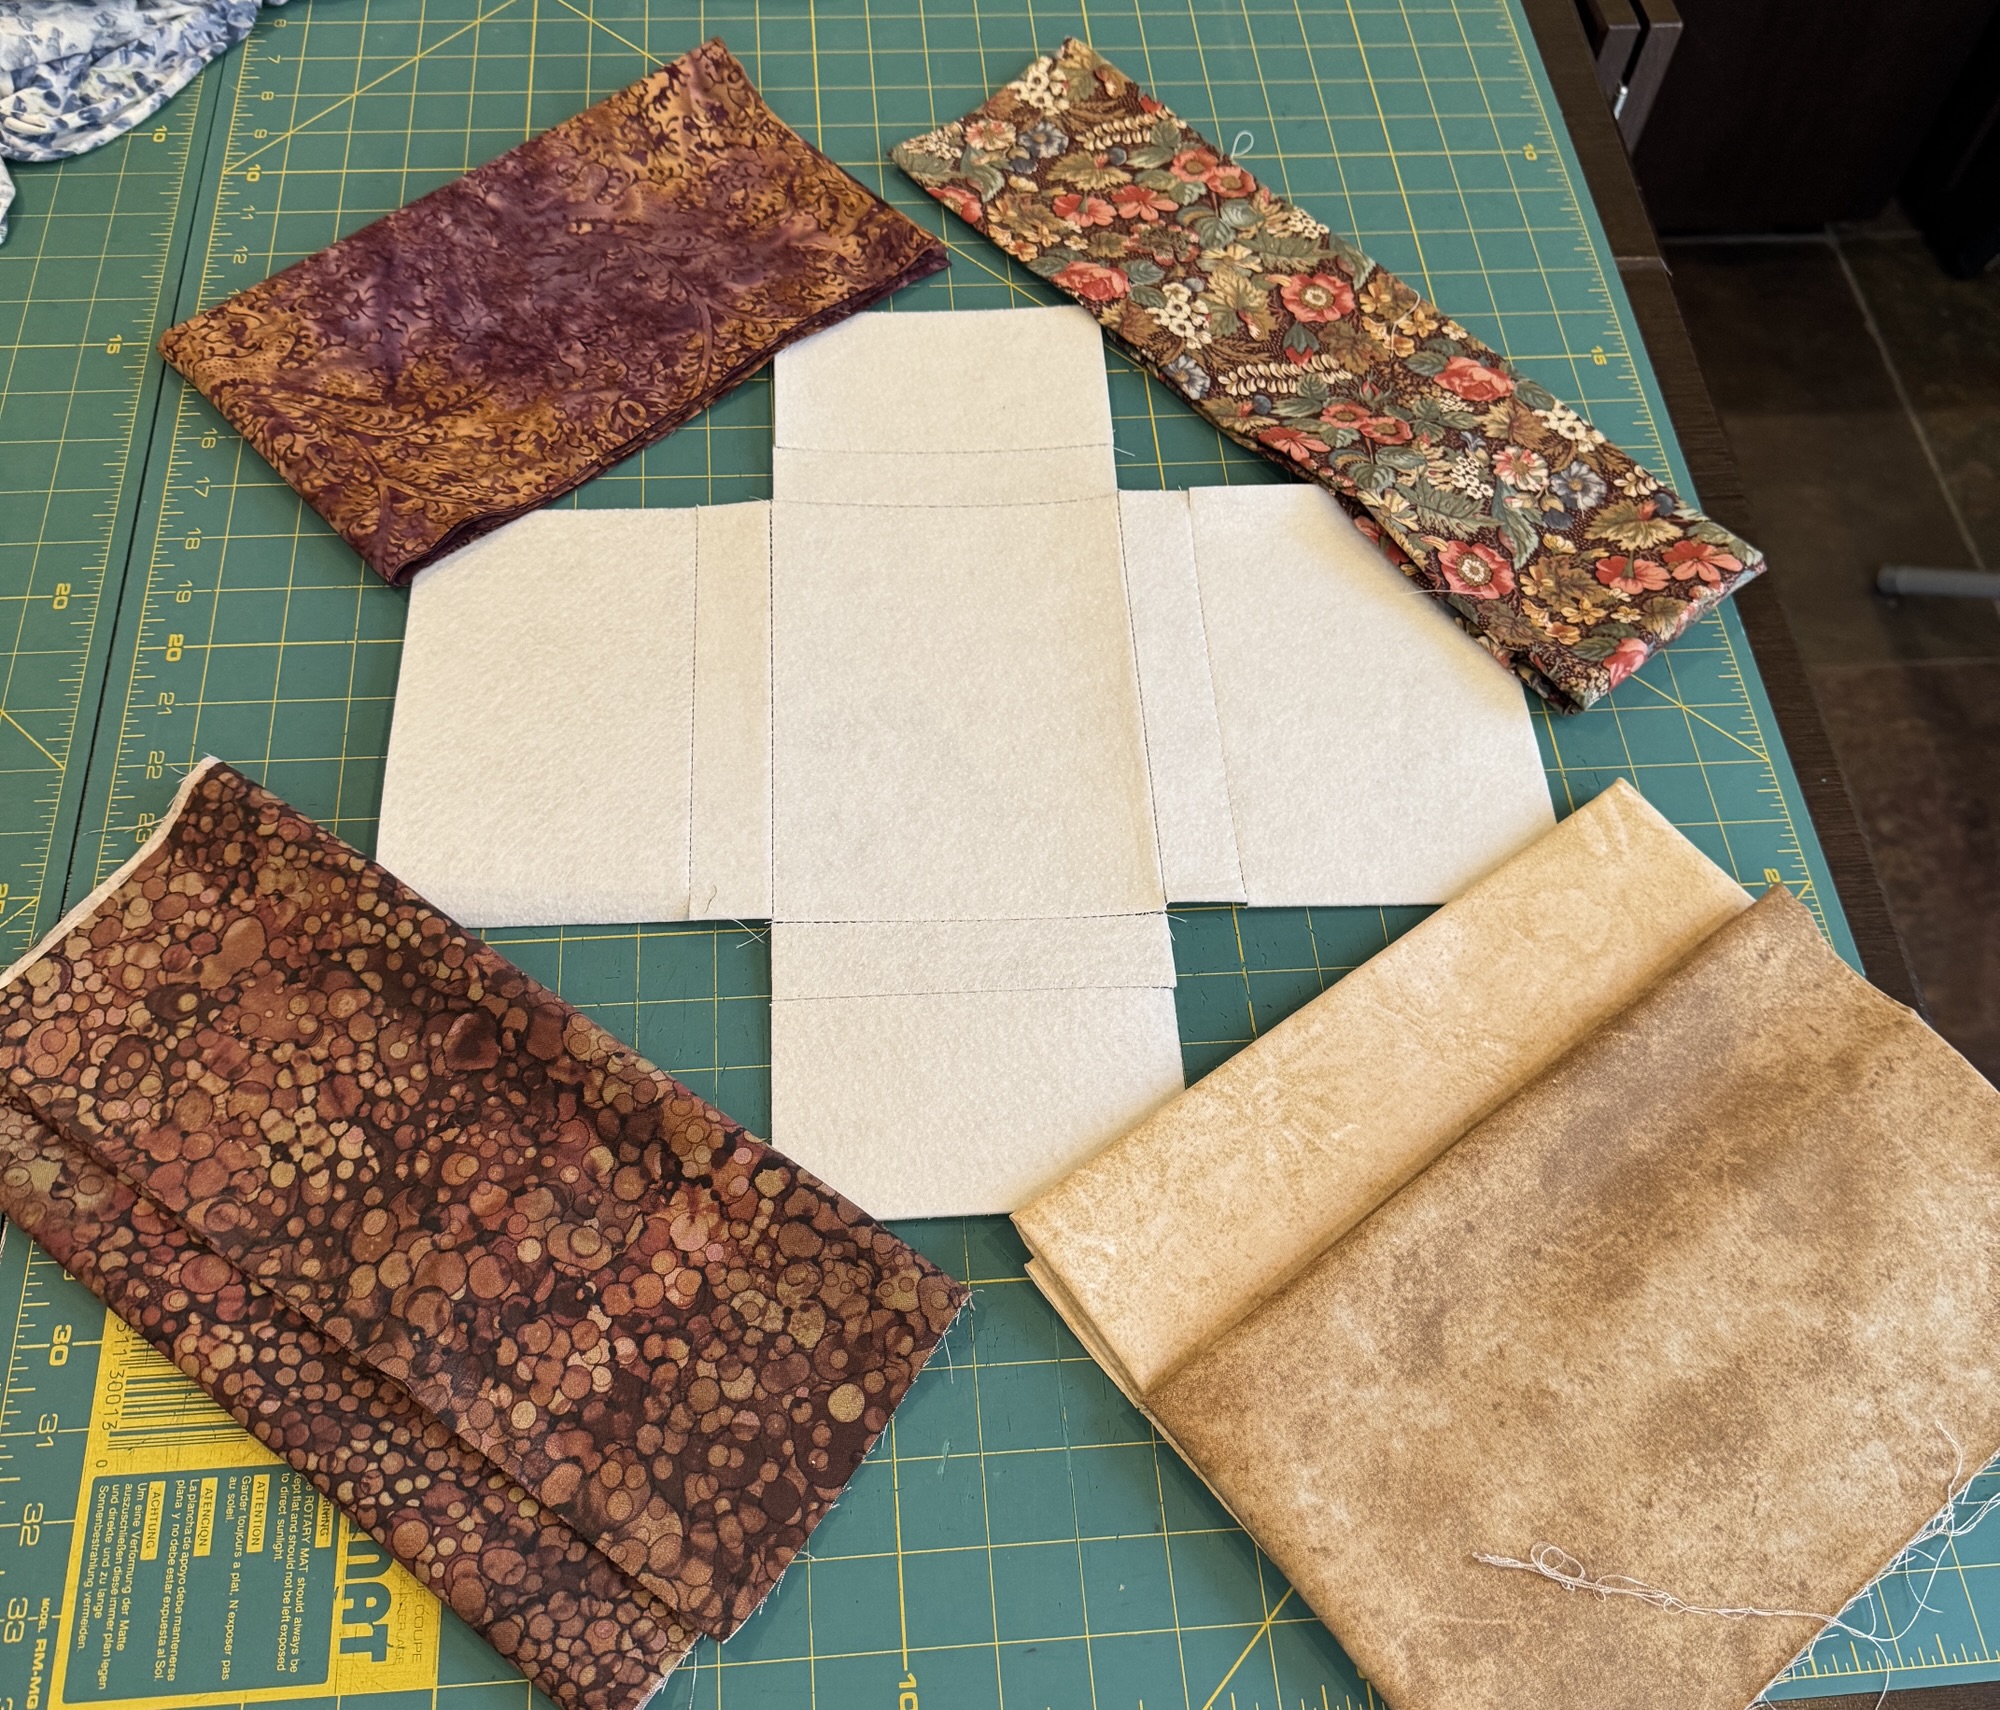
Here’s another one in progress. The inner support is finished and I’m auditioning fabrics. This one is for 5″ x 7″ sheets:
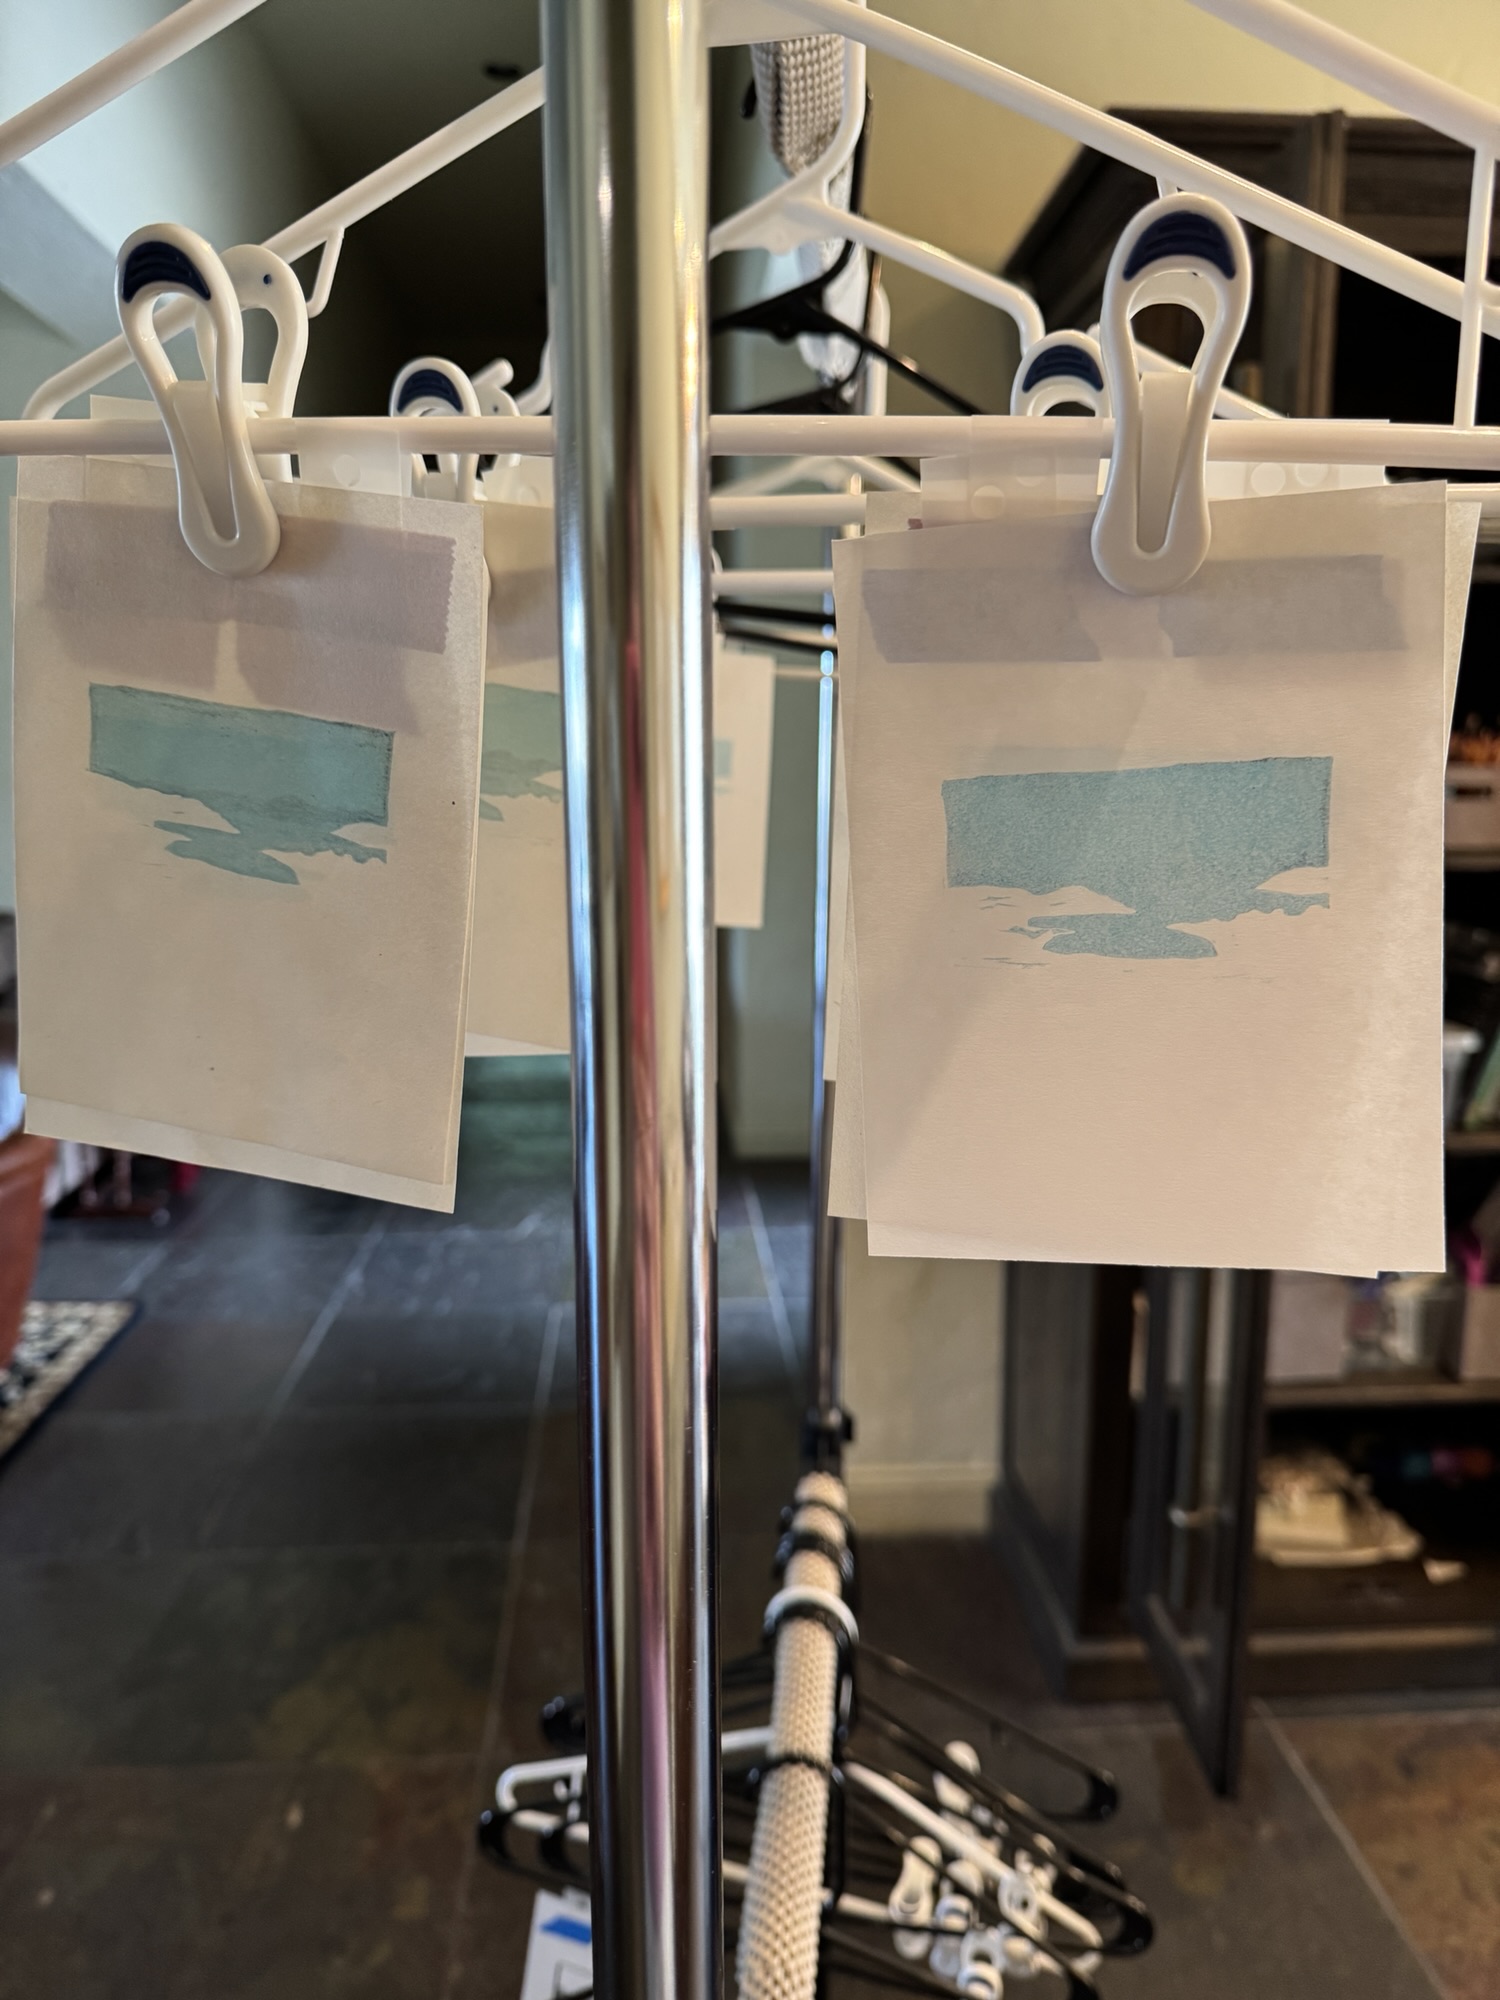
Moving forward on the latest printmaking project today. This is the first color run of Foothill Lake. I titled it that because I can’t remember what lake it is exactly, but I think it’s the San Luis Reservoir on the way to the coast along S.R. 152. In any case, the photo is so old I have a print of it. I stopped printing photos 15-20 years ago so it’s no wonder I can’t remember where I was when I took this particular photo. Then again, it may NOT be that lake because we usually would not stop to take photos on this drive we’ve done multiple times each way every year for going on 50 years. Going there, we’re in a tearing hurry to get to the beach so we can start relaxing. Coming home, we’re barn sour. And if you’ve ever ridden a wily horse with more experience on trail rides than you have, you know what “barn sour” means. So this print is going to stay generically titled as “Foothill Lake.”
Yes, I’m aware of the ghosting of the hills on some of the prints. I forgot to wash off the water-based ink I used to off-print the key block to the color separation blocks. Oops. This should not be a problem at all because that’s exactly where the foothill shapes will be printed in the very last run. But after printing this block today I definitely went back and washed the other two blocks when I did cleanup.
People ask me why I’m doing this tedious, messy and chancy work. Well, I’ve always enjoyed process at least as much as end product. I don’t mind the tedium of planning, carving, mixing and rolling out ink, inking blocks, setting up the paper, etc. It’s the same with other activities I enjoy like knitting, embroidery, drawing, sewing, etc. And yes, I know I can tell an AI bot that I want an image made from any photograph that looks like a linoleum block print and it would be finished in 3 seconds. Where is the fun in that?
Here’s the plan for placement of all the colors:
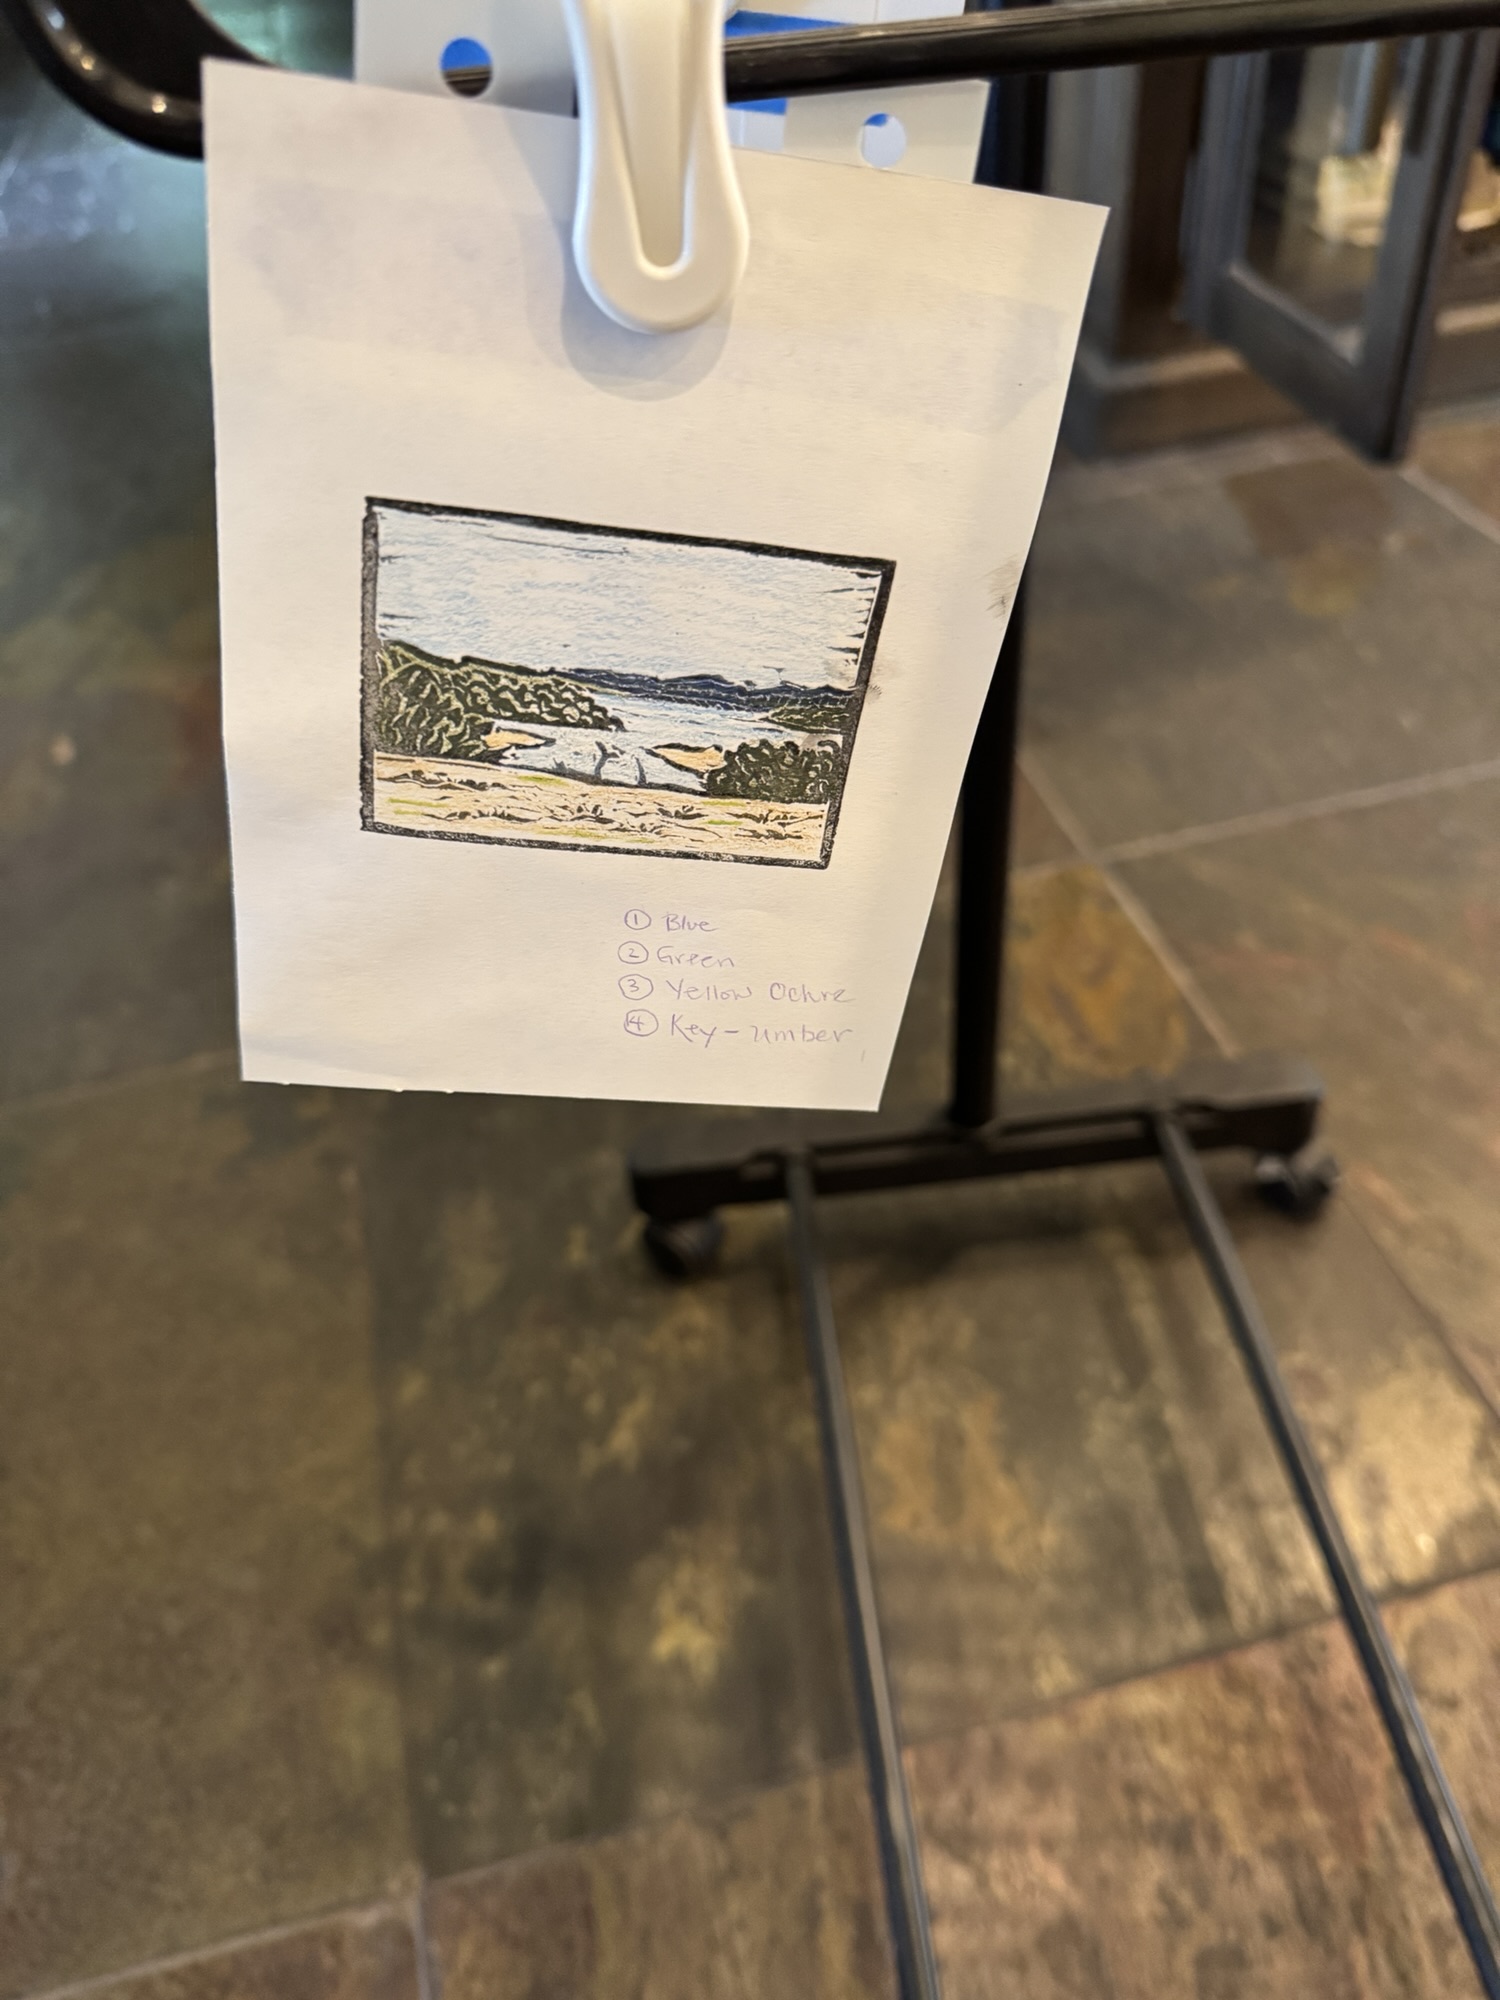
Mockup colored with colored pencils. Actual ink colors will be very different. Nature of the beasts.
I’ve long wanted a printmaking press but always felt it was a bridge too far in the art supply/equipment acquisition department. They are big, they are heavy, they are fussy and I just don’t do enough printing to justify one.
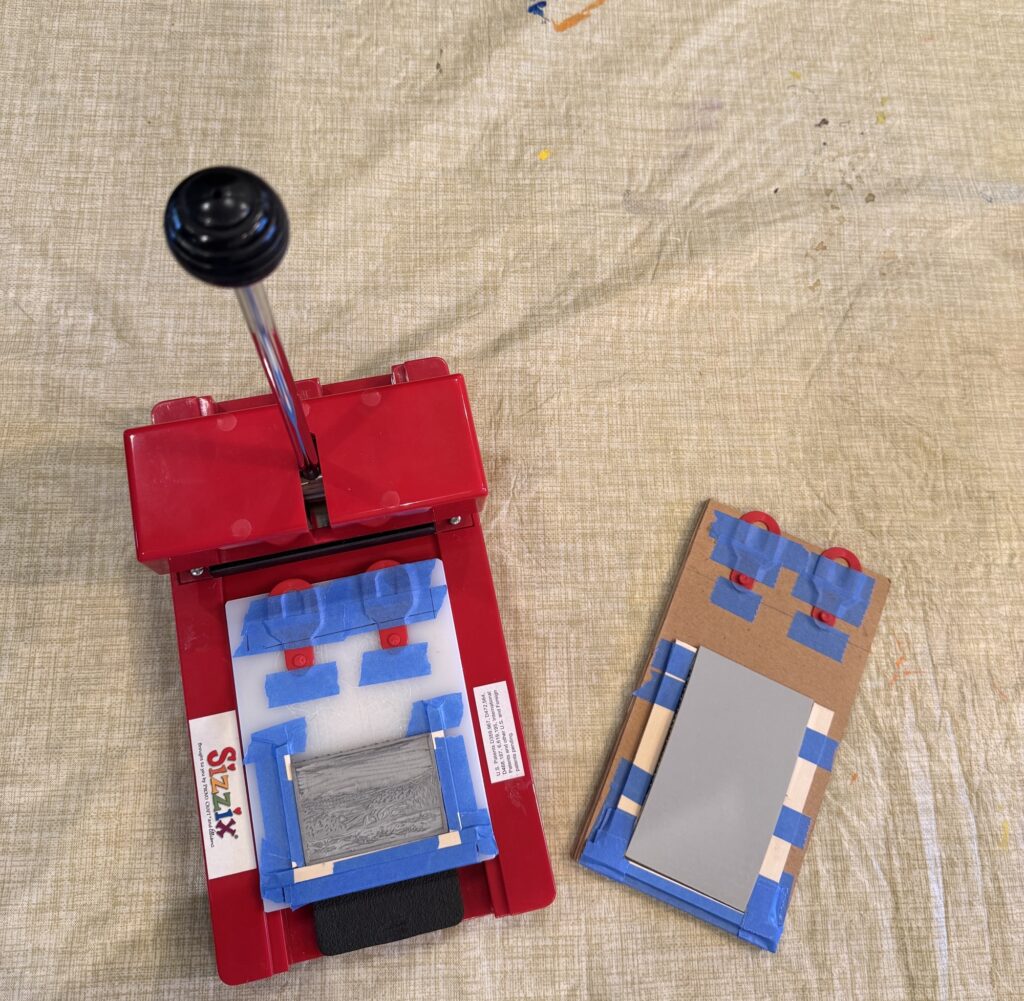
However, one day as I was pondering my lack of a press for linoleum block printing, it occurred to me that the old Sizzix die-cutting machine I bought for Laura in her scrapbook phase that was still lurking in one of my art supply storage units might work as a tiny printing press. Several times I’d thought I should get rid of it, but somehow I just couldn’t. Meantime, I’d seen online hacks of old credit card imprint machines to make small linoleum block prints and that was cool, but those machines are hard to find and there’s quite a bit of adjustment required to make them work. Plus the size limitations are pretty extreme. Would the Sizzix machine work?
Well the answer is yes.
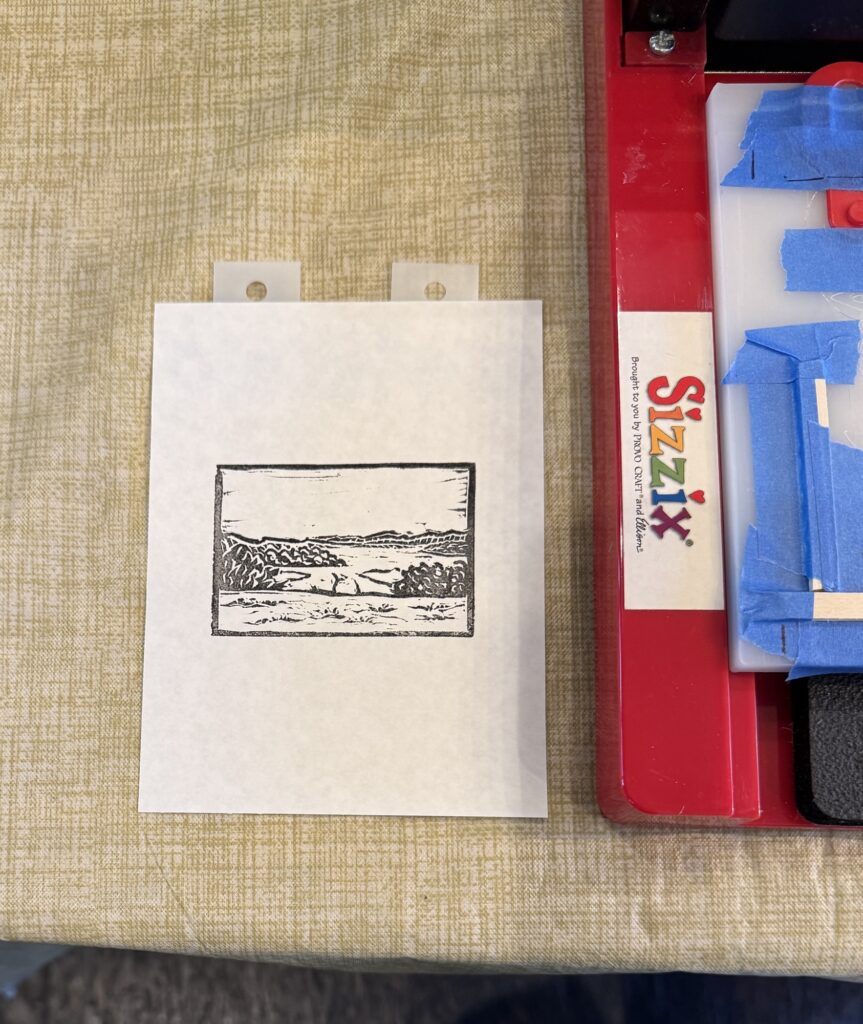
This is the second 2” x 3” landscape I’ve printed. Next I want to try 3” x 5” and those are really the outside dimensions that this little press can manage, but I’ll be on the lookout for other obsolete die cutting machines that might provide a larger printing area. Still, I think this will remain my favorite for its ease of use and the fact that you don’t have to roll the plate through the press and run the risk of things shifting.
I am also now inspired to finish my 3” x 3” letter series. I can print those blocks in this press as well.
Here’s the setup:
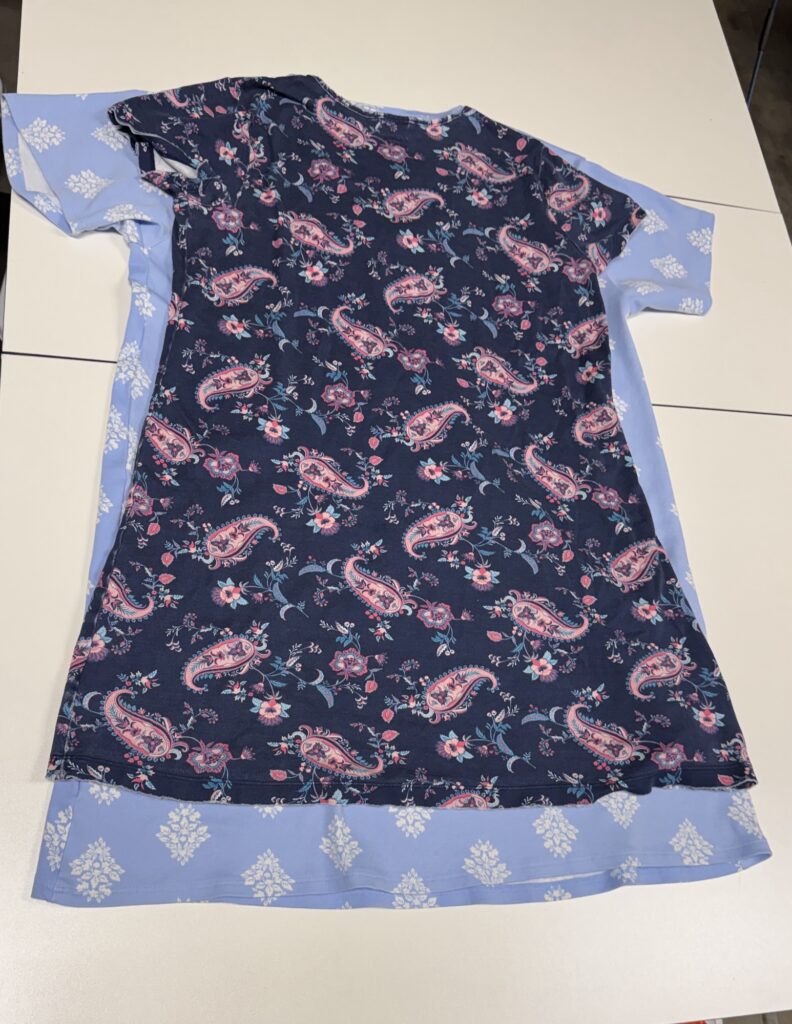
Well this is a HUGE reason. These 2 nightgowns, purchased several years apart, are both from Land’s End and both are a size medium. I bought the new light blue one because I liked the navy blue paisley one so well. It fit just the way I like my nightgowns to fit and was made of lovely pima cotton. The new one is easily 2 sizes larger than the old one while still claiming to be a “medium.” No amount of laundering is ever going to make that bigger gown approach the proportions of the original.
I make a lot of my own clothing, but until recently I didn’t make lingerie or nightgowns. First I had to capitulate on wireless bras (couldn’t find one to fit in any store so yes, I now make my own) and now, possibly, nightgowns. Luckily, I’ve got the equipment, the fabric, the pattern and the notions. I’ll be on the lookout for the time.
As in “old habits die hard.” On my current sewing project, pins don’t work with the fabric so I’m using these wonderful Mini Wonder Clips instead and they have their happy little home right next to my pincushion. I turned to look at the end of sewing a seam and found a pile of the Wonder Clips right where I placed them after removal, without thinking, without looking, just sewing along on autopilot.
Yeah, not exactly where they belong, but close:
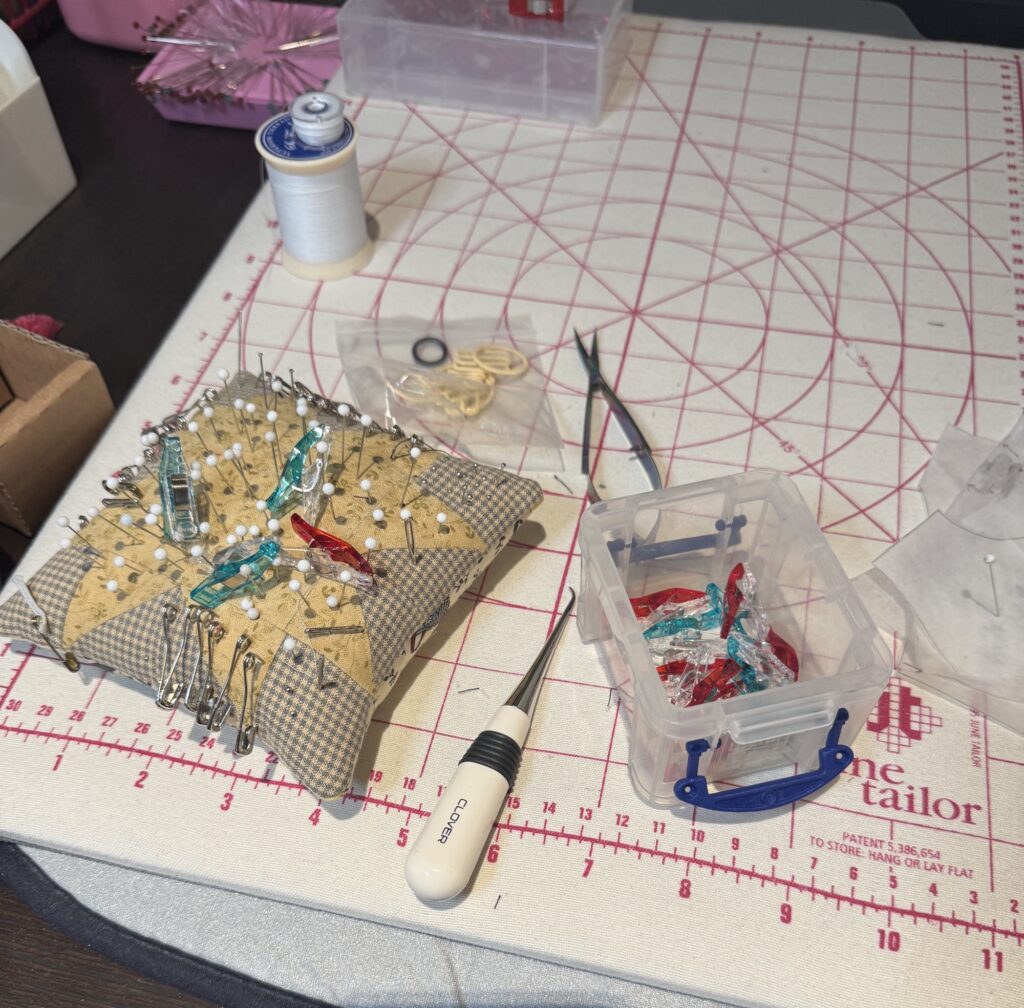
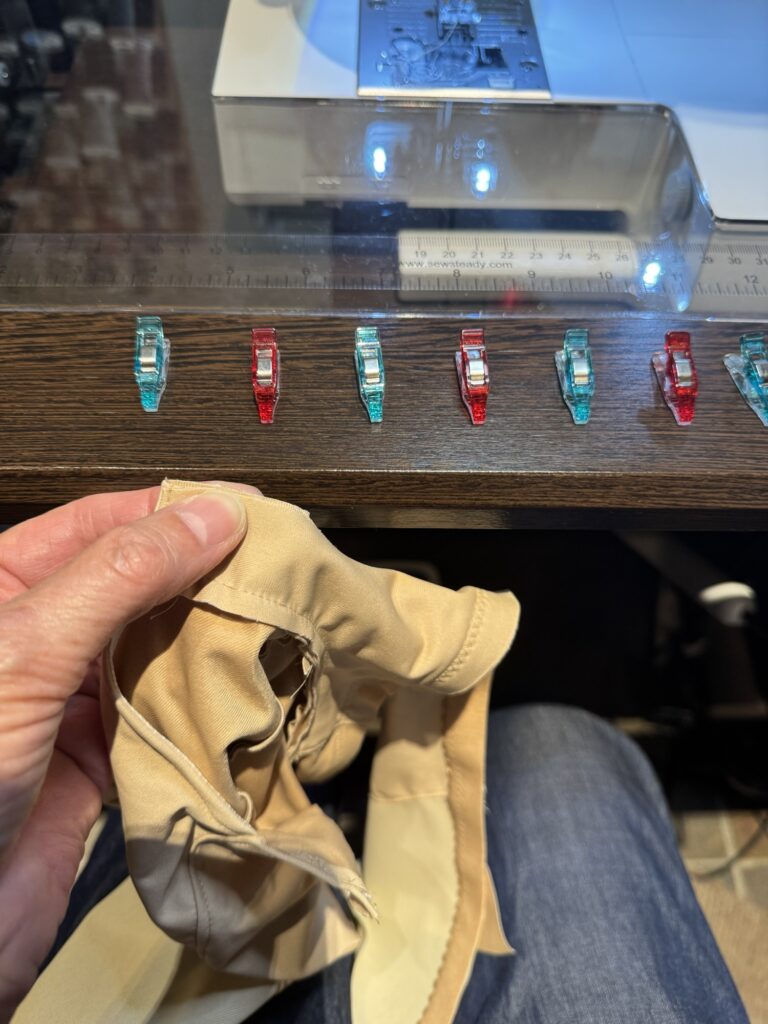
Incidentally, because these clips don’t naturally stand at the ready like pins in a pincushion, I find it’s helpful to stage them like this before use:
And even though they are mostly made of plastic, when I drop them I can still use my handy extending magnetic pin retriever to retrieve them from the floor due to the steel in their little springs:
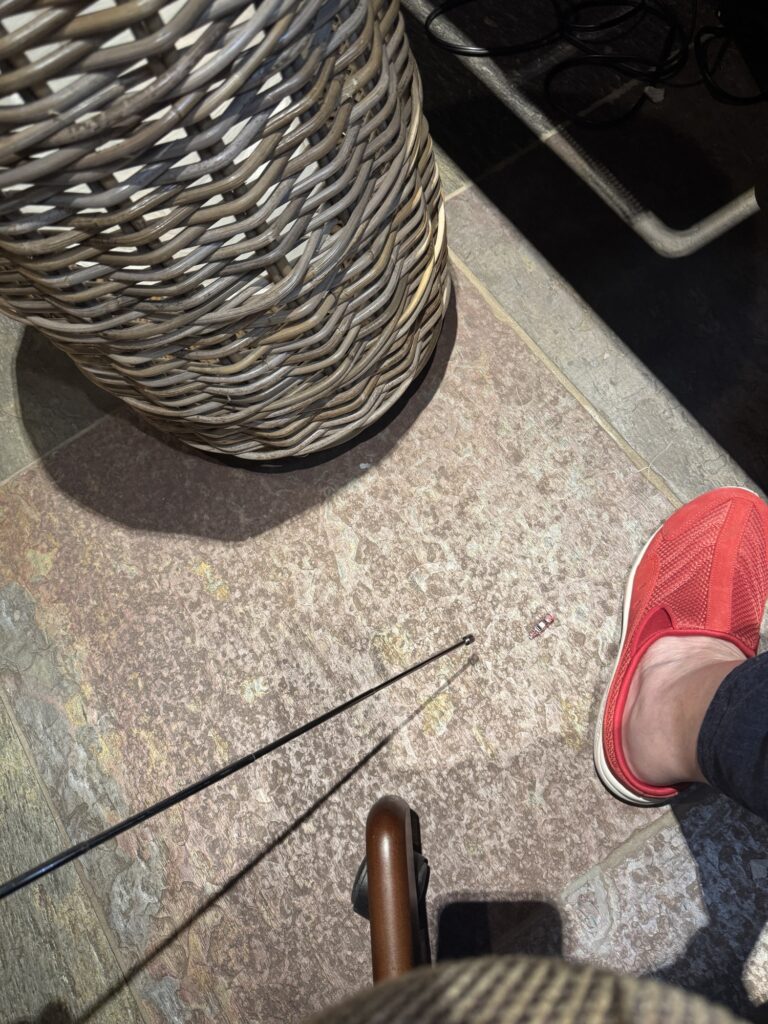
You notice it’s when and not if I drop them. Every sewing enthusiast needs one of these telescoping magnets for retrieving errant pins, needles, machine screws, bobbins, etc.
Ooh, and if you happened to notice that little bent awl from Clover in the first photo above, there’s another fine sewing gadget you could live without, but once you have it, you will think you just can’t live without it and will order up a spare just in case it wanders…like my thoughts.
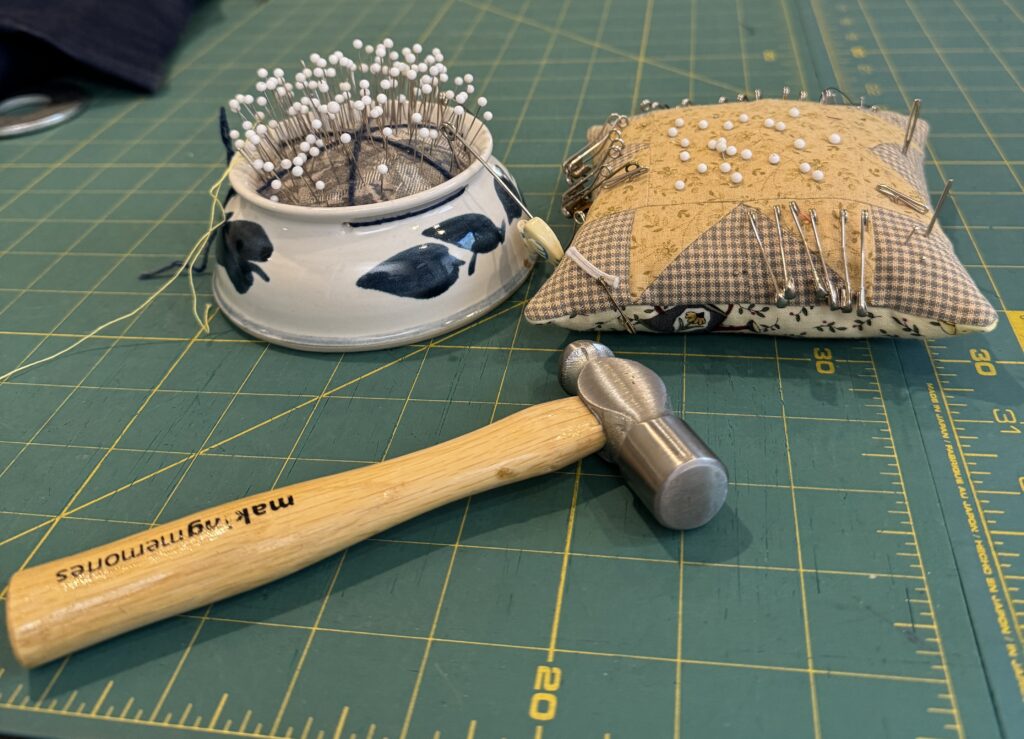
They all do it. When children come in to my sewing room, they all manage to find a way to push the pins in at least one pincushion all the way down. If they are really focused and diligent, they can manage to do it on all the pincushions in sight (I have many) and true adepts will find a pincushion with pins that have colored heads and create a pattern while pushing the pins all the way down.
Here you see the pincushion on the left rectified and ready for work; the pins are now all quickly and easily grasped for use, but when I came in to sew this morning every single one was flush against the surface of that cushion. The pincushion on the right has had the “kid-in-the-sewing-room” treatment left in place. No, the hammer is not there to threaten little pin-pushing fingers, but to hammer thick and bulky seams for easier sewing, a very good trick. Alas, I know of no trick to stop kids from pushing pins as far as they will go into a pincushion. I just take a little time to re-stage the pins, make sure no needles disappeared inside the cushion and then go back to sewing. It’s a small price to pay for having such engaging company while I’m sewing, although I think the culprit this time either snuck in on his own or was visiting with my cousin while she was here sewing and I was otherwise occupied.
Funny Story:
I’ve been driving the cart and acting as sometime caddy for Logan this spring on the golf course so he can work a little more consistently on his golf game. We’ve had quite a few laughs and I do think his game is improving a bit.
Recently, we were on the course on a busy day playing our usual nine holes and unable to play through so we waited for several minutes on nearly every tee since Logan’s drives are now consistently in the 150-200 yard range. On one of those waits, a cart from the foursome in front of us scooted up to us and the gentleman driving commented on the fact that there was no reason for us to play through because the course was blocked up in front of him leaving us no way to get ahead. We had already observed this ourselves and were content to wait. We do enjoy each other’s company, so no worries there, but it was nice of the unknown cart driver to let us know. However, the next exchange with this gentleman in the cart was hilarious. He asked me if I was the new female pro at the club. Oh my, oh my, nothing could be further from the truth. Logan and I have been having a field day with my sudden promotion from cart-driving granny to golf pro! Cue up the laugh track. Gary says it’s because I dress professionally that people mistake me for a professional. Could be. Also could be the striding around the greens asking Logan, “How do you think this one will break?”
Incidentally, Logan made par on 2 holes, one 3-par and one 5-par. His overall scores are not showing the progress yet because he continues to have a few holes on every round with absurdly high scores for whatever reason, but he’s getting to the point where he knows he COULD shoot par on every hole, even the longest par 5’s. In my opinion as an amateur golf observer most of my life, that is real progress that can’t be denied even if it’s not showing on the scorecard yet.
Care for a lesson? In art, or sewing, or quilting, or knitting, or public speaking, or just about ANY discipline but sports? I’m a pro. Or at least I dress like one.
Last year we visited Calaveras Big Trees at the tag end of Dogwood Blossom Season and I took some reference photos intending to do a botanical drawing, but the size and graphic quality of blossoms and leaves really led me to attempt a color print. It’s taken me some time to get everything organized and the key block with the main image on it took forever to carve, but I’m finally into the printing phase and here is the first color run hanging on my makeshift drying rack, the blue background:
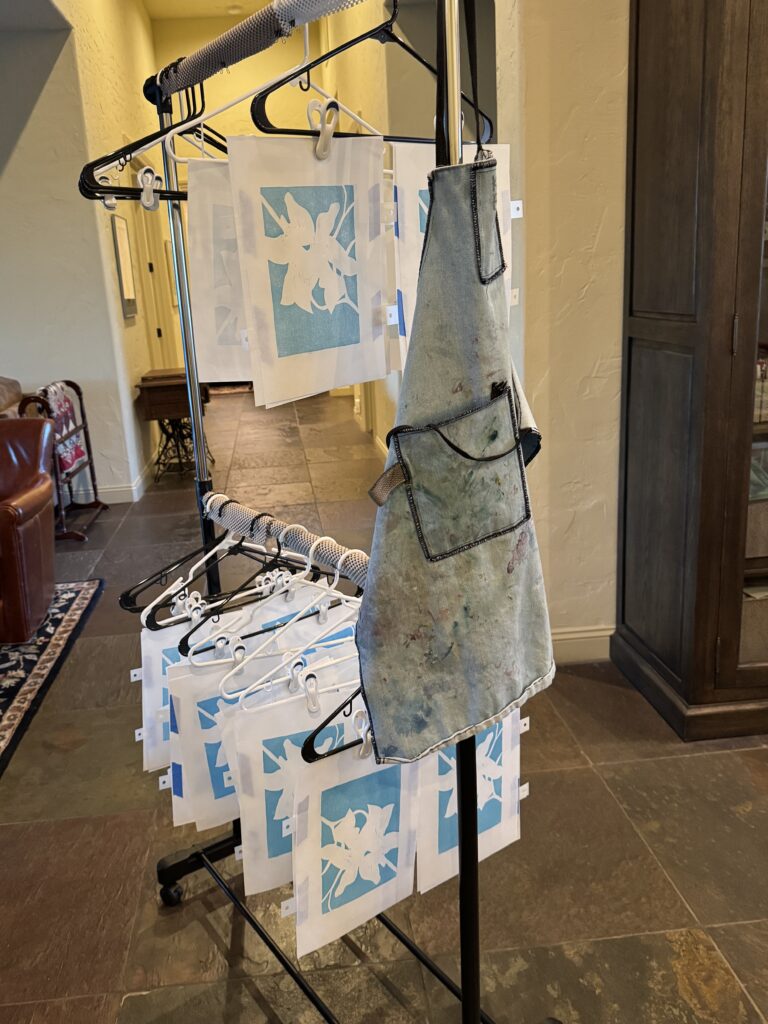
An aside: I’ve had that apron since college. It’s still going strong.
I hand printed all these in one afternoon. It was a LONG afternoon, but what an accomplishment as hand printing involves applying pressure to the back of the paper sitting on the inked block…30 times in this case. I wasn’t sure I could get it all done in one go and 30 does seem like my limit. With color it’s best to get an edition done in one day while the ink is fresh because you will never mix that same color again and it’s rare to use the color straight out of the tube. I settled on 30 for the initial run hoping in the end to get an edition of between 10 and 20 prints total. Things happen in the printing process and some prints are not acceptible so in each color run, you lose a print or 2.
In designing a print like this, the easiest way to get white blossoms to show up on white paper is to put something behind them so thus the blue sky background. Next block I will print is the yellow of the leaf veins and center, which is carved and proofed and ready to print when I find a long morning or afternoon free. Next will be the block with the green leaves, which I mostly finished carving today and hope to proof some time this week:
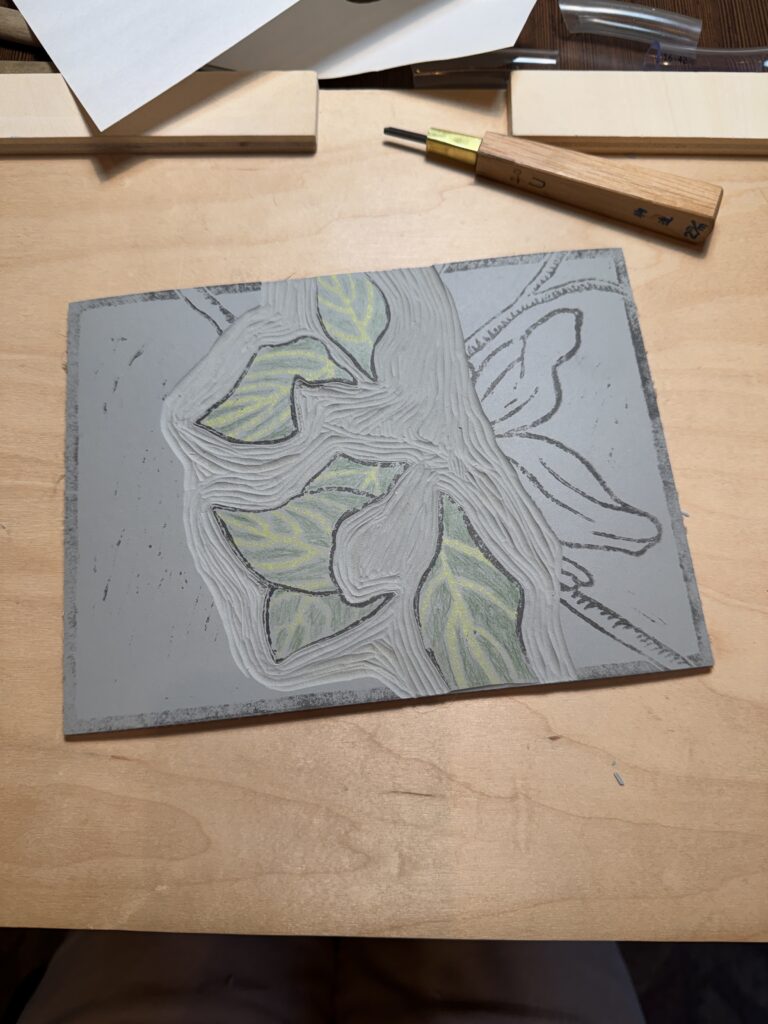
Essentially, you carve away everything from your block that you don’t want to accept ink and imprint on to the paper. The black lines you can see remaining on this leaf block were printed back onto a blank block from the key block. The key block is the block that has all the line work of the image and while it is printed on to the paper last, to bring the image into focus, it is carved first in the design working order and then off-printed back on to same-sized blocks, one for each color in the design. This allows you to carve the blocks so that the colors will be exactly where they need to be. This is to be a 6-color run. Really it was planned as 5 colors but due to a design error in the key block I made more work for myself and I now have to carve one more block to be printed last over everything. Both of those will be the same color, dark sepia that reads as black but is not quite as harsh.
It’s a process. And you don’t really know if it’s any good until the end. The suspense is the best part.
As the latest Style Arc Stacie Jacket heads toward completion I’ve had to drag out all of my pressing aids (which, of course, I just put away when I recently tidied the sewing room) and use them to get the finish I want on the wool blend fabric. Nothing takes pressing like wool. Here’s a rundown on the tools:
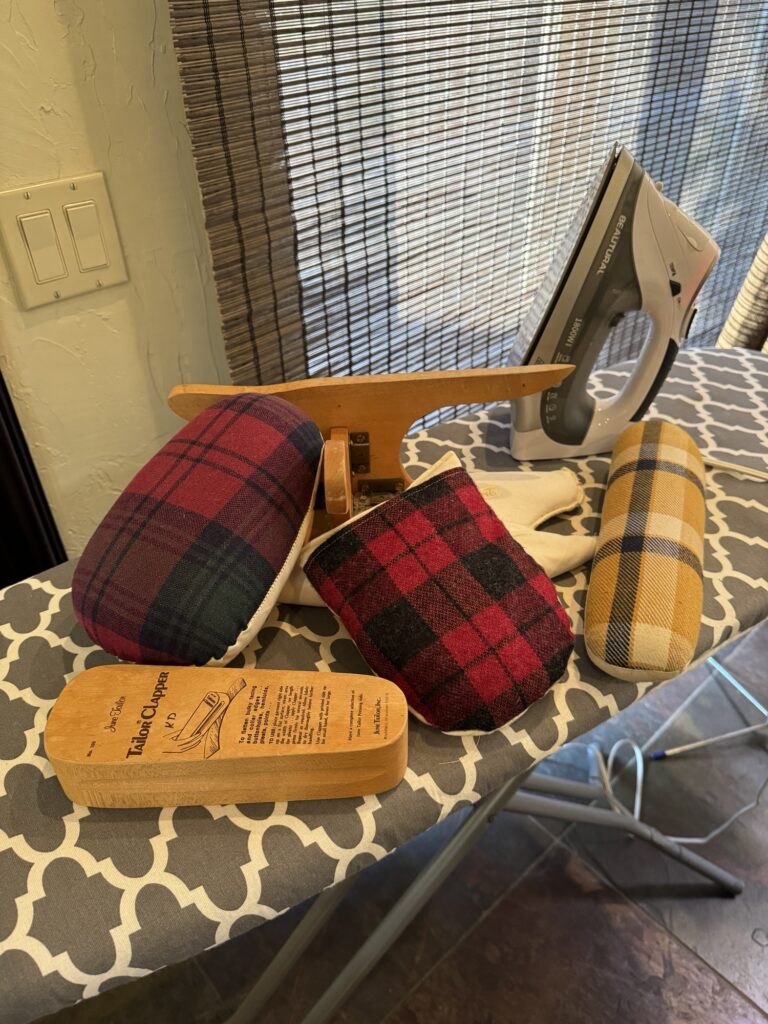
Of course there’s the iron. Everything starts with heat and steam. Then there’s the June Tailor Board with the point presser, handy for opening seams, but I didn’t do much of that on this project as I mostly serged the seam allowances together and topstitched them rather than opening them. Then there’s the sleeve roll that allows you to press wrinkles out of a sleeve without pressing in a crease like you would on a shirt sleeve, the tailor’s ham that makes pressing a collar prior to stitching it in place a breeze, the pressing mitt that I use for pressing sleeve heads and the tailor clapper. I think the clapper is my favorite of all the tools. Nothing sets a press like using the clapper. I rarely finish a garment without dragging out the clapper. Any old ironing board will do, but be sure to have a cover with a nice thick pad under it so you don’t press in strange patterns from the holes they put in the (usually) steel base of the board to let out the steam. I’ve got 2 covers on my board. I like cotton covers best.
I once took a tailoring class and the teacher told us all that if you saw someone you thought was good at sewing what you were REALLY seeing was someone who was good at pressing. And pressing is not the same as ironing at all. It’s just what it says, pressing. So it goes like this:
Pressing MATTERS! As I hope you’ll see when I post about the finished jacket in a few days. I still have hems, buttons and buttonholes to add.