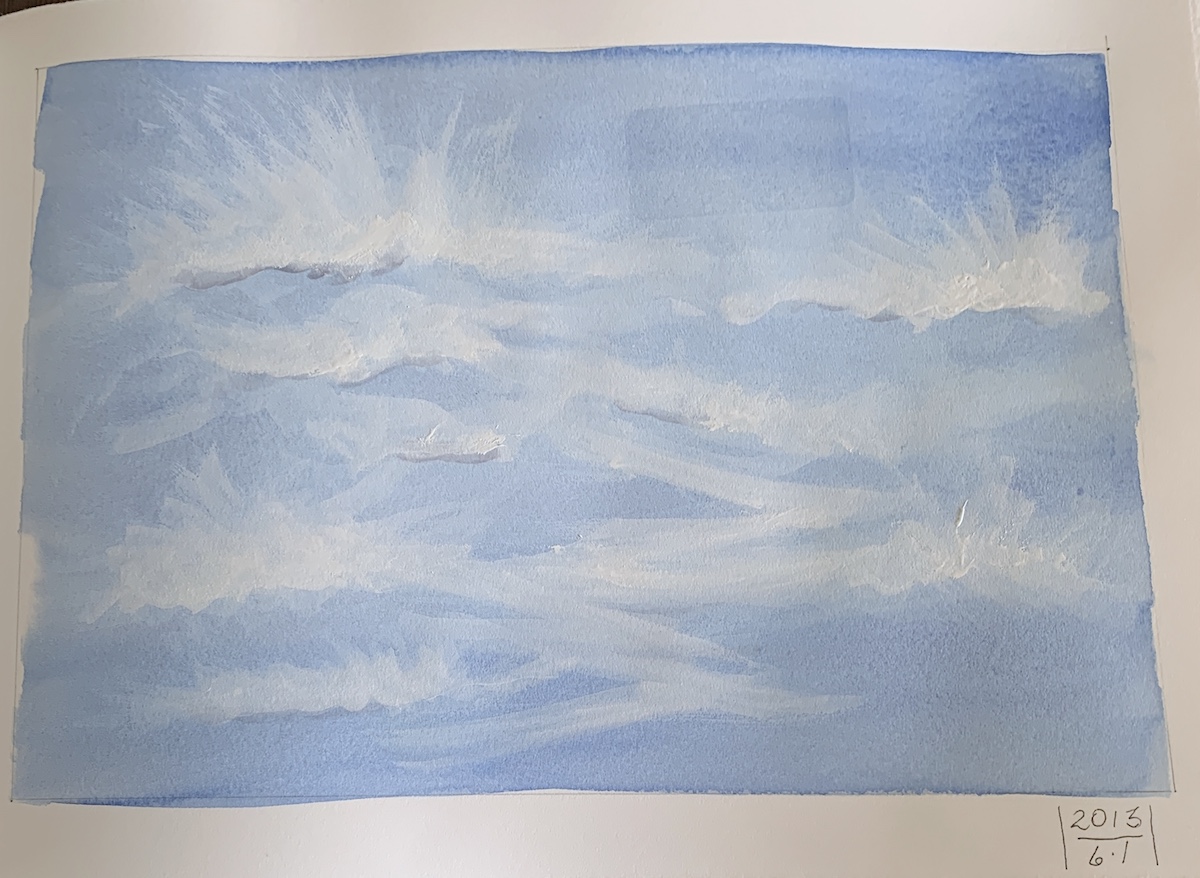
Last year we visited Calaveras Big Trees at the tag end of Dogwood Blossom Season and I took some reference photos intending to do a botanical drawing, but the size and graphic quality of blossoms and leaves really led me to attempt a color print. It’s taken me some time to get everything organized and the key block with the main image on it took forever to carve, but I’m finally into the printing phase and here is the first color run hanging on my makeshift drying rack, the blue background:
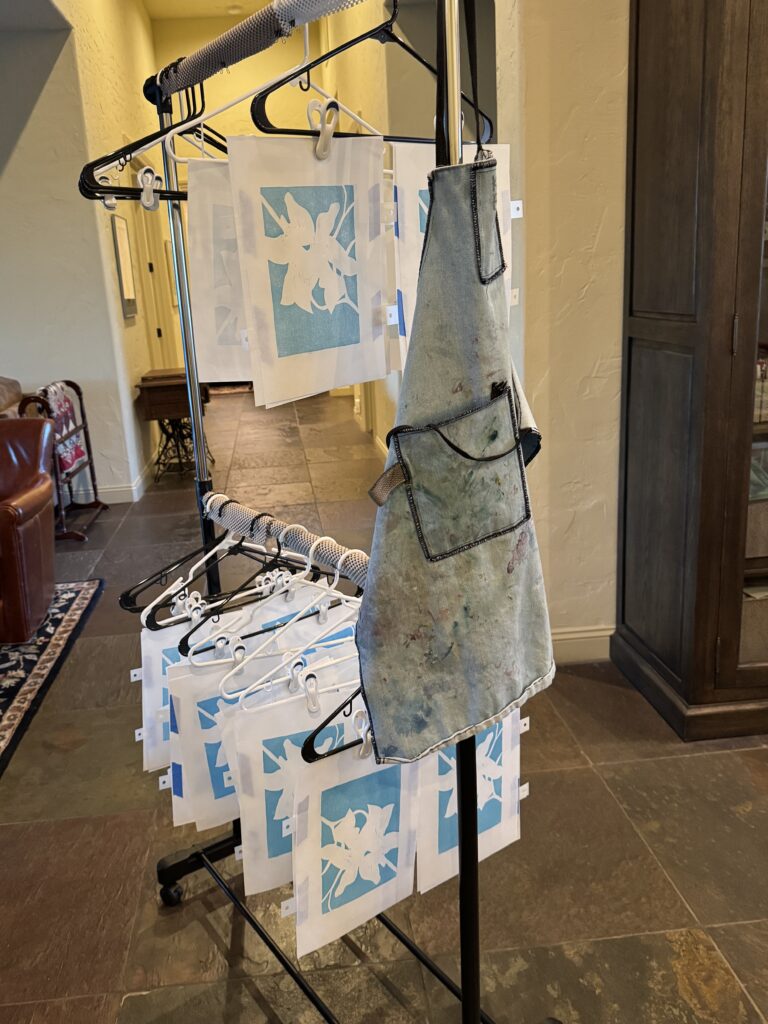
An aside: I’ve had that apron since college. It’s still going strong.
I hand printed all these in one afternoon. It was a LONG afternoon, but what an accomplishment as hand printing involves applying pressure to the back of the paper sitting on the inked block…30 times in this case. I wasn’t sure I could get it all done in one go and 30 does seem like my limit. With color it’s best to get an edition done in one day while the ink is fresh because you will never mix that same color again and it’s rare to use the color straight out of the tube. I settled on 30 for the initial run hoping in the end to get an edition of between 10 and 20 prints total. Things happen in the printing process and some prints are not acceptible so in each color run, you lose a print or 2.
In designing a print like this, the easiest way to get white blossoms to show up on white paper is to put something behind them so thus the blue sky background. Next block I will print is the yellow of the leaf veins and center, which is carved and proofed and ready to print when I find a long morning or afternoon free. Next will be the block with the green leaves, which I mostly finished carving today and hope to proof some time this week:
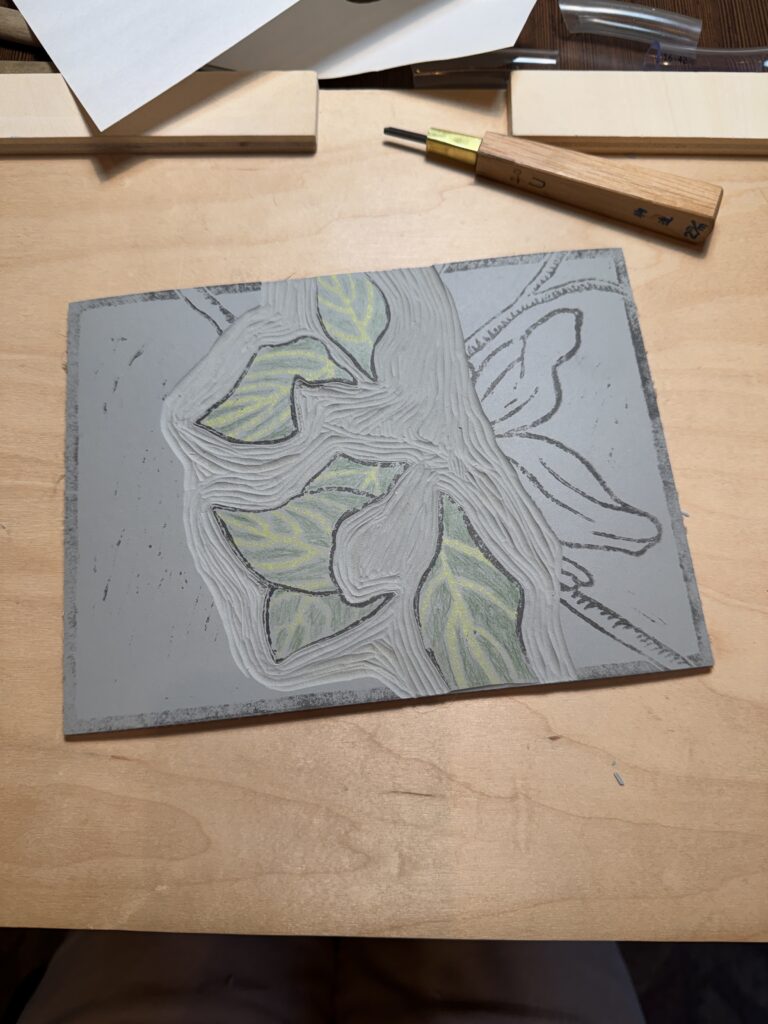
Essentially, you carve away everything from your block that you don’t want to accept ink and imprint on to the paper. The black lines you can see remaining on this leaf block were printed back onto a blank block from the key block. The key block is the block that has all the line work of the image and while it is printed on to the paper last, to bring the image into focus, it is carved first in the design working order and then off-printed back on to same-sized blocks, one for each color in the design. This allows you to carve the blocks so that the colors will be exactly where they need to be. This is to be a 6-color run. Really it was planned as 5 colors but due to a design error in the key block I made more work for myself and I now have to carve one more block to be printed last over everything. Both of those will be the same color, dark sepia that reads as black but is not quite as harsh.
It’s a process. And you don’t really know if it’s any good until the end. The suspense is the best part.
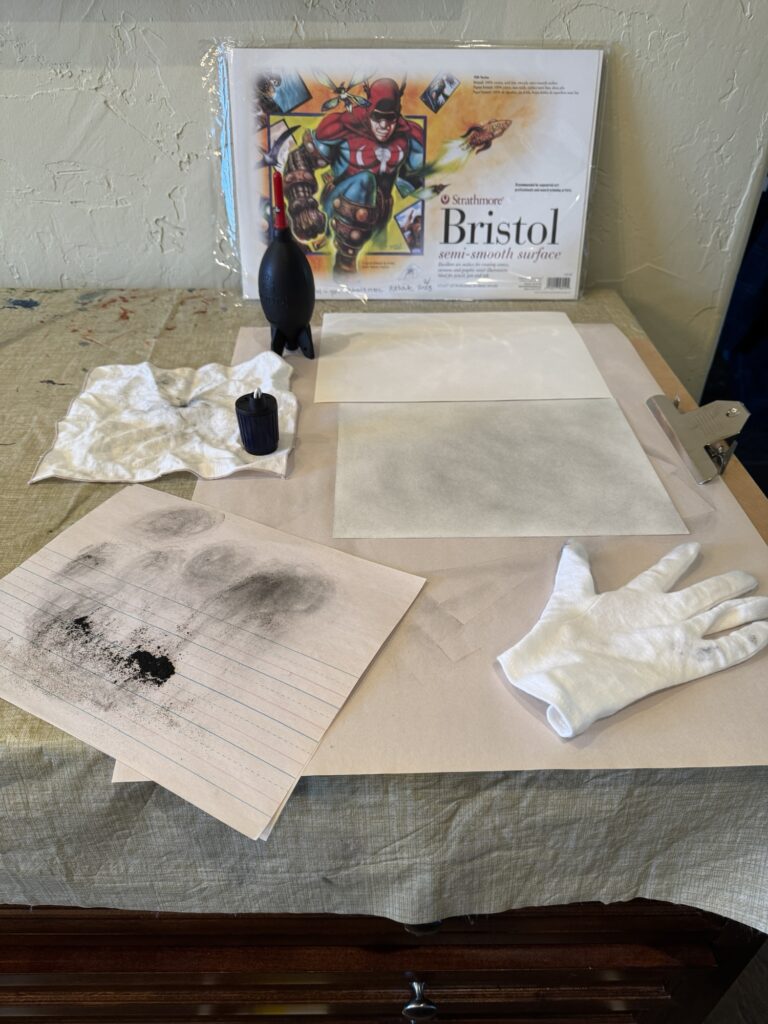


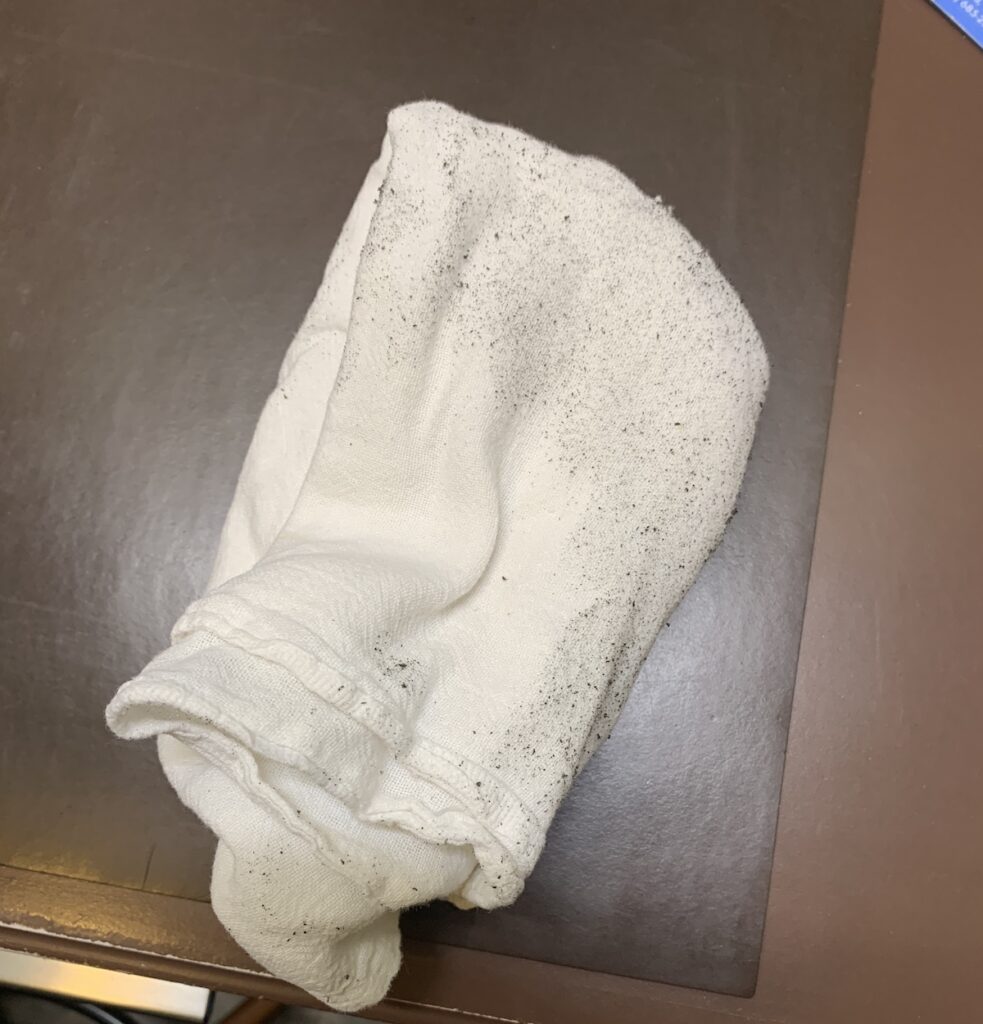
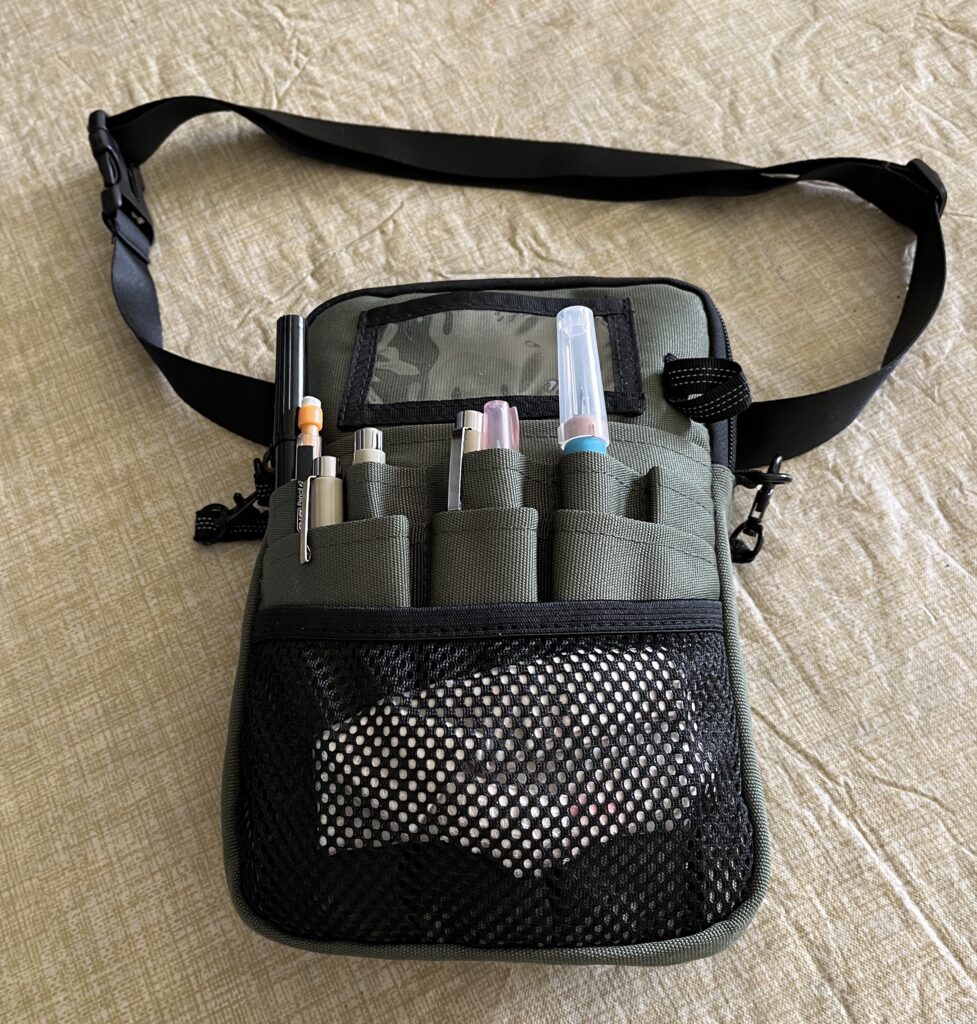
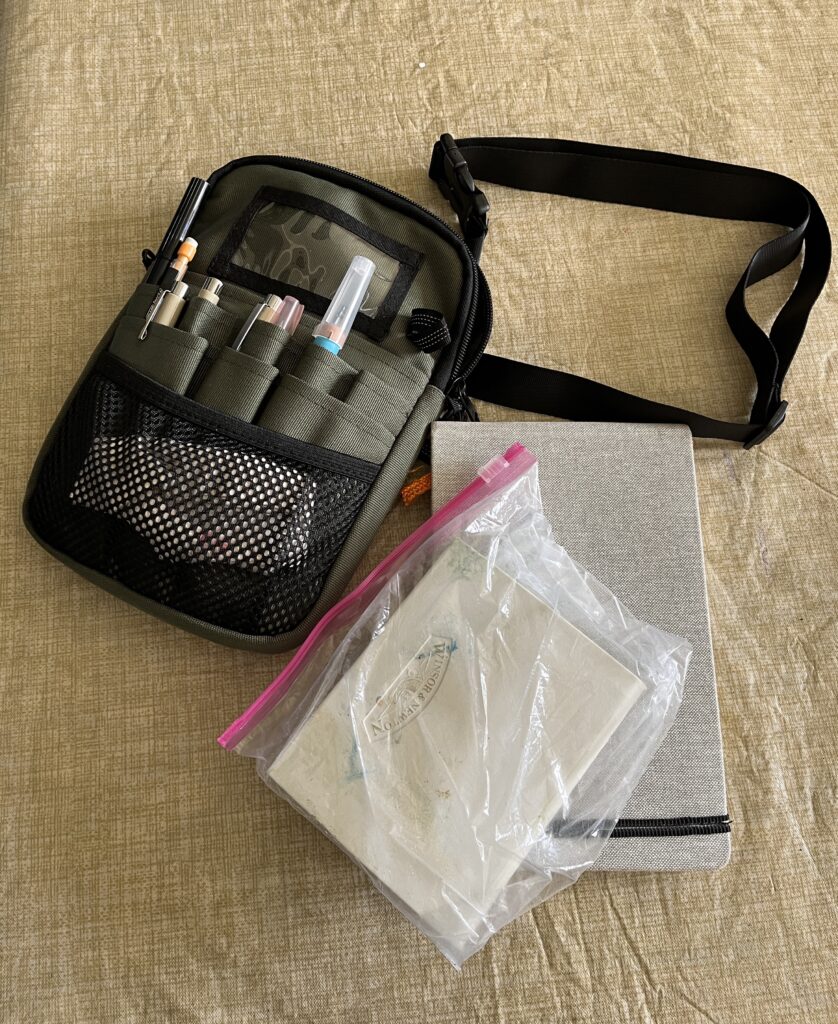
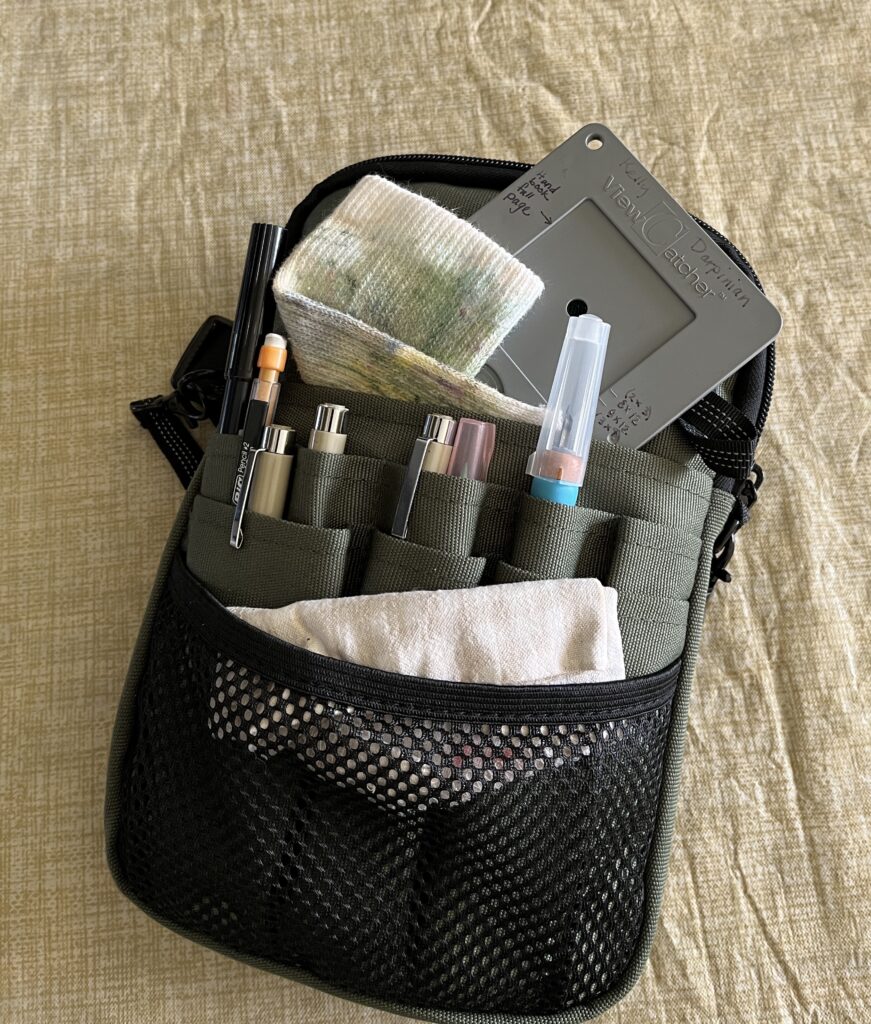
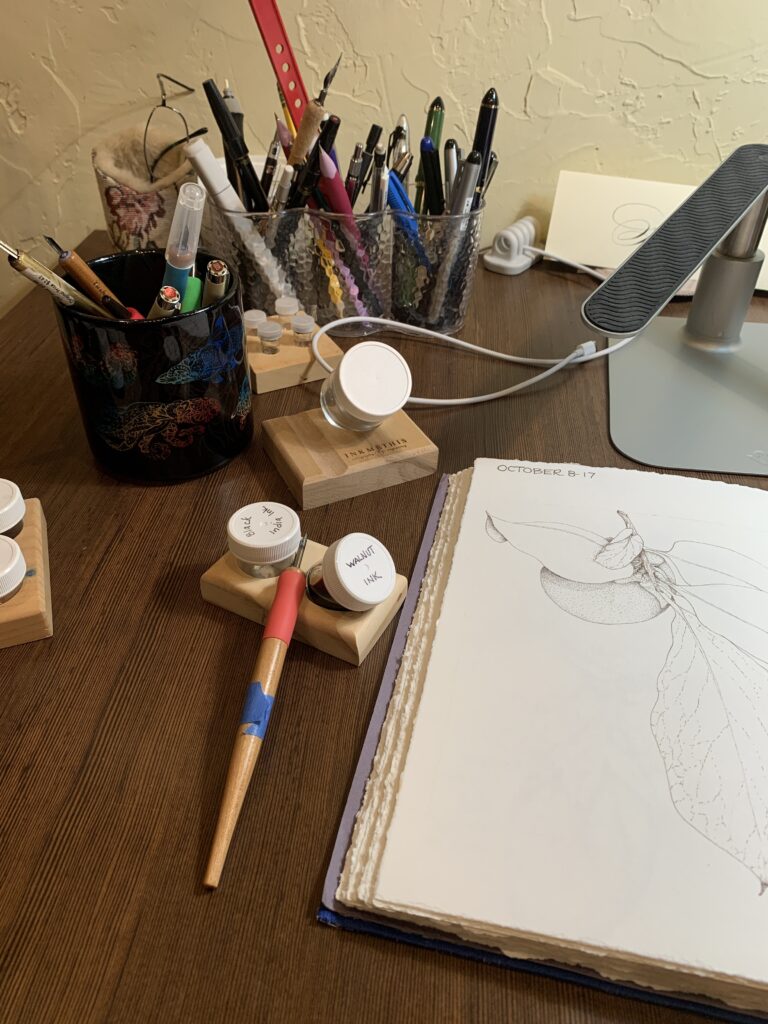
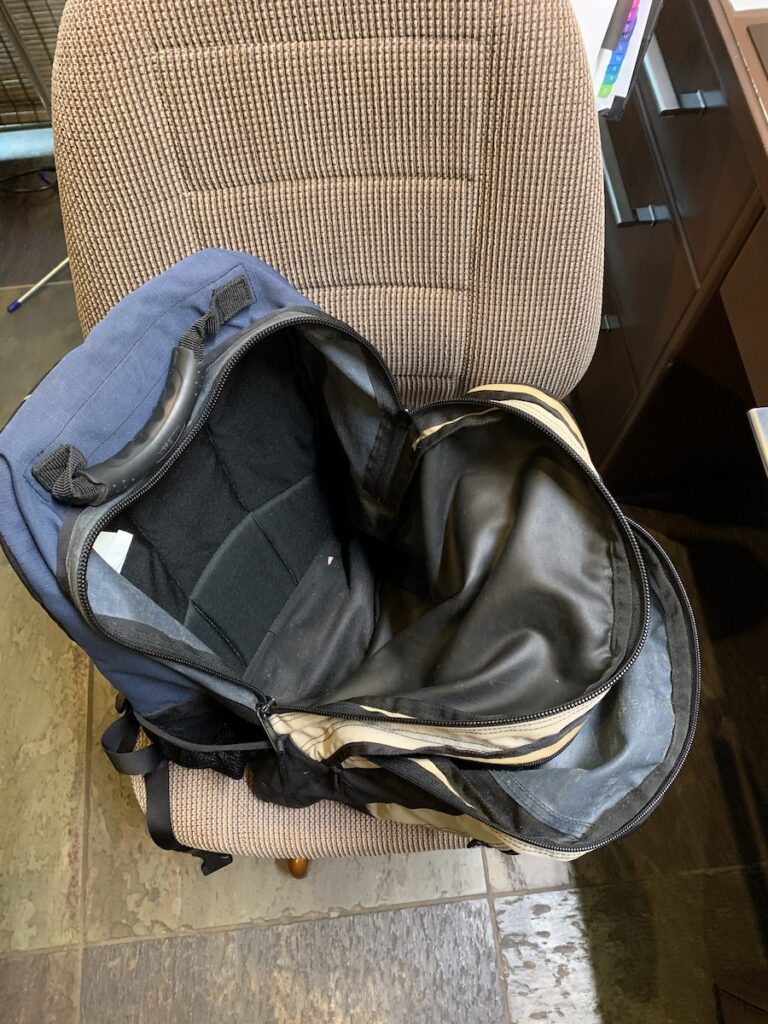 I’ve carried this pack for years and it is still quite serviceable. In fact, it looks almost new from the outside. When we travel, I use it to carry all of my art supplies and often games and books as well. It is capacious and the divided sections allow me to separate the books and journals from the supplies that might soil them. BUT, when I pulled out my journal after our last trip to the coast where I never got a chance to draw at all, I noticed there were black specks of something scattered throughout the journal on every page, some worse than others. I assumed a pencil sharpener had exploded or something similar and was so saddened by the dirt everywhere that I just set the book aside and moved on to another project.