To ink, or not to ink…

This month’s sketch was a response to the comments made at our recent Zoom meeting about artists not using this sketchbook exchange opportunity to experiment with tools, techniques, etc.

As with most of my sketches, I began with a rough pencil drawing which I then inked with an 005 micron pen. Then to add the color I used water soluble pencils. That’s the experimental part. I’ve used these pencils before, but not in quite this way and I like the result, especially on this cold press watercolor paper that doesn’t take straight colored pencil well because of the rough texture of the paper.

Now I’m just trying to decide if I should ink the lettering. I’m leaning toward not, to fit in with the rest of the artists in the book, although normally I would ink letters like this.

Below is a picture of the book to date. We only have 3 more illustrations to add: March, April and May, and then we look ahead to round 2. But everyone agreed a break would be nice so I’m thinking of starting the next one In January of 2024.

I can’t wait to get my book back at the end of May!

Minestrone, lots of it!

This is my most requested recipe.  I have codified it since my previous post and updated it since I had to double everything because you can’t get 8 oz. cans of Garbanzo and Kidney Beans anymore.  It makes enough to serve a very large crowd, or to freeze.  It freezes pretty well for a soup with potatoes in it, but when you reheat it, you have to make sure to keep stirring it as you reheat it or the tomato base will separate and be unsightly.  
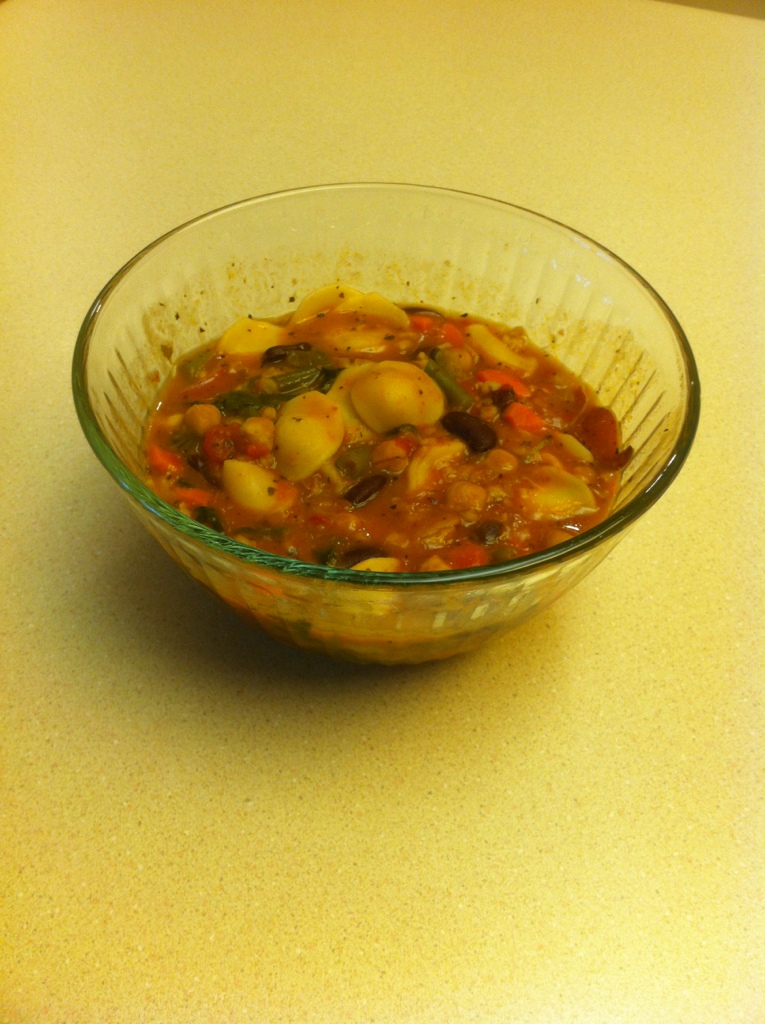
 

Minestrone Soup


Base Ingredients:

1 onion, diced

1/4 c. olive oil

2 c. chopped celery

2-4 cloves garlic, chopped 

1 large can S&W ready-cut tomatoes (28 oz. size)

1 can tomato sauce (15 oz. size)

1 can garbanzo beans (15.5 oz. size), undrained 

1  can kidney beans(15.25 oz size), undrained 

Seasonings:

salt to taste (3-4 tsp.)

dash pepper

6 bay leaves

2 tsp. oregano

1 Tbsp. dried basil

The Secret Ingredient:

 1/2 cup barley

Vegetables:

2-3 chopped carrots

8-10 small red potatoes, chopped into 1/2 inch pieces

1 1/2-2 cups green beans, fresh, cut or broken into 1/2 inch pieces or frozen cut green beans

Greens:

1/2 of a head of finely shredded green cabbage, or spinach, or any other green you prefer.  I use 2 of the regular 10 oz bags of spinach from the grocery store or an equivalent amount from Costco.

Pasta:

1 1-2 cup noodles of choice I prefer orrechiette or rotini 


The Method:

Sautè onion and celery in oil until soft and fragrant.  Add tomatoes, tomato sauce and canned beans, seasonings (I know that seems like a lot of salt, but it’s a LOT of soup; definitely adjust to your preference) and 4 quarts water and bring all to a boil.  Add barley and return to boil. Cover and simmer for approx. 1 hour.  Add chopped fresh vegetables (but not the greens yet!) and return to simmer. Cover and simmer soup until vegetables are thoroughly cooked, another 45 minutes.  Keep stirring periodically and adding water as needed during the cooking process.  15-20 mins. before serving soup, stir in spinach or other greens and return to simmer, then stir in raw pasta and cook at a slow boil until noodles are thoroughly done.  Stir and check frequently at this point as you may need to add water. Serve when noodles are cooked.  You can keep this soup on the back burner for quite a while and it just improves as the flavors meld.  This can resemble anything between a thick vegetable stew to a broth-based soup depending on the amount of water used.  You will also have to adjust the seasonings depending on the amount of water.  Keep in mind that the barley and the noodles will absorb water and salt like mad.  As you might guess, it’s even better the second day, reheated.

This is a good recipe to get 10 year-old boys (or vegephobes of any age really…) to eat their vegetables.  Especially if you offer it with freshly baked bread.  A little freshly grated Parmesan or Romano cheese on top doesn’t go amiss either.


Seams Great by Dritz

Seams Great is a product for encasing raw edges of fabric to prevent fraying.  It has sadly been discontinued, but there are some alternatives:

  1. You can make your own.  I’ve got some 15 denier nylon tricot fabric on order to do this.  All you have to do is make a continuous bias tape the width you want.  The original was 5/8 inch.  You’ll want to determine the direction of the curl so you can place seam allowances of the joins on the side you prefer.  The nylon curls so that the right (public) side is on the outside. There are many tutorials online describing how to make continuous bias tape.
  2. Buy a similar product from Farmhouse Fabrics, which is selling it as “Seam Finish.”  They are still offering it as of February 2023.
  3. Try to buy some on Etsy or Ebay, but as of February 2023, there was none available.
  4. Use an alternative seam binding product like rayon seam tape.  Not as easy to apply, but very pretty.  Wawak offers it in a slew of colors.

What makes the original stuff so great is that curl I mentioned in option 1.  As you apply it, you stretch it just a bit and it wants to curl right around the raw edge you are finishing.  It’s also extremely lightweight and doesn’t add bulk to the raw edge and is a very sheer light gray color so it doesn’t visually stand out. I could not find that gray color in 15 denier nylon anywhere so I settled for natural/cream.  It’s always so sad when a favorite crafting product or sewing notion is discontinued.

Plan ahead, or…

You’ll have to be really creative to solve the problems you create for yourself. Many, many moons ago I started this oak and berries appliqué quilt top. I did the appliqué on the center of the medallion style design. It’s easy to cut your fabric a little larger than you need it to be, then do your appliqué and after it’s done trim and true everything on a small block like this center piece.

So far, so good.

But then come the borders. And the design for the large appliqué border that comes next after the flying geese and solid borders cannot be done in pieces because the design travels across the corner miters. Without pausing to think beyond that insight, I sewed on those borders with mitered corners, traced the design on and started doing the appliqué. Then this started happening:

Hmmm, that’ll eat up a 1/4 inch seam allowance in a hurry and I’m only about 1/4 of the way through the appliqué work on this border.

Well now, this border pretty much has to be done this way. I suppose you could do it in pieces all except for the corners, then construct it, then finish off the corners, but that method has no appeal and I’m sure it would have presented equally thorny issues. So since we’re on this path, let’s go to the Internet and see what quilters recommend for stabilizing the raw edges of hand appliqué projects…

  • Starch: too messy and can discolor over time and attract pests.
  • Making the background bigger and trimming later is the standard advice but we already rejected that because of the design.
  • Folding the raw edges and basting them down; that idea has merit, but the raw edge is still somewhat exposed plus that fold is going to get abraded and dirty and will never press back out.

Well, the Internet wasn’t much help but, wait, wait, could I baste bias tape over the edges? Yes, now I’m thinking: do I have enough purchased bias tape on hand? It would be a little bulky on that edge. Hand basting it on would be a pain. But while I’m mulling this over, I may as well go look for bias tape. On the way to the bank of drawers that houses bias tape…Hah! Light bulb moment! I have a product in there designed to stop raw edges from fraying that is 100% reversible and can be quickly applied by machine. It’s called Seams Great. And it is!!!

This stuff is the ticket. I’m using the longest stitch my machine has and I’ve loosened the top tension a bit for easier removal later.

That problem is solved. Now how to stay motivated and finish this aged UFO. I’m in a finishing mood now, but tomorrow, who knows?