I was asked this question today. The short answer is, “I do!” Also Calligraphers and Cartoonists do, but I’m no Calligrapher or Cartoonist, just a backyard sketcher.
I think the natural follow-up question would be, “Why would you, then?” Well, and I think the Calligraphers and Cartoonists of the world would agree, my simple answer is that these tools produce marks that are noticeably different from marks you can make with other types of tools. Also, at least for me, using these pens is ergonomically better than using comparable modern pens. Because you have to stop and dip the pen periodically, you get a break from the constant repetition required to shade with the stippling technique I prefer. I can choose nib holders that are a better fit for my hand than the cylindrical barrels of the ubiquitous Micron Pigma pens and the flexible dip nib gives less resistance when you touch down to the paper, over and over and over, until your hand cramps if you don’t take breaks.
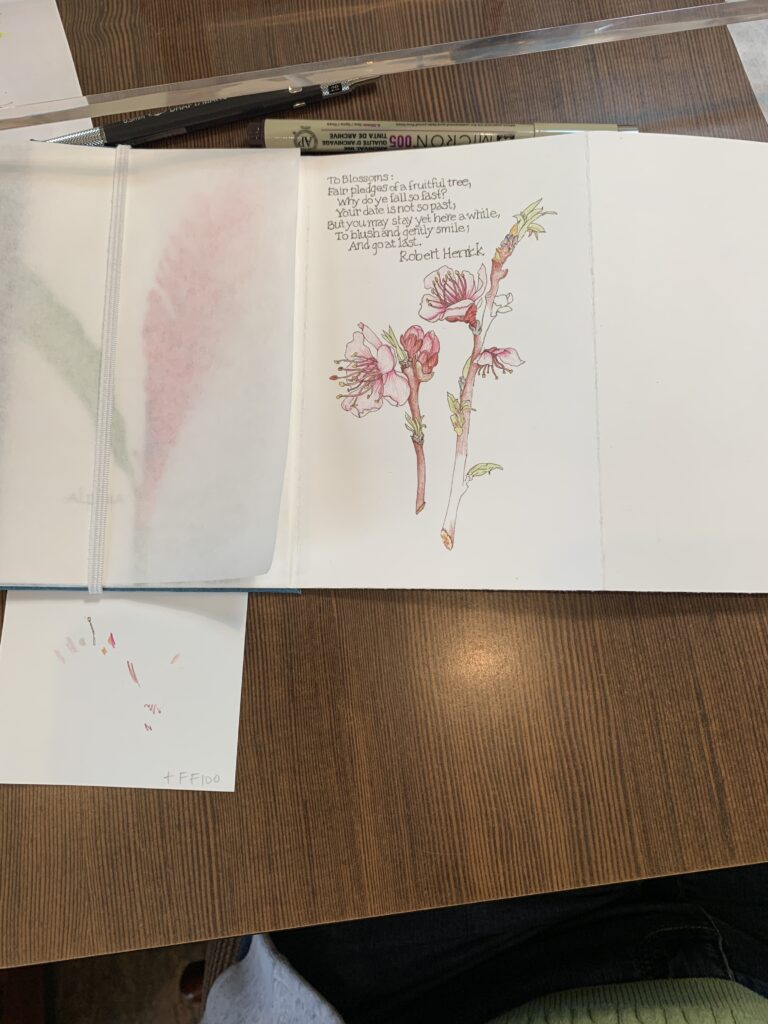
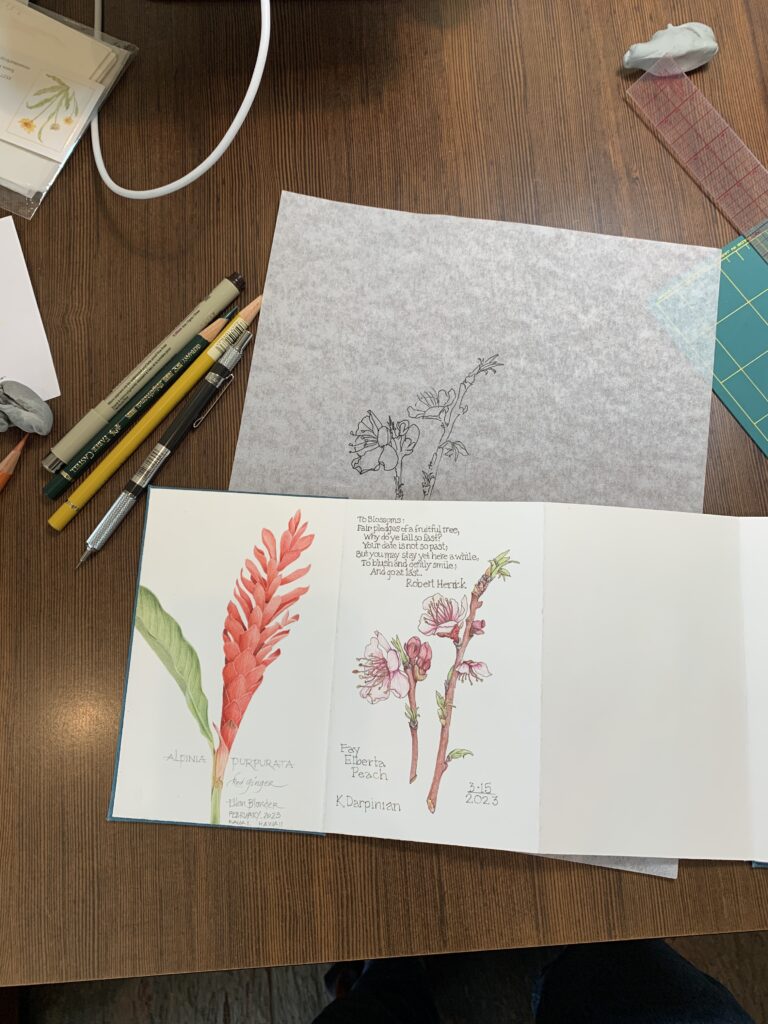
I’ve been enjoying my dip pens with Walnut Ink so much lately that I’m on a mission to make them a portable medium I can take on location. For years I’ve used microns in my journals for ink drawings and they have performed well, but the dip pens are calling.
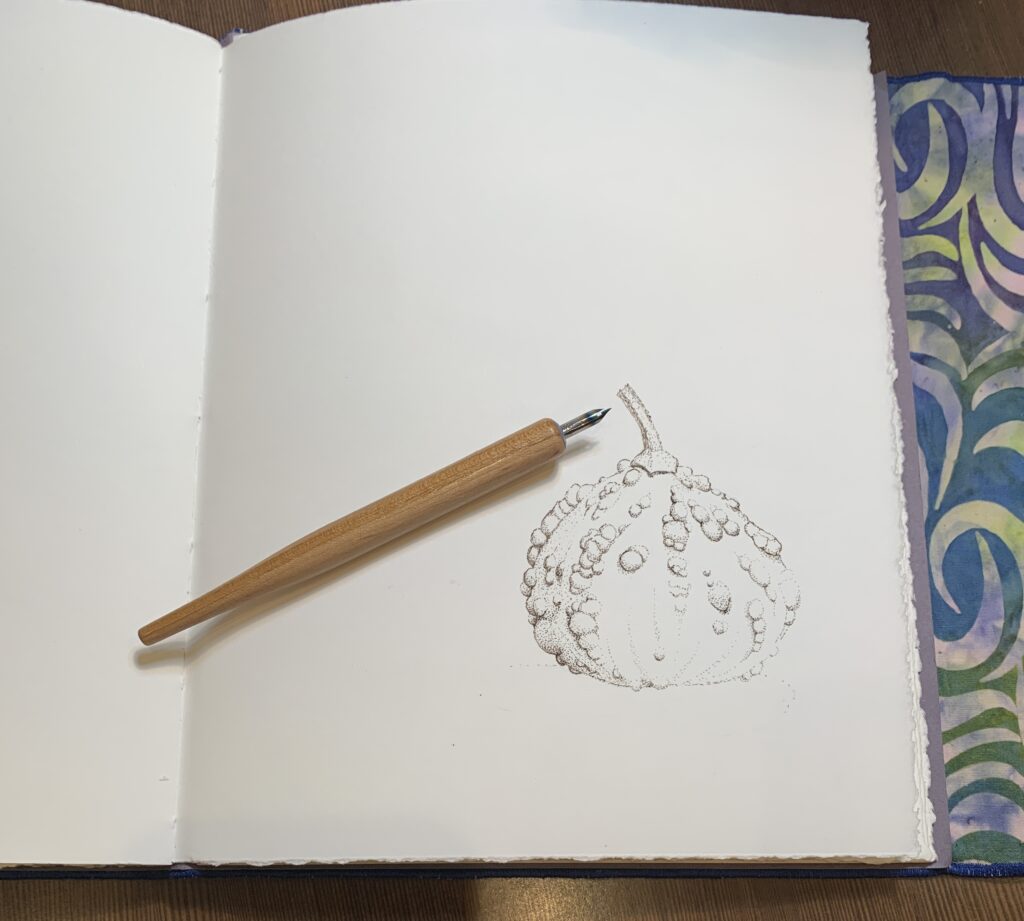
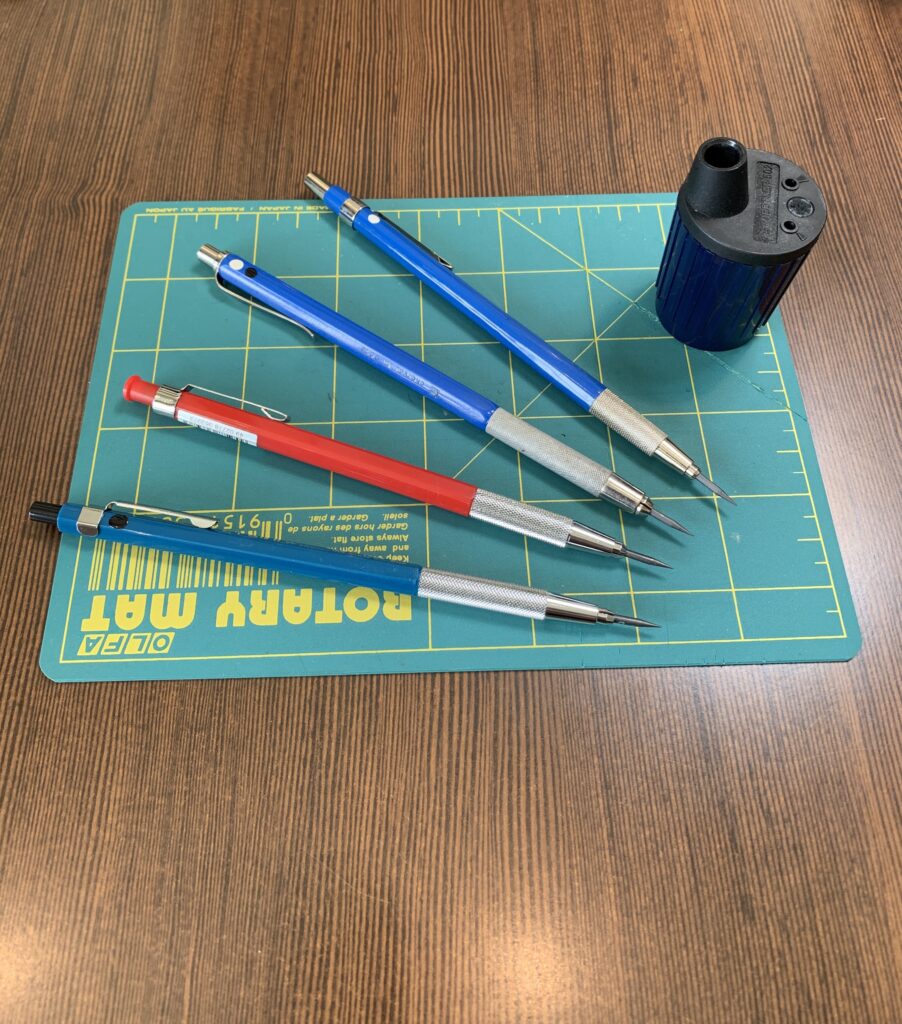
More nibs and holders and my favorite tilted inkwell that makes dipping so much easier:
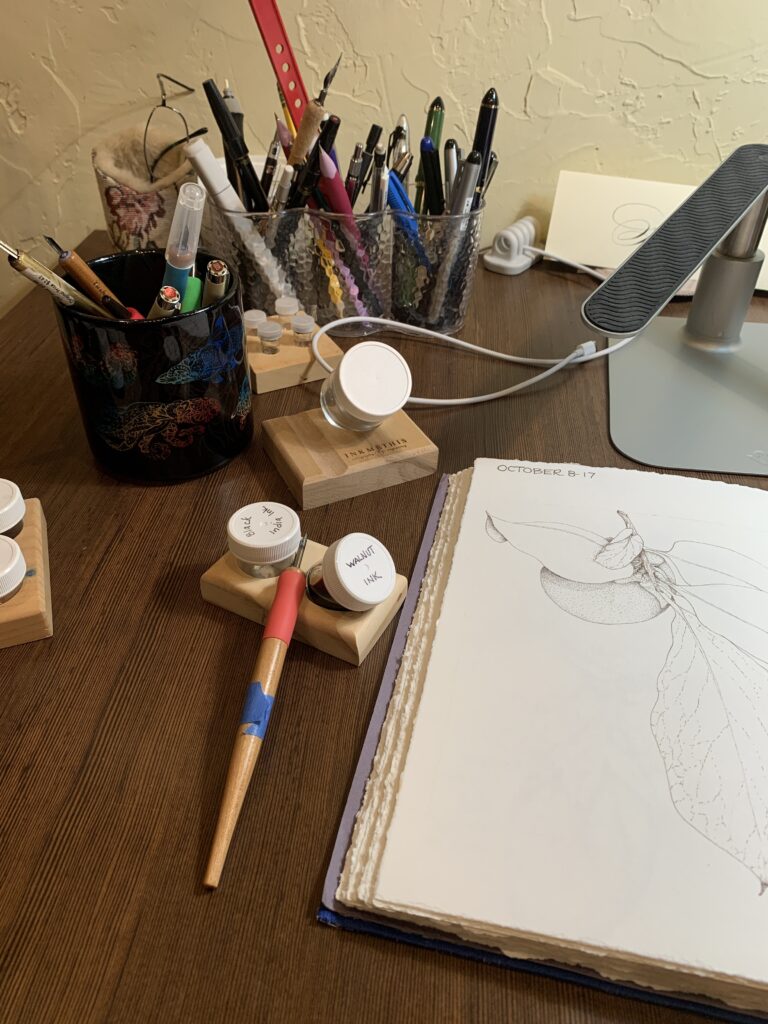
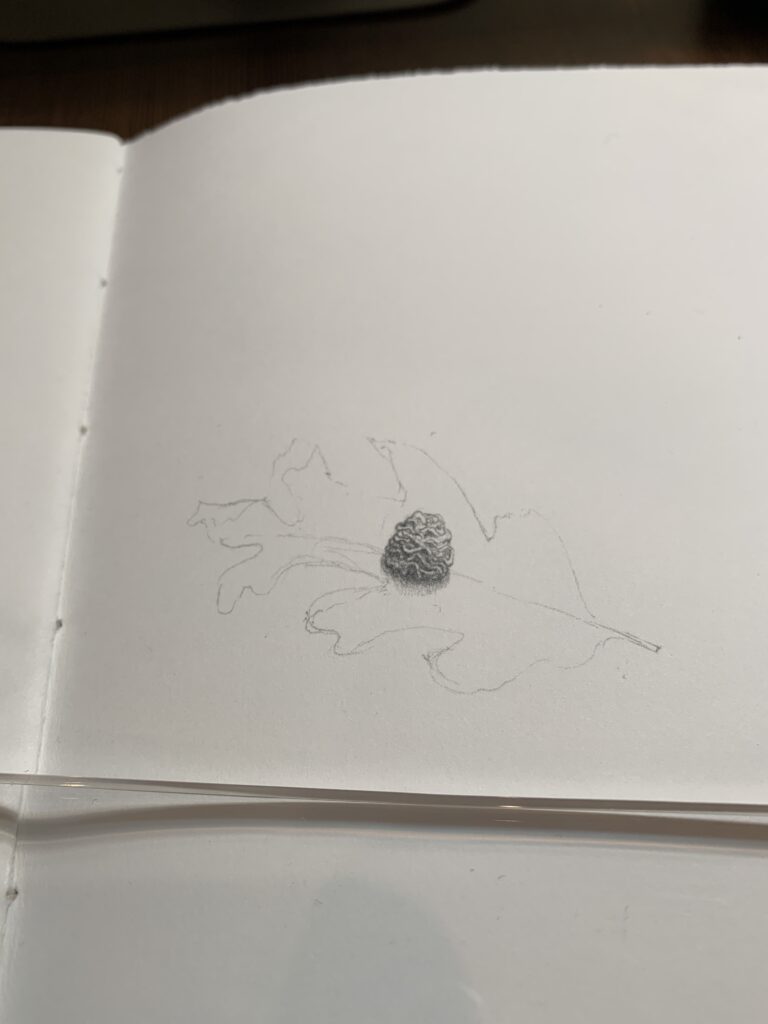
Front and center: T-36 holder and a Nikko maru mapping nib. Next door an unfinished persimmon drawing from last year that looks suspiciously like it was done with the micron Sepia 005. How can I tell? It’s the uniformity of the stippled dots. The difference is subtle, but I can tell. To me, the work with the dip pens is livelier somehow. Anyhow, that’s how I’m feeling today.