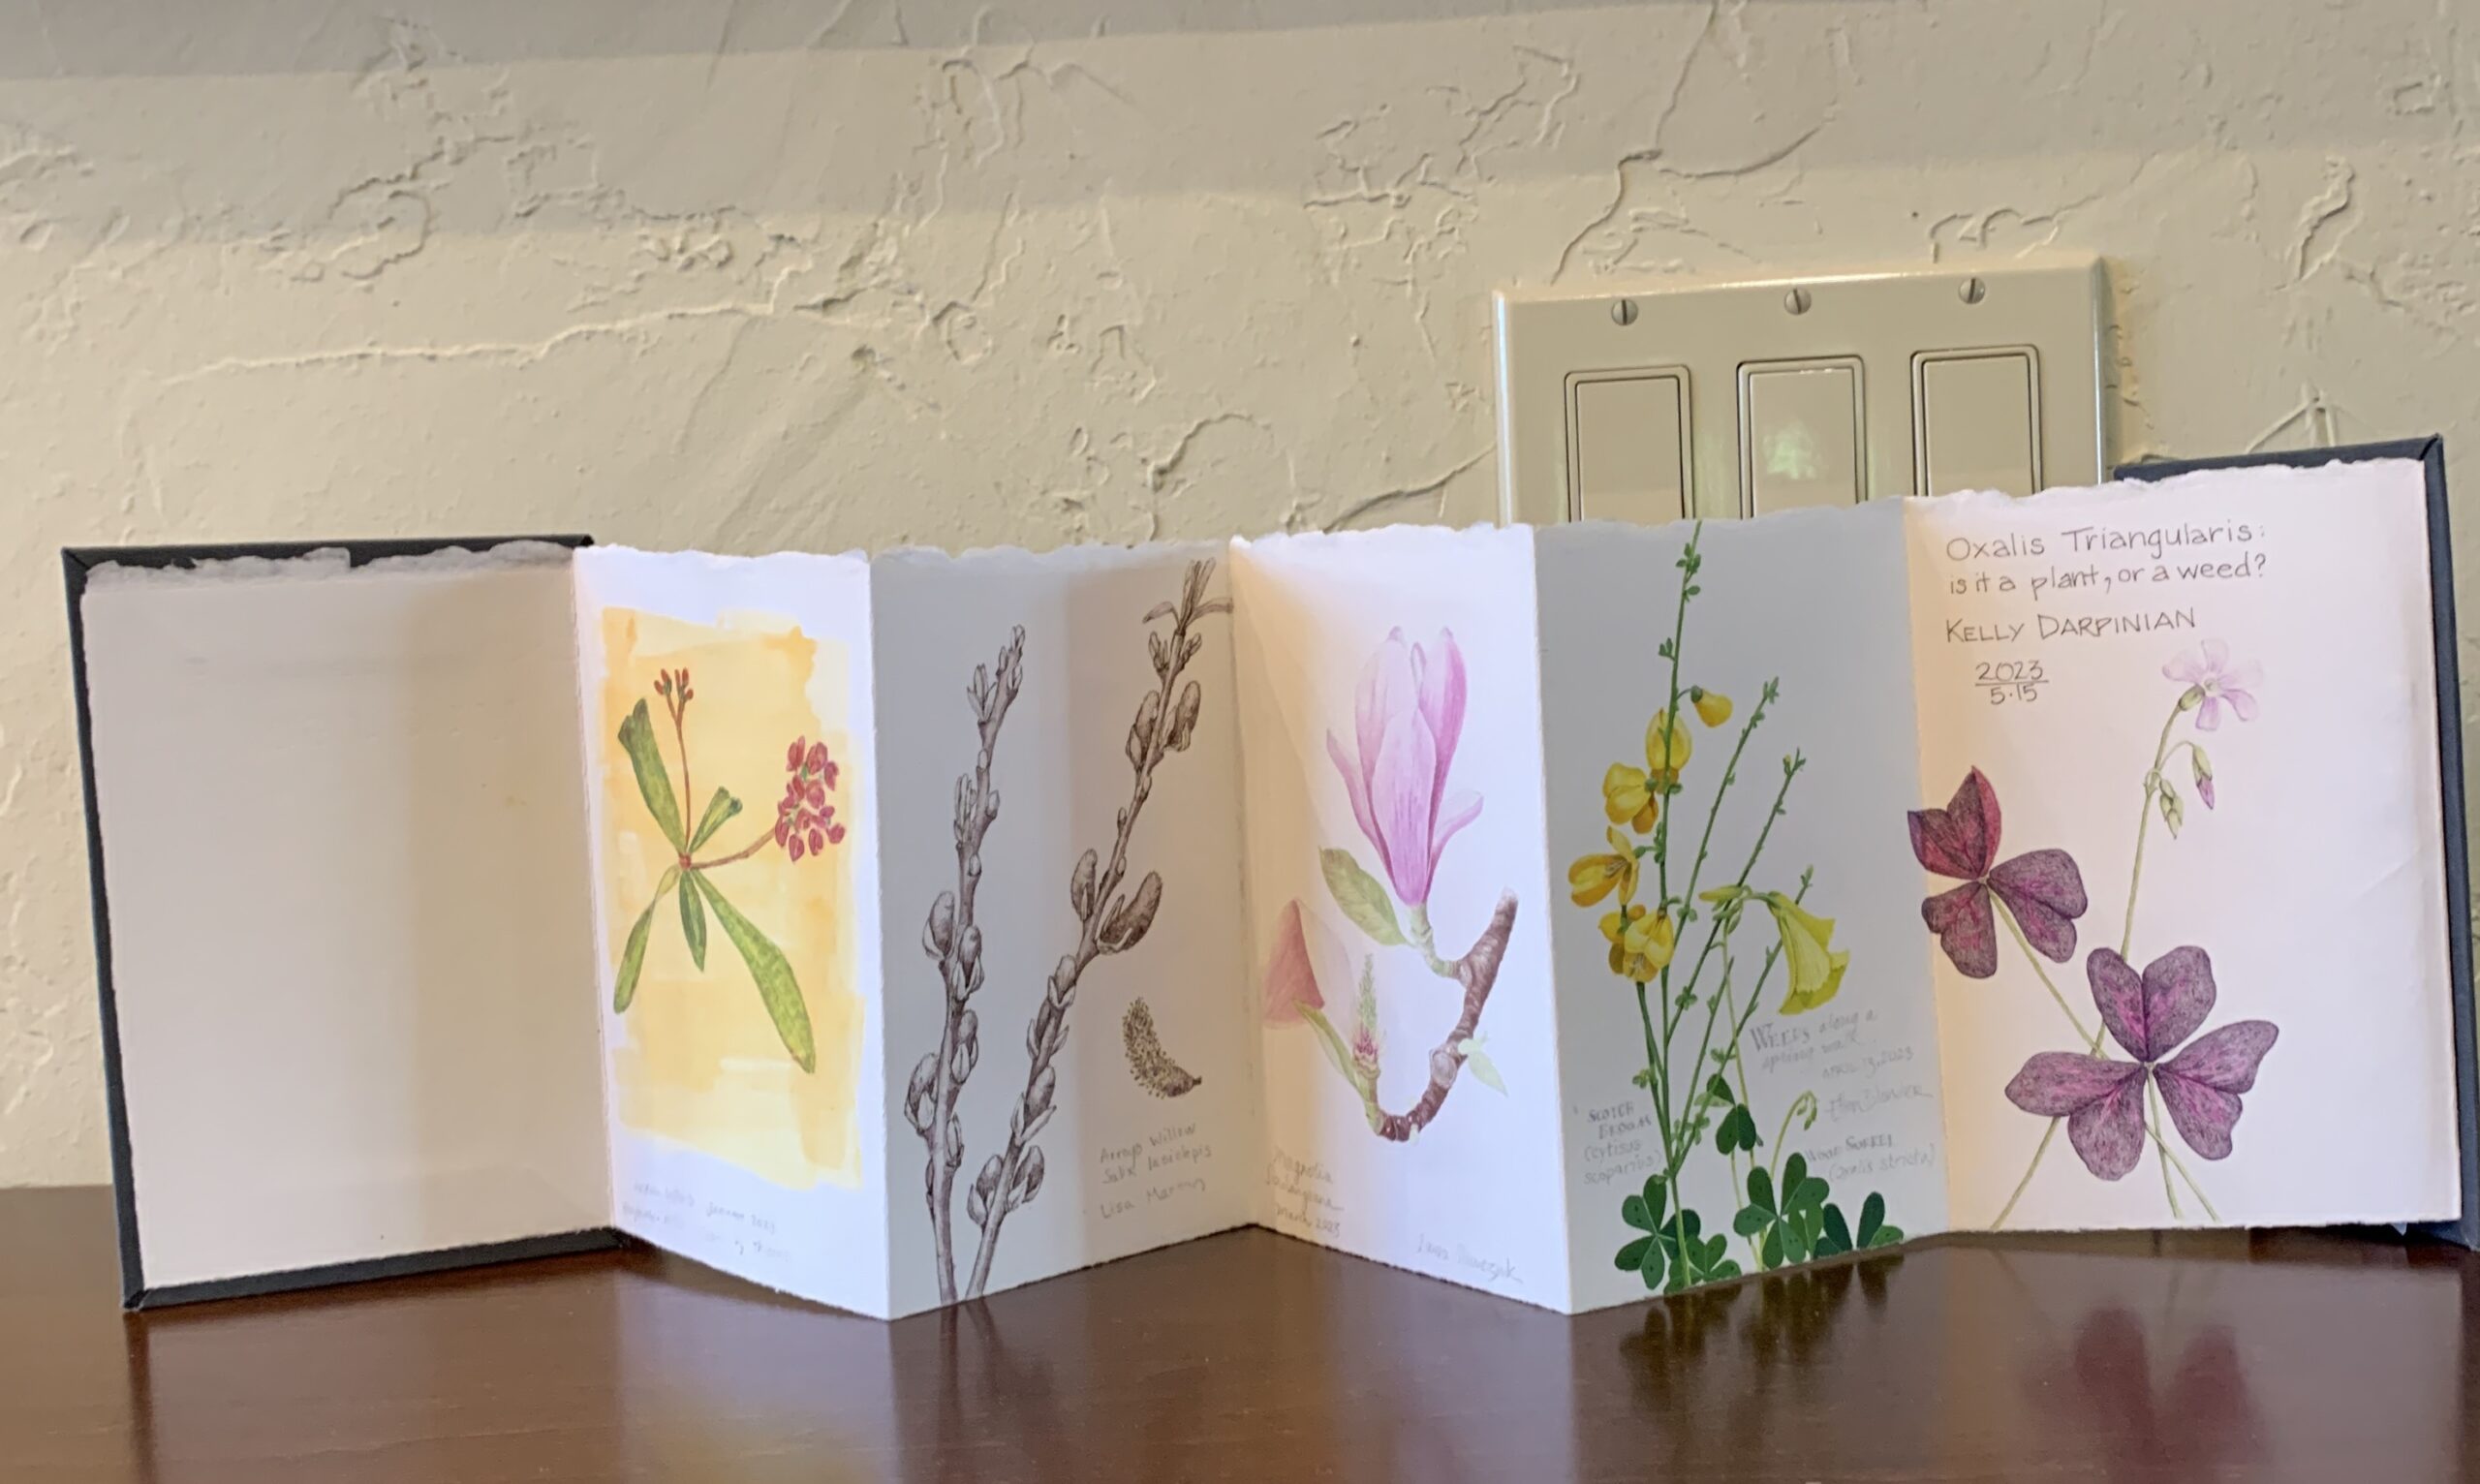
After years of trying to find a system of carrying sketching tools that works I finally saw a kit that looked exactly like what I wanted during a presentation in JML’s (John Muir Laws) online Nature Journaling Workshop the last time I attended. I cannot recall the sketcher’s name but I do remember that people kept asking him about his kit and no one seemed to get a decent answer about where to get the simple small pack that he used. He had an Amazon affiliate site where you could buy pens and sketchbooks and books he’d written and other supplies he likes, but nowhere was the pack that so neatly held all that gear you could buy from his site. Well, I have all the gear I need and then some, but I’ve never found a way to carry it that would allow me to access it easily and quickly on the go. JML suggests using a cross-body bag, but I tried that and found that it bounced around when I walked and unbalanced me and I still couldn’t access the contents quickly or efficiently. Plus, most of the cross body bags I saw or tried were really too big and tempted me to carry more than I thought I really needed to execute the kind of sketches I like to do en plein aire.
So I just went searching on Google and Amazon, knowing that if I entered the right search words I would eventually see something that looked close to the mystery pack that the speaker used but for some unknown reason wouldn’t identify when asked, and sure enough, I did. I can’t tell you now what search terms I used but in the end what finally came up were “nurse fanny packs.” There were a slew to choose from and I chose the 2 that looked most like they might suit. In the end this one is the one that fit the bill for me. As of this writing in December of 2023, the link is active and Amazon still carries this exact same item at a very reasonable price. Below are photos showing how I’ve kitted out this great little pack. I’ve used it for some time and I find it is just about perfect:
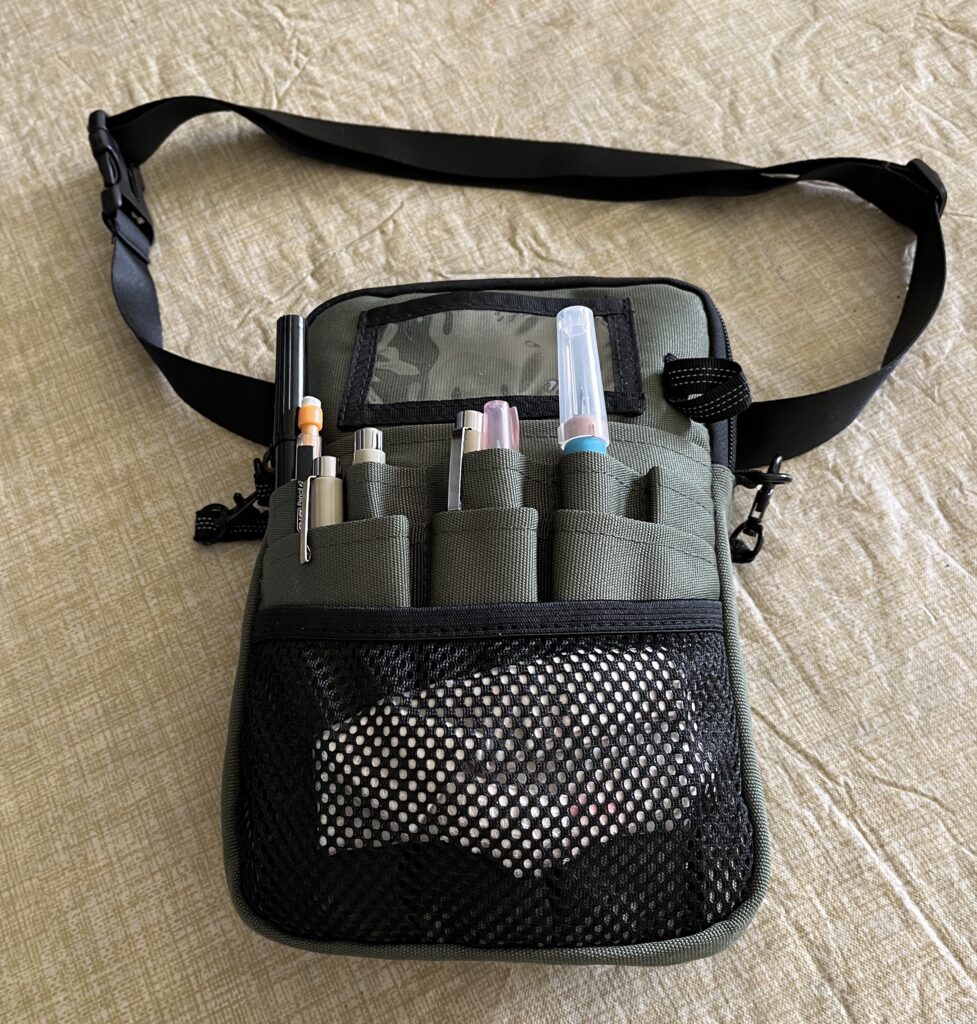
Here is the pack all ready to go out into the field.

Here is a top view showing the pack opened with my sketchbook and travel palette inside.
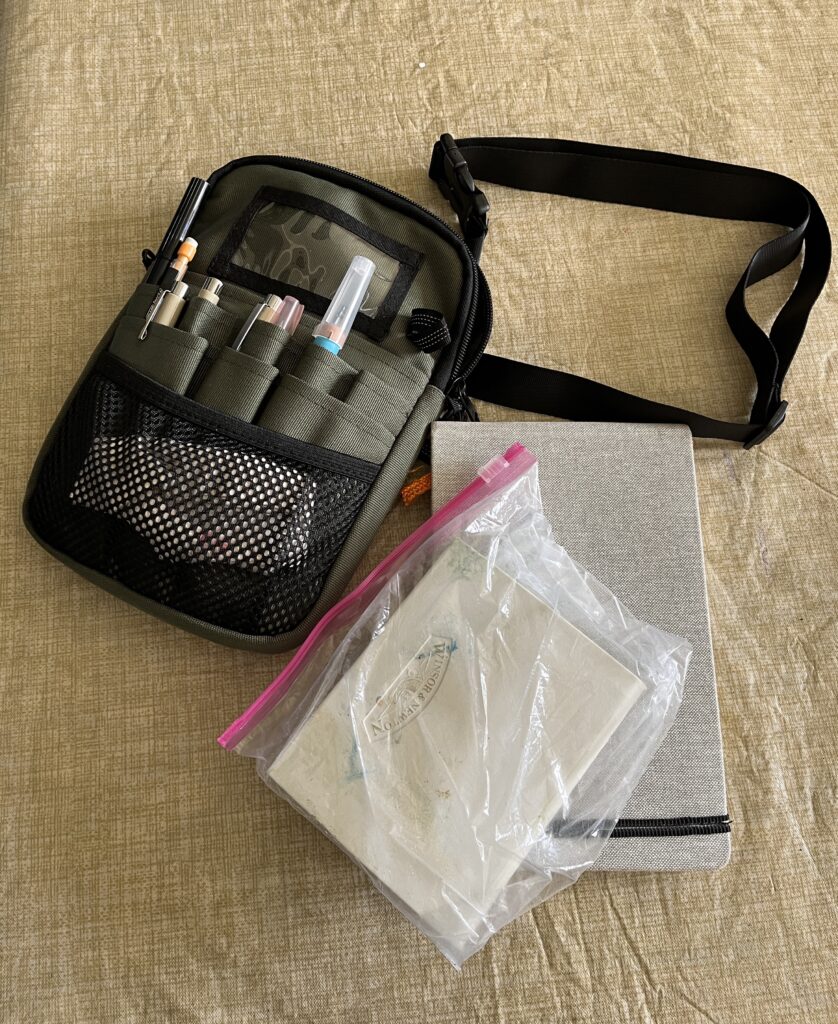
Here are the Handbook sketchbook and Winsor Newton palette I use.
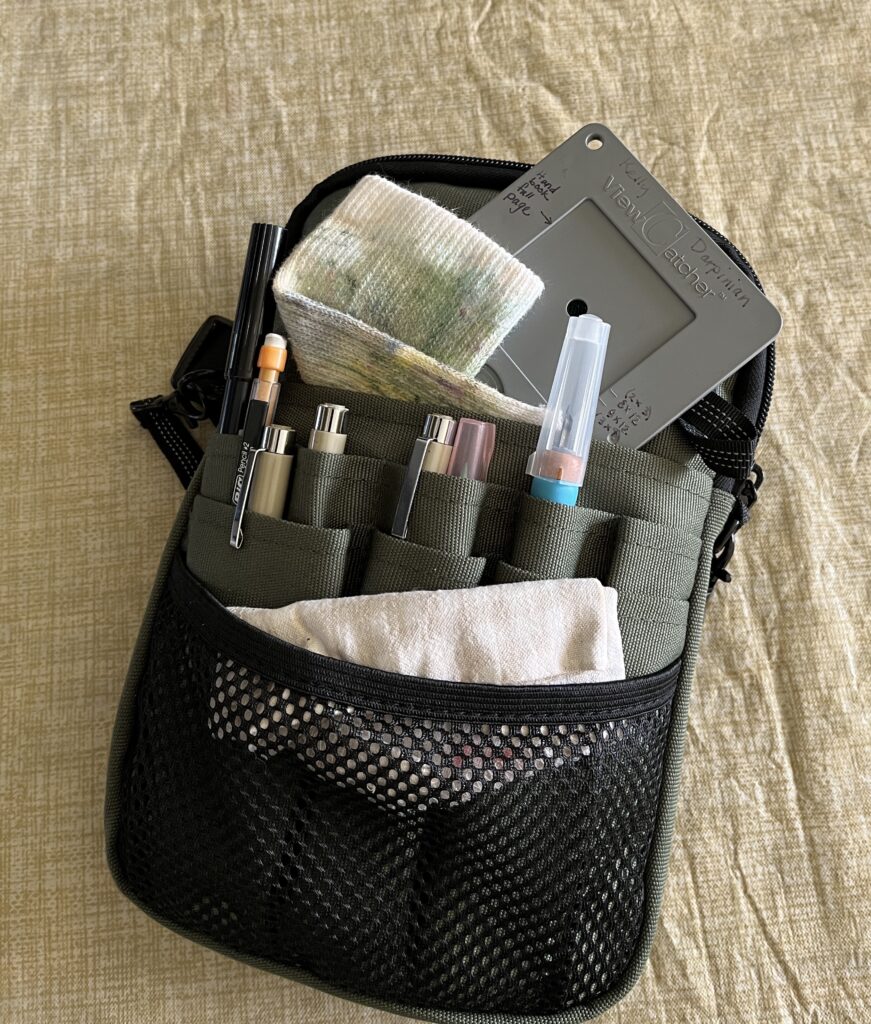
Here are a few other things I carry:
- The JML cotton crew sock top to wear on the wrist for a handy water brush cleaner.
- A view finder. I love these view finders for landscapes.
- A water brush. My palette actually holds a very nice DaVinci number 6 sable travel brush that I like better than waterbrushes, but I still carry a waterbrush for situations where I can’t set up a container of water to wash brushes and because I like to use it to release ink from the…
- Tombow marker pen. Since college I’ve used old-style black plastic barrel flair pens to do drawings with lines that I would then release with water and a brush to get a nice wash effect. Recently, Flair ink has been reformulated and the technique no longer works with the new “improved” pens. The ink smears terribly while you’re drawing and when you touch it with water it releases way too much pigment. I’m on the hunt for a new pen that will function more like the old Flair. These Tombow markers are meant to be used with this technique, but the jury is still out. I need to do more experimentation before I can recommend them wholeheartedly.
- Micron Pigma Sepia 005 and 01 pens, plus a black Micron PN. The sepia pens are for drawing and the black PN is for writing. None of them smear with water or when writing on any paper so you can draw and then go back and add watercolor without fear you’ll release the ink from the drawing.
- Crowquill drawing nib in a Tachikawa holder with a cap. I keep this not for doing pen and ink drawings because transporting ink and using it in plein aire settings is too difficult, but sometimes I like to use a drawing nib to get fine lines with watercolor. I will fill the nib from a brush and draw with the watercolor wash I’ve mixed rather than with ink. This saves me from having to carry a very fine brush for calligraphic linework I will sometimes need do at the end of watercolor landscape sketches if there are fine lines needed, like telephone wires, window panes, signage or boat rigging.
- Tiny Spray Bottle. You can’t see it because I added it later and then updated this post. I use this spray bottle to re-wet the paints in my watercolor palette. It dispenses a nice fine mist that doesn’t flood the colors.
This pack is sufficient for my sketching needs and I can carry it in the small of my back while walking but easily bring it to the front and access my drawing materials immediately. I can also still wear a backpack for other items like a jacket, water bottle, binoculars, wallet etc. Why was that workshop instructor so reluctant to tell people he was using an inexpensive nurse’s fanny pack to carry his sketching essentials? Maybe he was concerned that the links wouldn’t be stable and people wouldn’t be able to find exactly the pack he uses anymore. Who knows? Suffice it to say that if the exact version I link to above becomes unavailable, that there will always be other nurse fanny packs available that are similar because nurses are not going to stop carrying all that stuff around and clearly these little packs are what they need to do their very important jobs. Lucky for me they make for perfect field sketching kits as well!