Streamlined Sketching Kit

After years of trying to find a system of carrying sketching tools that works I finally saw a kit that looked exactly like what I wanted during a presentation in JML’s (John Muir Laws) online Nature Journaling Workshop the last time I attended.  I cannot recall the sketcher’s name but I do remember that people kept asking him about his kit and no one seemed to get a decent answer about where to get the simple small pack that he used.  He had an Amazon affiliate site where you could buy pens and sketchbooks and books he’d written and other supplies he likes, but nowhere was the pack that so neatly held all that gear you could buy from his site.  Well, I have all the gear I need and then some, but I’ve never found a way to carry it that would allow me to access it easily and quickly on the go.  JML suggests using a cross-body bag, but I tried that and found that it bounced around when I walked and unbalanced me and I still couldn’t access the contents quickly or efficiently.  Plus, most of the cross body bags I saw or tried were really too big and tempted me to carry more than I thought I really needed to execute the kind of sketches I like to do en plein aire. 

So I just went searching on Google and Amazon, knowing that if I entered the right search words I would eventually see something that looked close to the mystery pack that the speaker used but for some unknown reason wouldn’t identify when asked, and sure enough, I did.  I can’t tell you now what search terms I used but in the end what finally came up were “nurse fanny packs.”  There were a slew to choose from and I chose the 2 that looked most like they might suit.  In the end this one is the one that fit the bill for me.  As of this writing in December of 2023, the link is active and Amazon still carries this exact same item at a very reasonable price.  Below are photos showing how I’ve kitted out this great little pack.  I’ve used it for some time and I find it is just about perfect: 
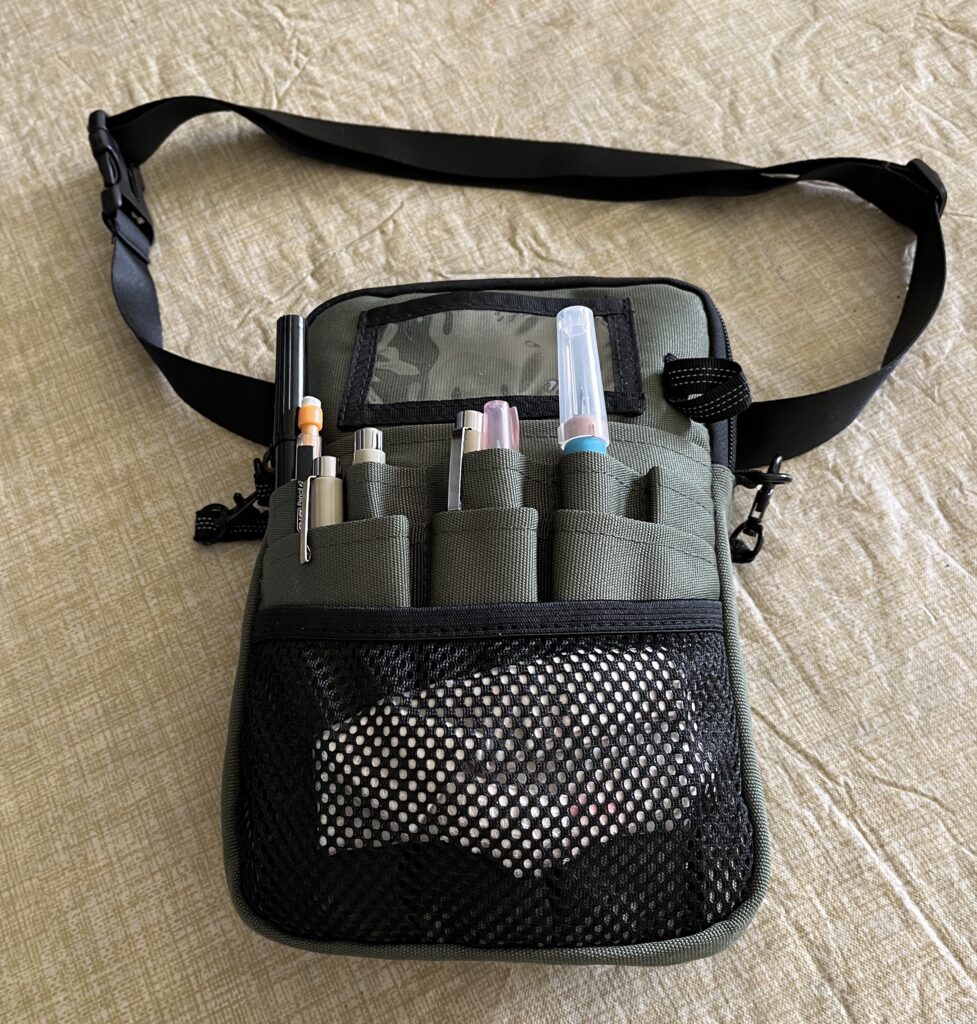
Here is the pack all ready to go out into the field.
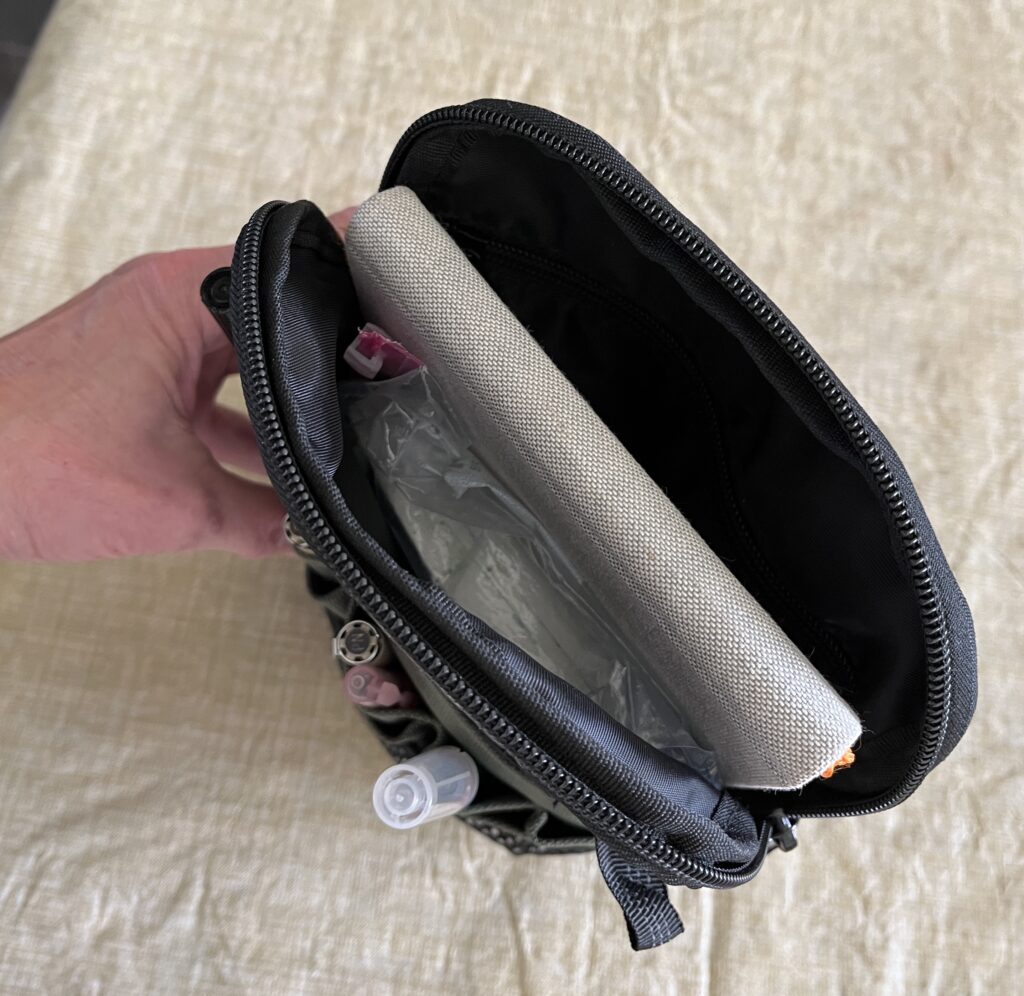
 

Here is a top view showing the pack opened with my sketchbook and travel palette inside.
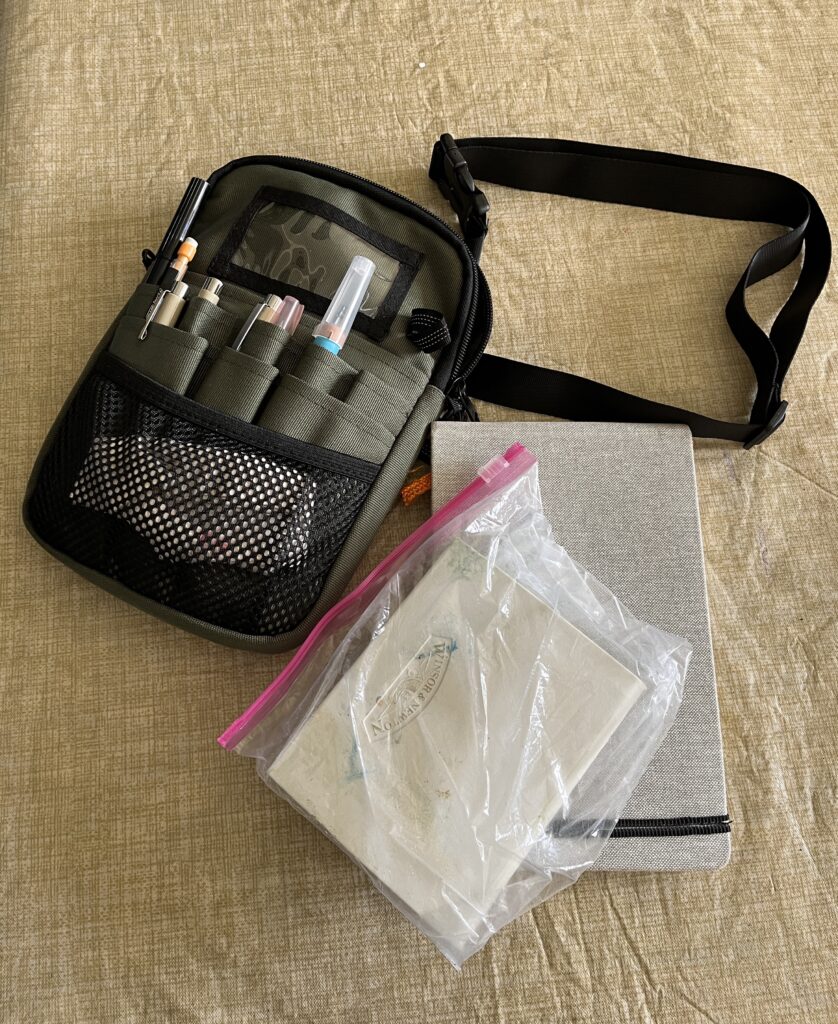
 

Here are the Handbook sketchbook and Winsor Newton palette I use.
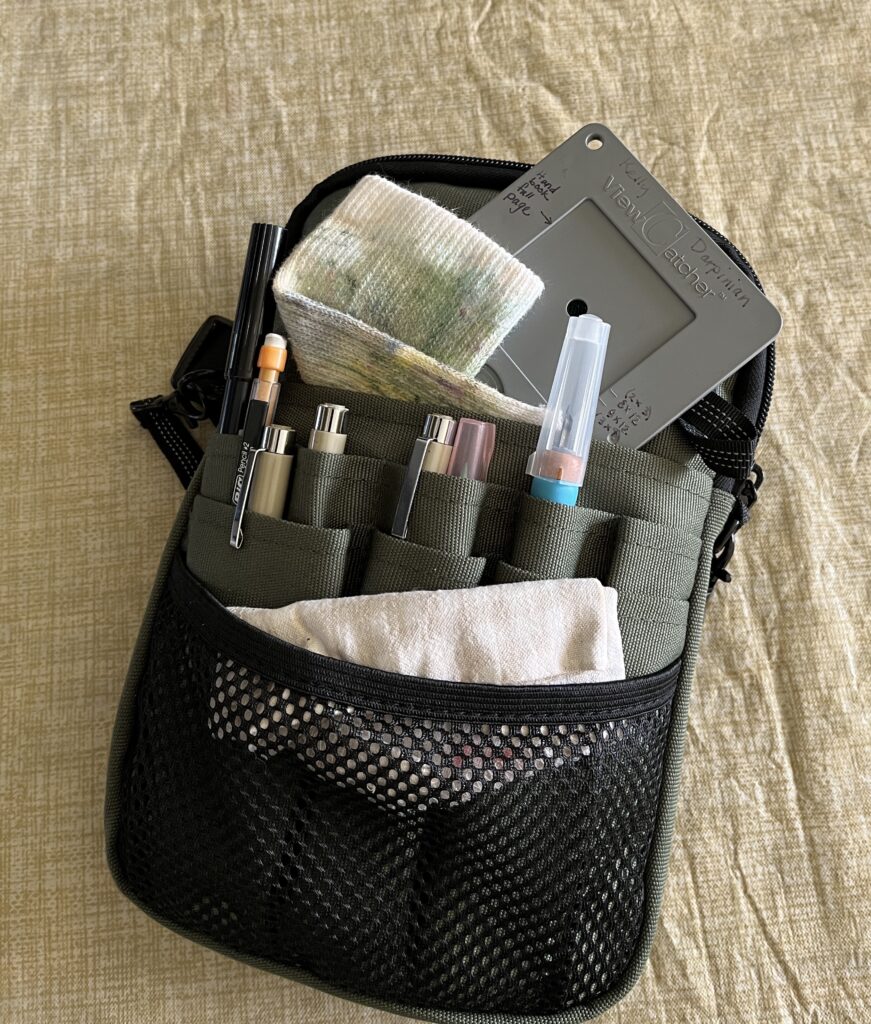
 

And a few other things I like to carry that also fit inside: the JML sock blotter, a view finder and a bit of a cotton rag.

Here are a few other things I carry:

  • The JML cotton crew sock top to wear on the wrist for a handy water brush cleaner.
  • A view finder.  I love these view finders for landscapes.  
  • A water brush.  My palette actually holds a very nice DaVinci number 6 sable travel brush that I like better than waterbrushes, but I still carry a waterbrush for situations where I can’t set up a container of water to wash brushes and because I like to use it to release ink from the…
  • Tombow marker pen.  Since college I’ve used old-style black plastic barrel flair pens to do drawings with lines that I would then release with water and a brush to get a nice wash effect.  Recently, Flair ink has been reformulated and the technique no longer works with the new “improved” pens.  The ink smears terribly while you’re drawing and when you touch it with water it releases way too much pigment.  I’m on the hunt for a new pen that will function more like the old Flair.  These Tombow markers are meant to be used with this technique, but the jury is still out.  I need to do more experimentation before I can recommend them wholeheartedly.
  • Micron Pigma Sepia 005 and 01 pens, plus a black Micron PN. The sepia pens are for drawing and the black PN is for writing.  None of them smear with water or when writing on any paper so you can draw and then go back and add watercolor without fear you’ll release the ink from the drawing.
  • Crowquill drawing nib in a Tachikawa holder with a cap.  I keep this not for doing pen and ink drawings because transporting ink and using it in plein aire settings is too difficult, but sometimes I like to use a drawing nib to get fine lines with watercolor.  I will fill the nib from a brush and draw with the watercolor wash I’ve mixed rather than with ink.  This saves me from having to carry a very fine brush for calligraphic linework I will sometimes need do at the end of watercolor landscape sketches if there are fine lines needed, like telephone wires, window panes, signage or boat rigging.
  • Tiny Spray Bottle.  You can’t see it because I added it later and then updated this post.  I use this spray bottle to re-wet the paints in my watercolor palette.  It dispenses a nice fine mist that doesn’t flood the colors.

This pack is sufficient for my sketching needs and I can carry it in the small of my back while walking but easily bring it to the front and access my drawing materials immediately.  I can also still wear a backpack for other items like a jacket, water bottle, binoculars, wallet etc.  Why was that workshop instructor so reluctant to tell people he was using an inexpensive nurse’s fanny pack to carry his sketching essentials?  Maybe he was concerned that the links wouldn’t be stable and people wouldn’t be able to find exactly the pack he uses anymore.  Who knows? Suffice it to say that if the exact version I link to above becomes unavailable, that there will always be other nurse fanny packs available that are similar because nurses are not going to stop carrying all that stuff around and clearly these little packs are what they need to do their very important jobs.  Lucky for me they make for perfect field sketching kits as well!
Who Uses Pens With Nibs and Bottles of Ink Anymore?

I was asked this question today. The short answer is, “I do!” Also Calligraphers and Cartoonists do, but I’m no Calligrapher or Cartoonist, just a backyard sketcher.

I think the natural follow-up question would be, “Why would you, then?” Well, and I think the Calligraphers and Cartoonists of the world would agree, my simple answer is that these tools produce marks that are noticeably different from marks you can make with other types of tools. Also, at least for me, using these pens is ergonomically better than using comparable modern pens. Because you have to stop and dip the pen periodically, you get a break from the constant repetition required to shade with the stippling technique I prefer. I can choose nib holders that are a better fit for my hand than the cylindrical barrels of the ubiquitous Micron Pigma pens and the flexible dip nib gives less resistance when you touch down to the paper, over and over and over, until your hand cramps if you don’t take breaks.

I’ve been enjoying my dip pens with Walnut Ink so much lately that I’m on a mission to make them a portable medium I can take on location. For years I’ve used microns in my journals for ink drawings and they have performed well, but the dip pens are calling.

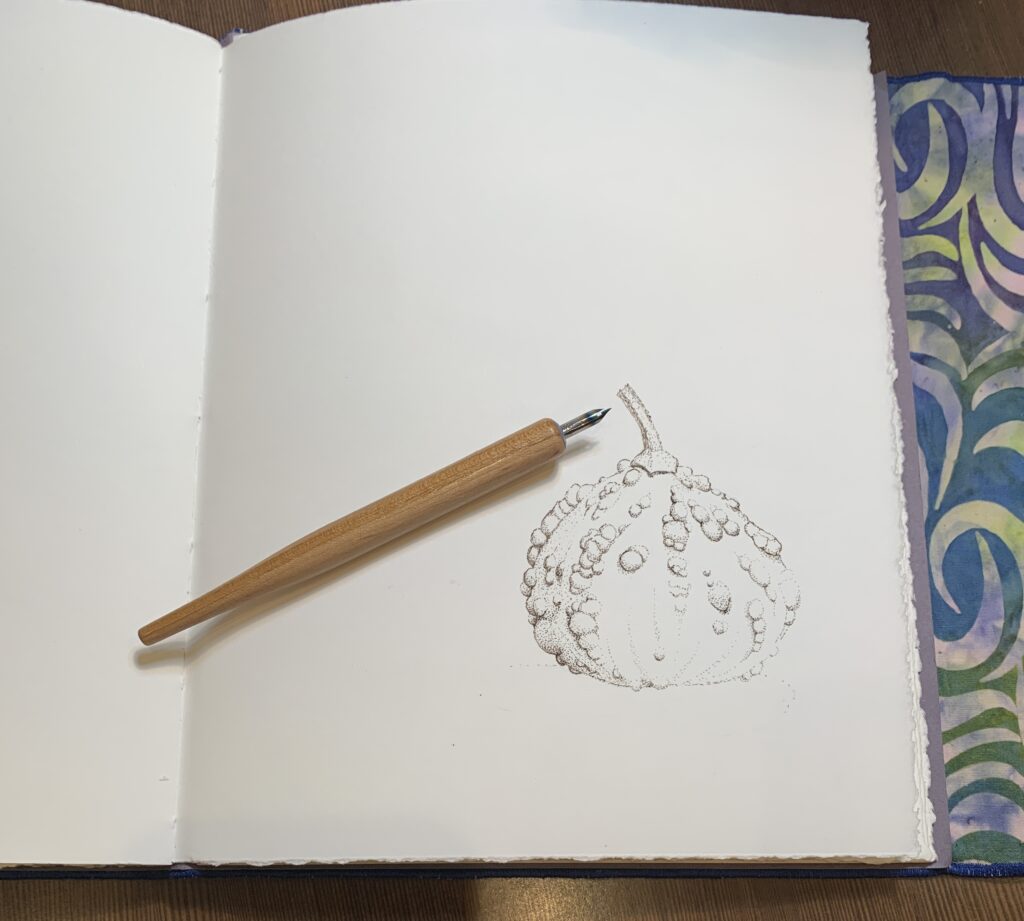
Tachikawa T-25 holder, Hunt 104 nib, gourd image about 50% complete in my multi-year journal.

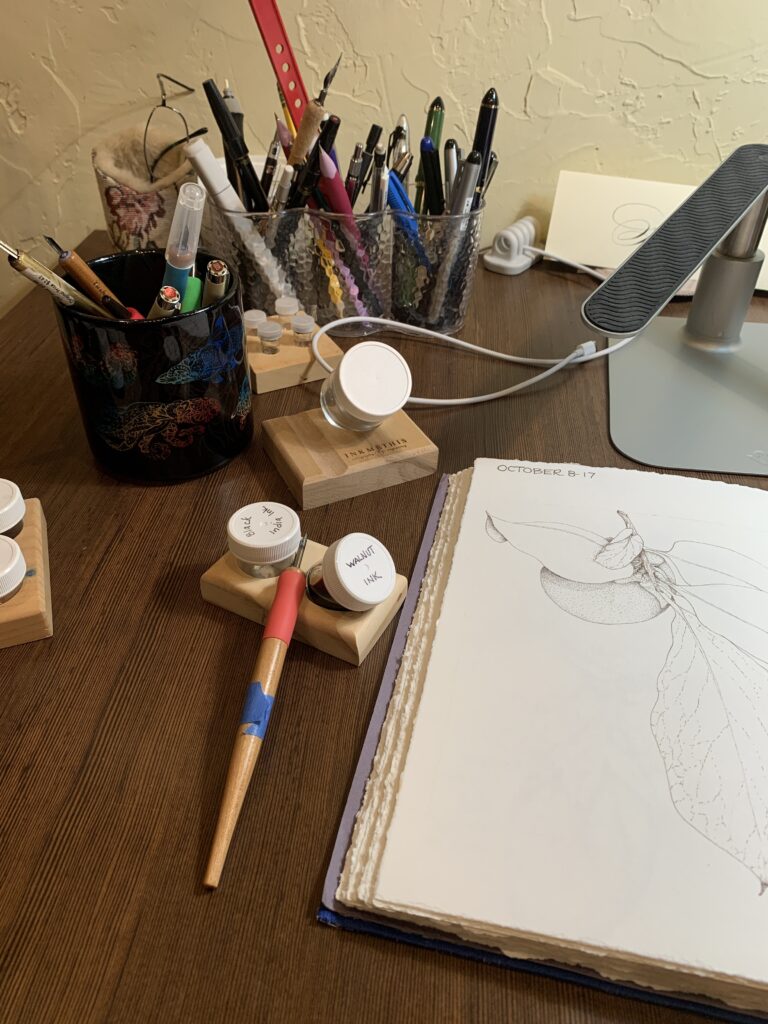
More nibs and holders and my favorite tilted inkwell that makes dipping so much easier:

Front and center: T-36 holder and a Nikko maru mapping nib. Next door an unfinished persimmon drawing from last year that looks suspiciously like it was done with the micron Sepia 005. How can I tell? It’s the uniformity of the stippled dots. The difference is subtle, but I can tell. To me, the work with the dip pens is livelier somehow. Anyhow, that’s how I’m feeling today.

Is it a weed…

Or a plant?

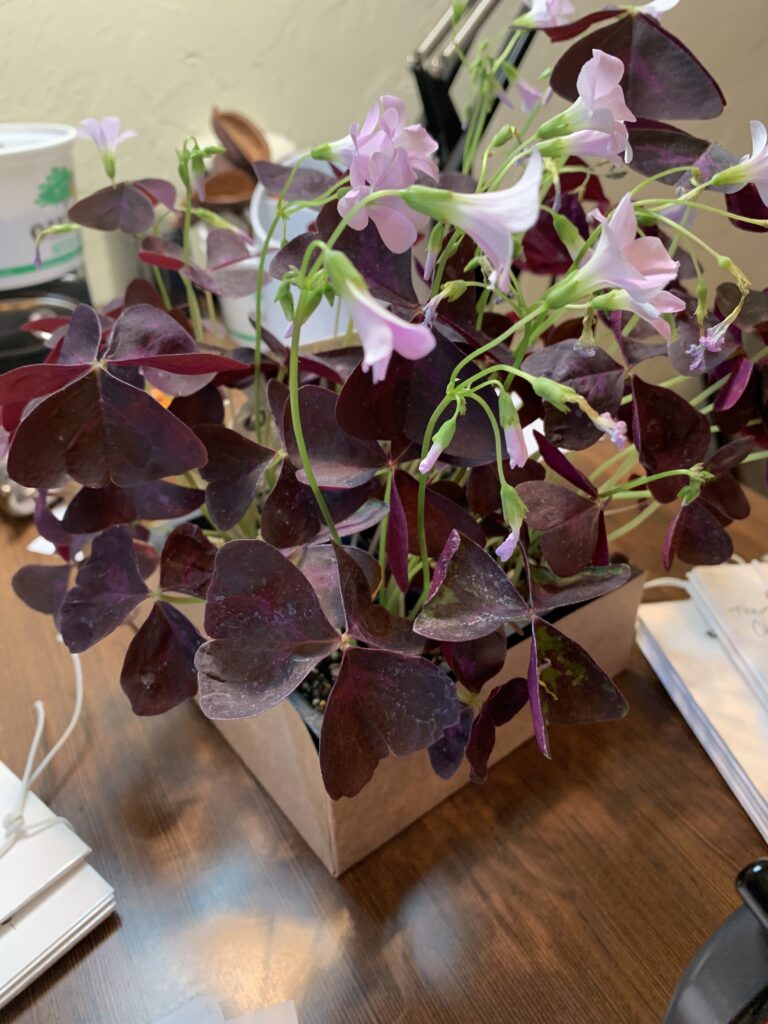
Oxalis Triangularis

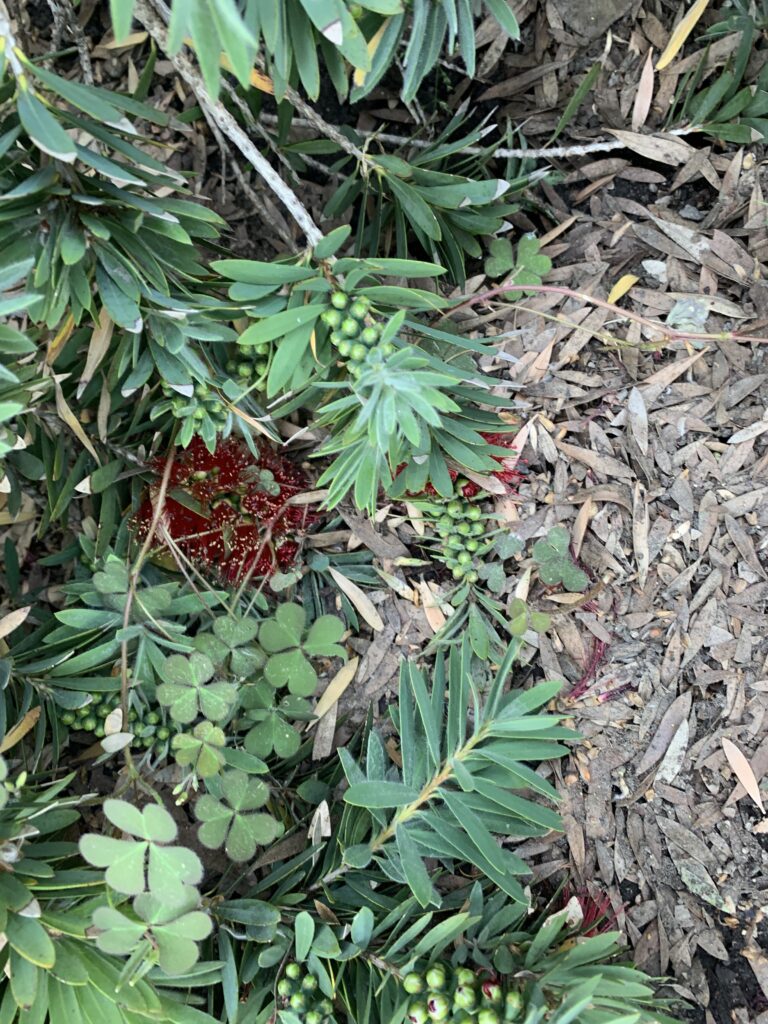
Well I’m constantly complaining about the oxalis growing in my yard where I don’t want it and it’s really hard to weed out. It’s truly a pesky little weed with nothing to recommend it beyond tenacity.

Oxalis the weed…Corniculata if you please.

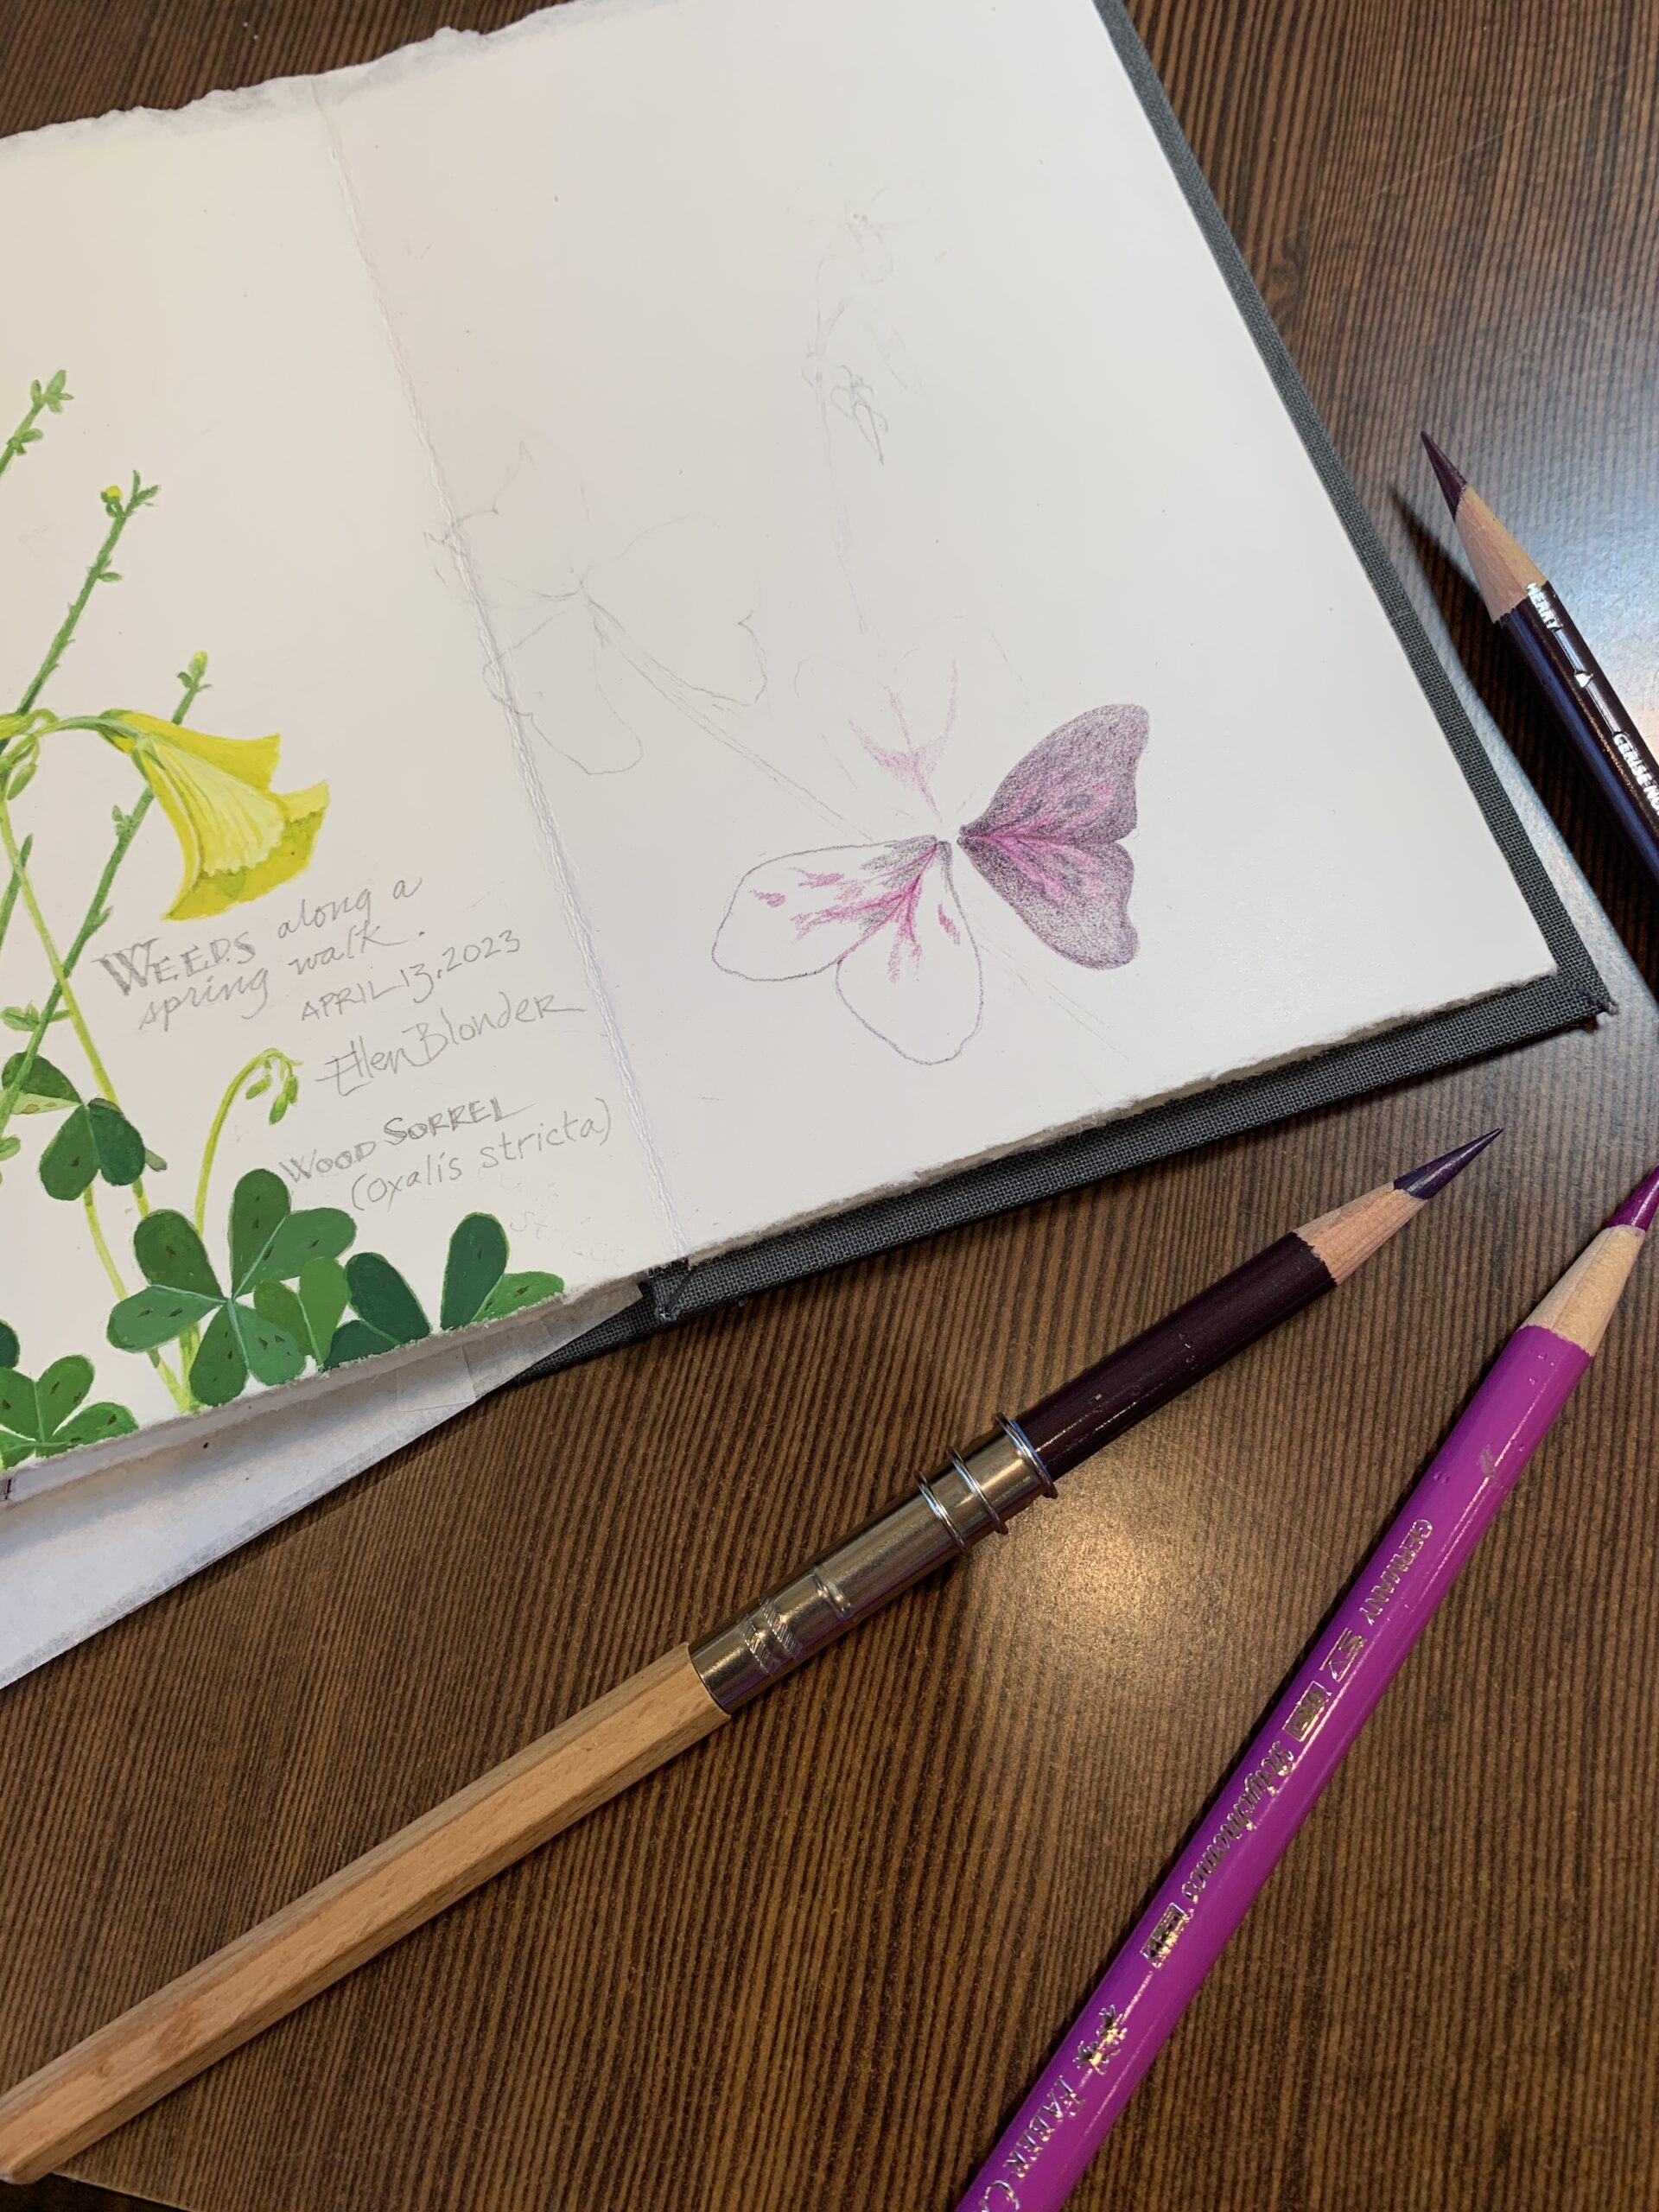
But then I got this month’s sketchbook with a lovely sketch of Oxalis Stricta, or Common Wood Sorrel. well there is never anything common about the paintings of Ellen Blonder. Her lyrical sketch of the weedy sorrel growing wild in her environs inspired me to snag the oxalis above for my monthly sketch as I was strolling about the nursery looking for inspiration. Here are the 2 illustrations together and a closeup of mine in progress below that.

March Sketch

Spring has sprung!

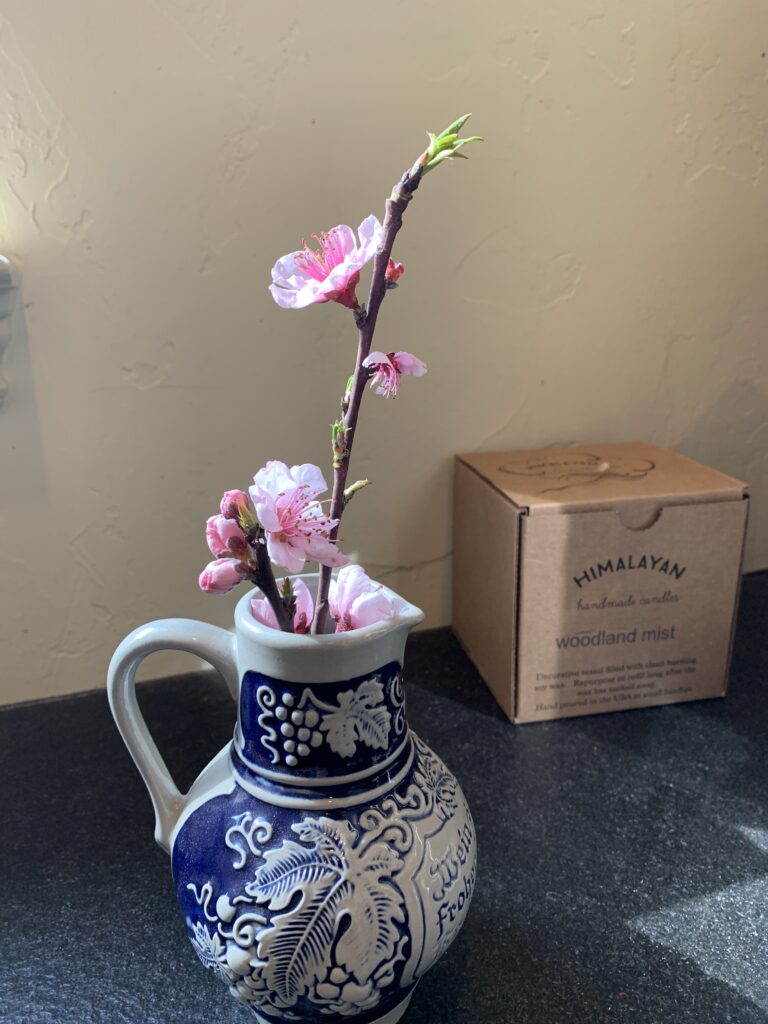
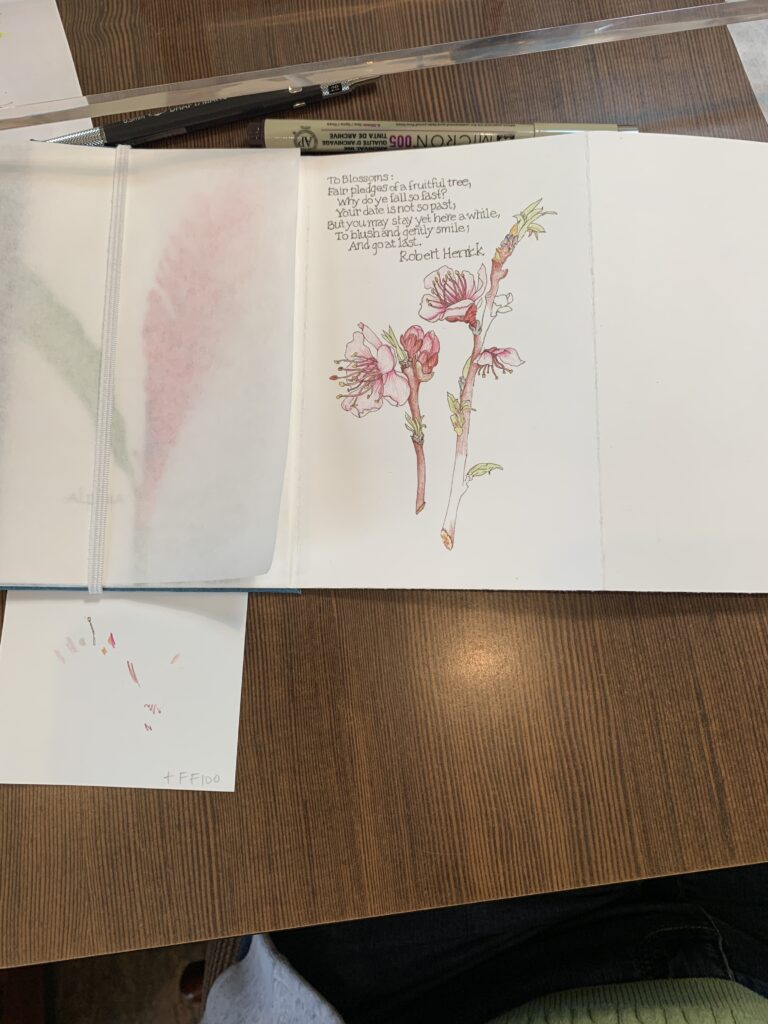
Although you’d never know it from the weather lately. My plan was to use peach blossoms for my sketch this month and the blossoms were making me a bit nervous because they were not opening due to all the cold weather. Finally they did open but they immediately got battered by yet another storm. Still, I was able to find these sprigs and get them staged and photographed. Let the sketching begin.

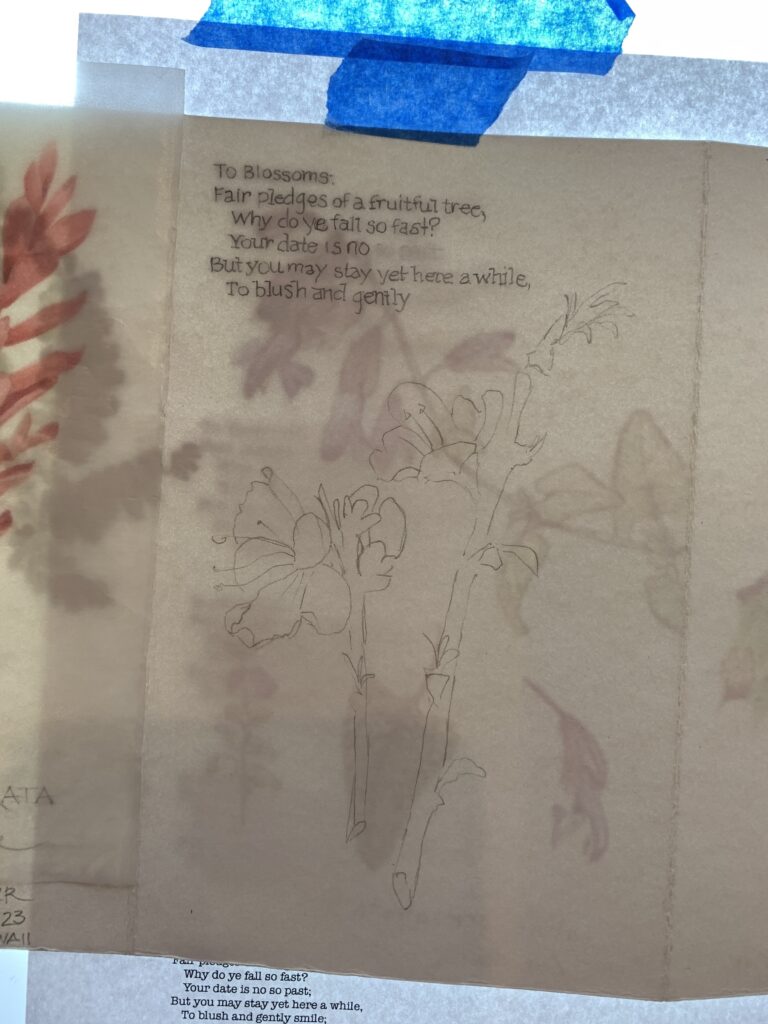
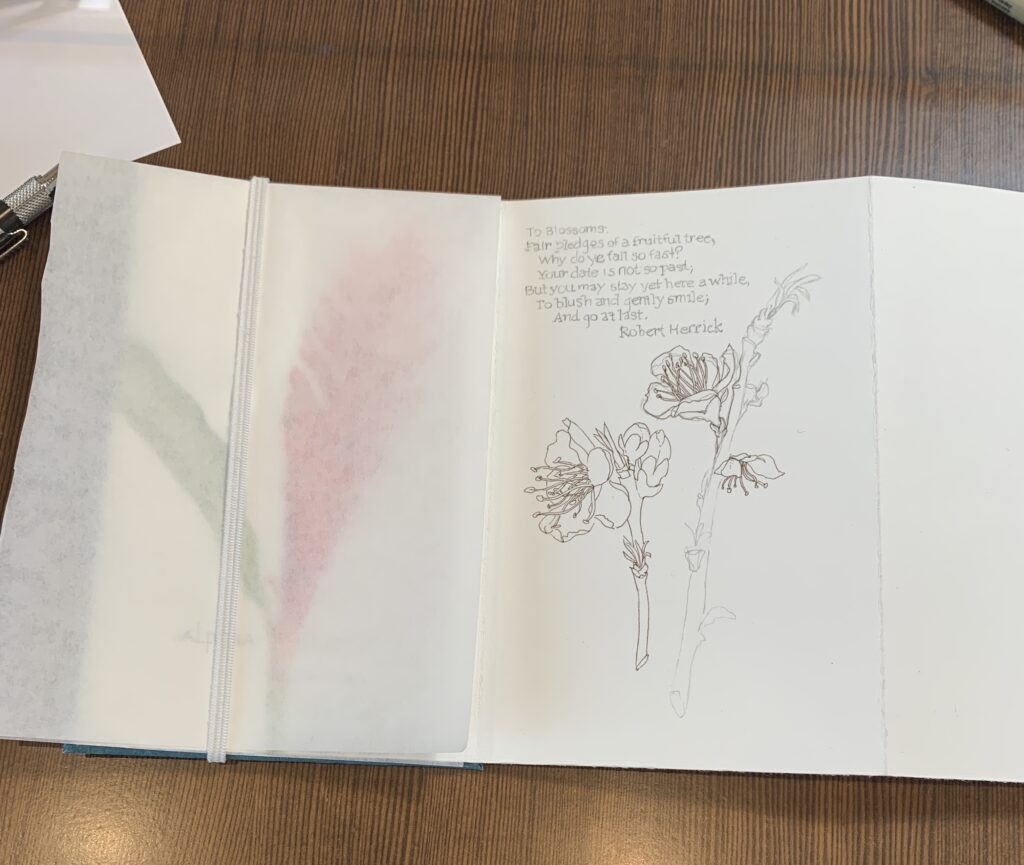
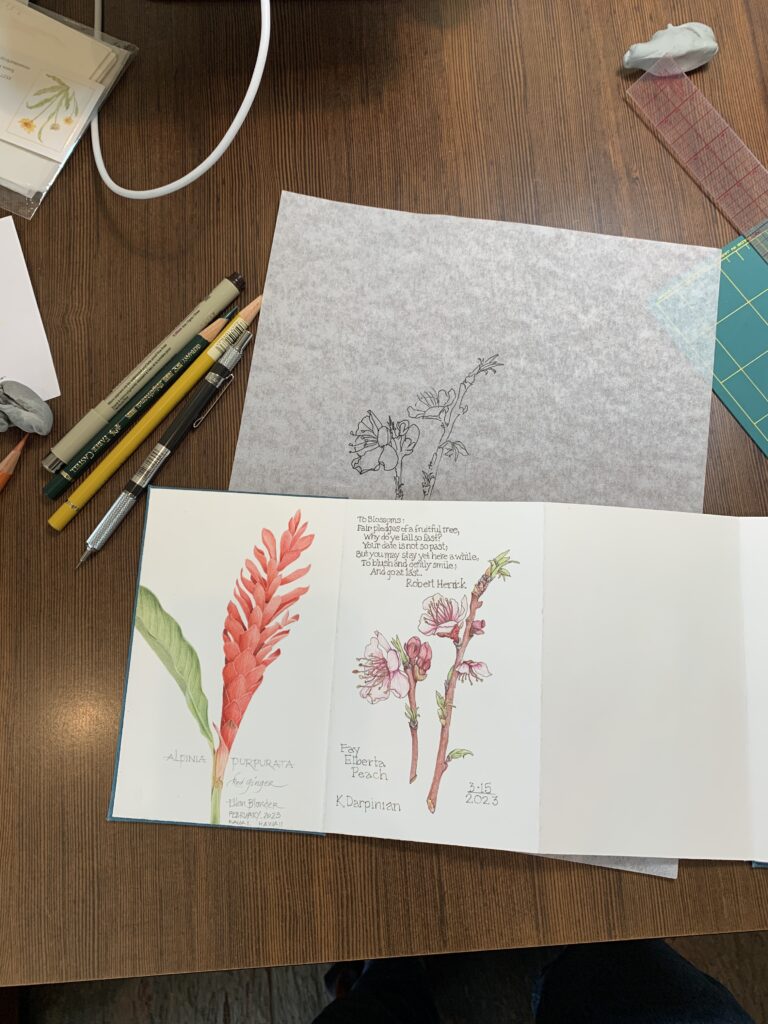
But here’s something new. Because of the transitory nature of blossoms and the poem I wanted to include this month, I wanted to trace my sketch onto the paper. I often work this way, but rarely in journals. Surprise, this book has sketches on the other side of the paper, making tracing with my trusty light box a bit tricky.

Peekaboo! I see way more than I need to trace.
But I was able to get the essentials nailed down.

Many people seem to think it’s “cheating” to use any mechanical or optical aids to begin artwork. Tell that to Vermeer and all the other masters who used camera obscura to trace images on to canvases. What’s cheating is using someone else’s photos. I selected the subject, staged it how I wanted it and photographed it myself. So I own it start to finish.

Getting there…
Done!

Only April and May are left and then I will get my own book back. It will be like Christmas in June!

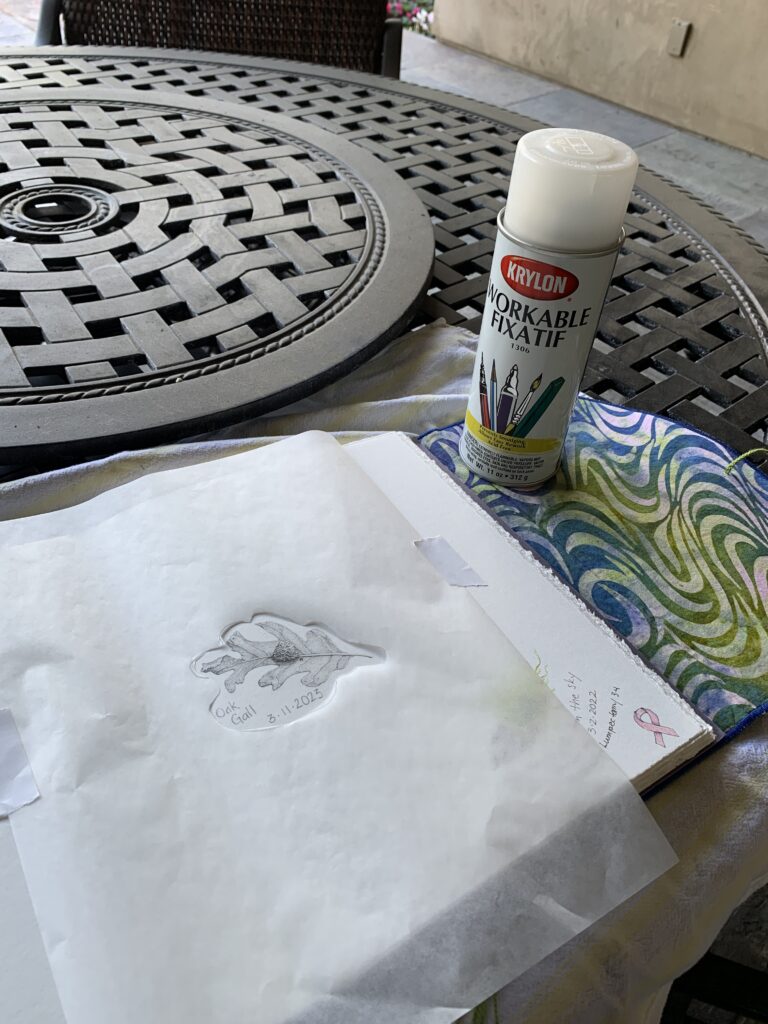
The Fix Is In

Or I should say on because I’ve just finished spraying this little journal entry with fixative.

I’ve had that same can of workable fixative since 1990-something and it’s still going strong since I don’t use it for most of my drawings that will be framed. But in journals that will be hauled around and handled, fixing graphite or colored pencil is essential or they will smear and/or imprint on the opposite page.

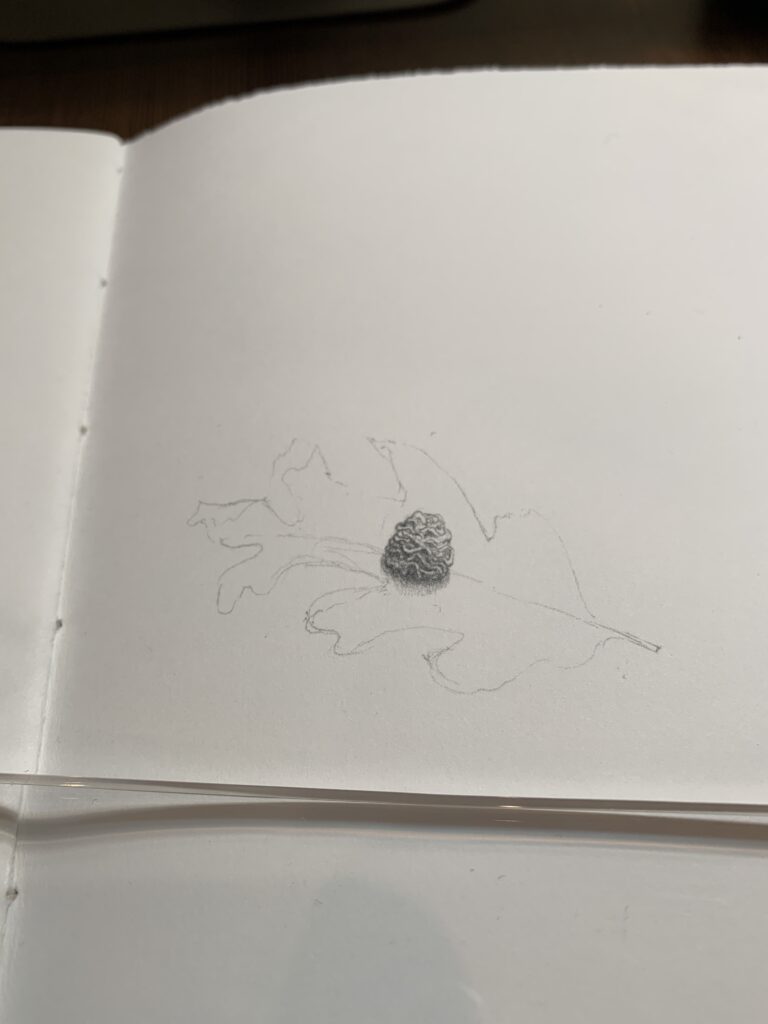
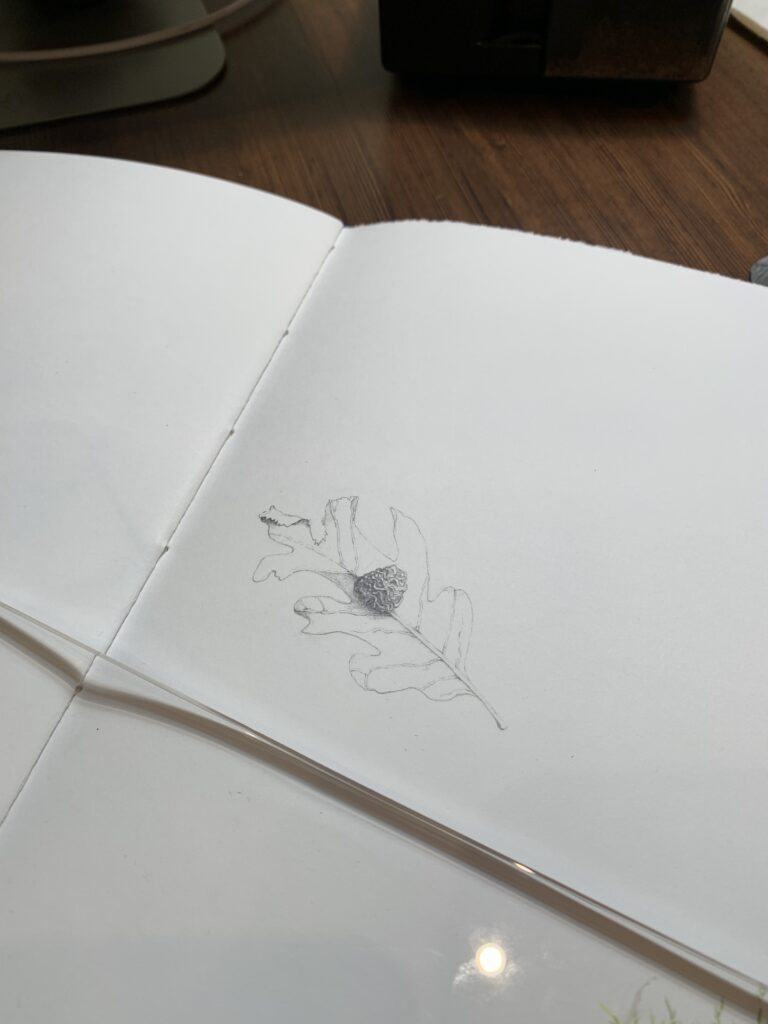
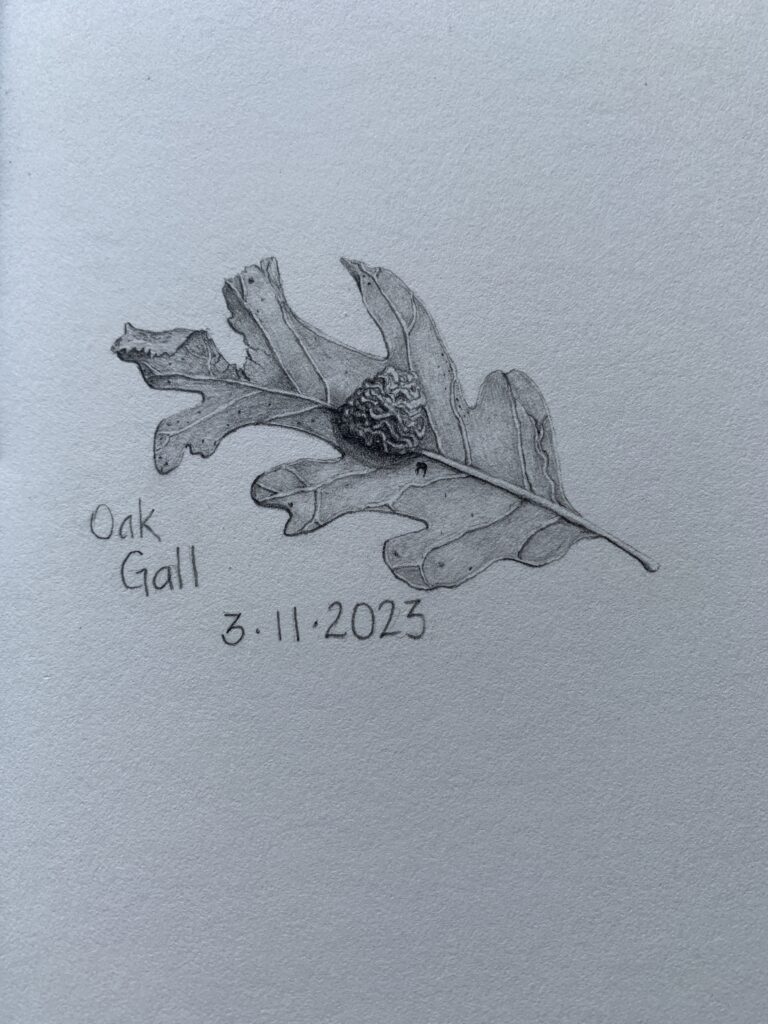
The subject of this drawing is an oak gall found on a local walk. Even folks who know about oak galls are usually not aware that there are so many different kinds. I’ve started a little series to document the ones I find. This one I call a brain gall. For obvious reasons. That’s not its real name, because I’m no expert on the 90+ different gall wasps endemic to California’s native oak population. I call them as I see them if I can’t find out the real name.

Graphite is a medium that always circles back around in my art practice as drawing has always been my first love and pencils are such familiar, reliable, predictable, accessible, controllable and correctable instruments that they are irresistible to me. Sure, everyone wants to paint and watercolors sparkle with personality, but the humble graphite pencil can really shine as an art tool.

Here is the development of the oak leaf:

It’s all about that gall, baby!
But the leaf it’s sitting on deserves some attention too.
I could keep going, refining the shading and tidying up, but I’m calling this a sketch and leaving it as is.

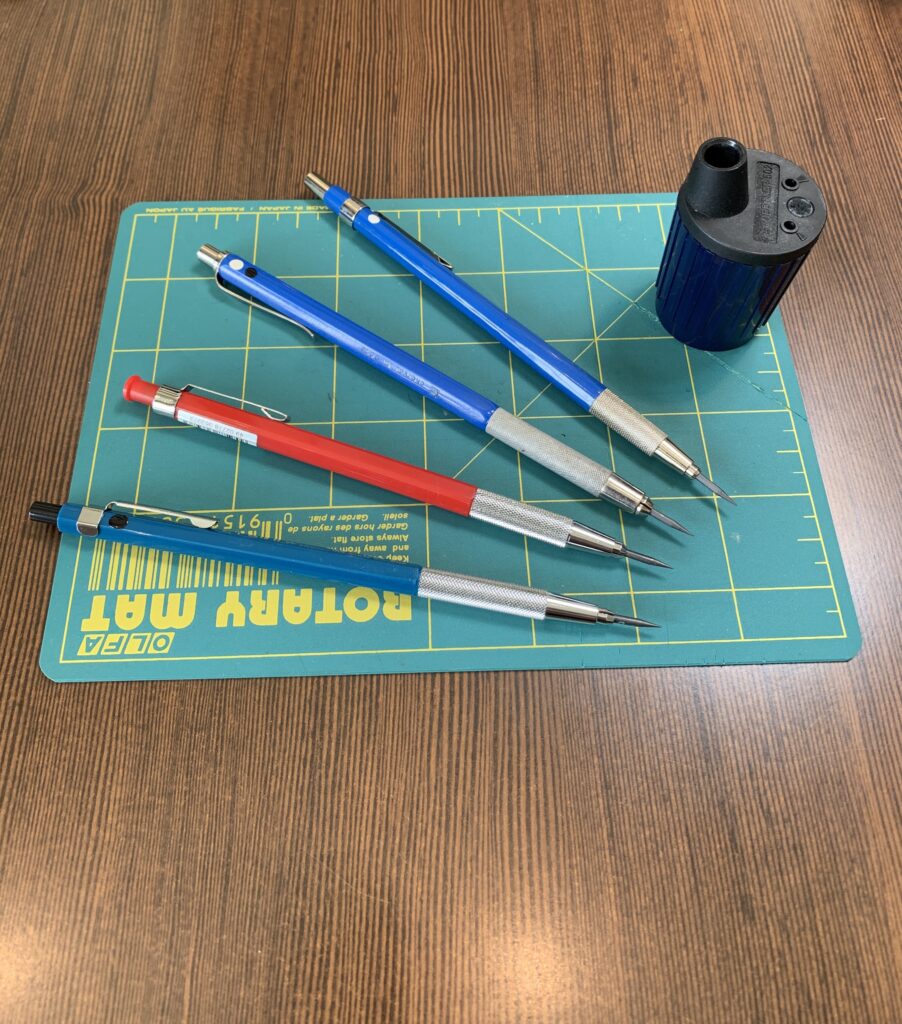
Here’s a snapshot of the stars of the show. I use these clutch pencils each loaded with 2mm leads of various hardness and a rotary pointer. These old line drafting tools are getting a little hard to find in the computer age, but they are my favorites from way back. I don’t get many comments here, but if anyone visits and asks for it, I’ll do a post dedicated to the tools and techniques I use for graphite drawings.

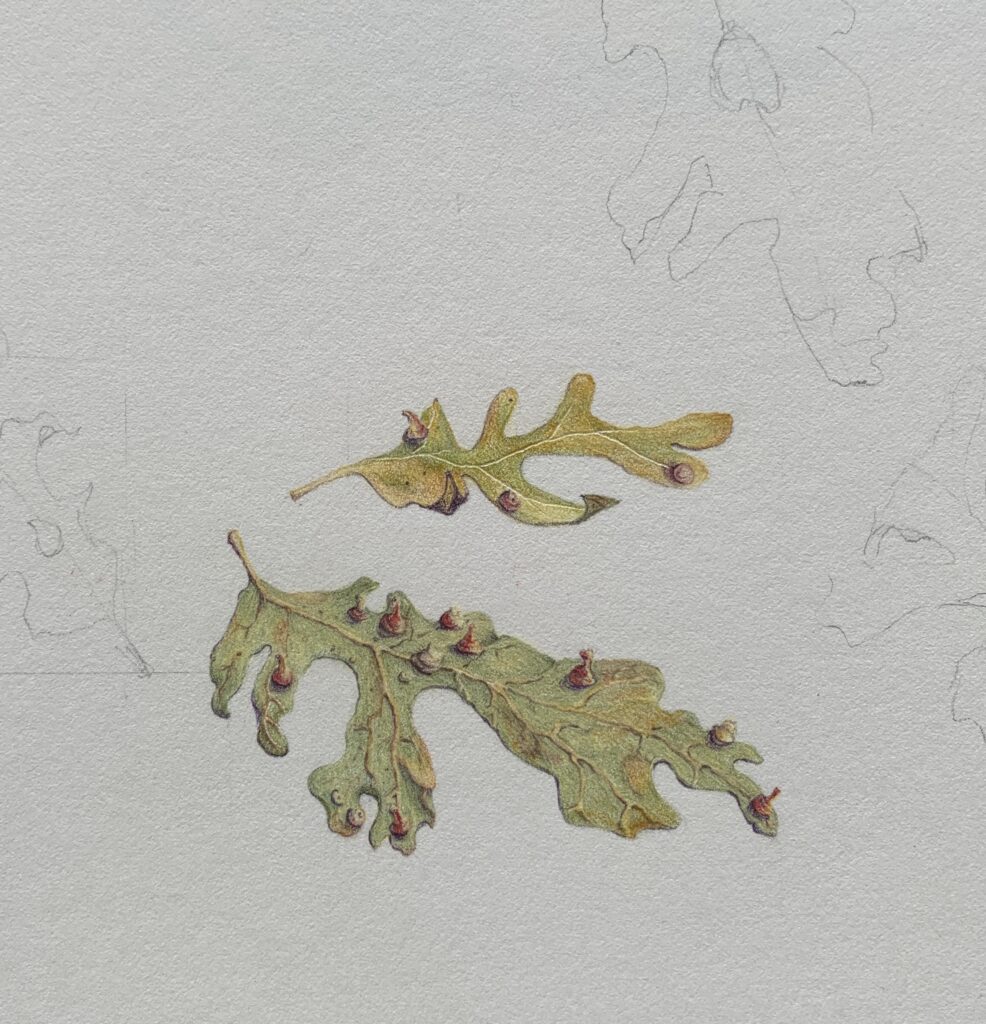
I’ll leave you with my other entry in the Oak Gall series, Red Cone Galls plus a few Silk Button Galls for good measure.

Next up, this month’s sketch for the Sketchbook Exchange Project, then I’ll come back for a few more varieties of galls. The Spiny Turban is a fun one.

To ink, or not to ink…

This month’s sketch was a response to the comments made at our recent Zoom meeting about artists not using this sketchbook exchange opportunity to experiment with tools, techniques, etc.

As with most of my sketches, I began with a rough pencil drawing which I then inked with an 005 micron pen. Then to add the color I used water soluble pencils. That’s the experimental part. I’ve used these pencils before, but not in quite this way and I like the result, especially on this cold press watercolor paper that doesn’t take straight colored pencil well because of the rough texture of the paper.

Now I’m just trying to decide if I should ink the lettering. I’m leaning toward not, to fit in with the rest of the artists in the book, although normally I would ink letters like this.

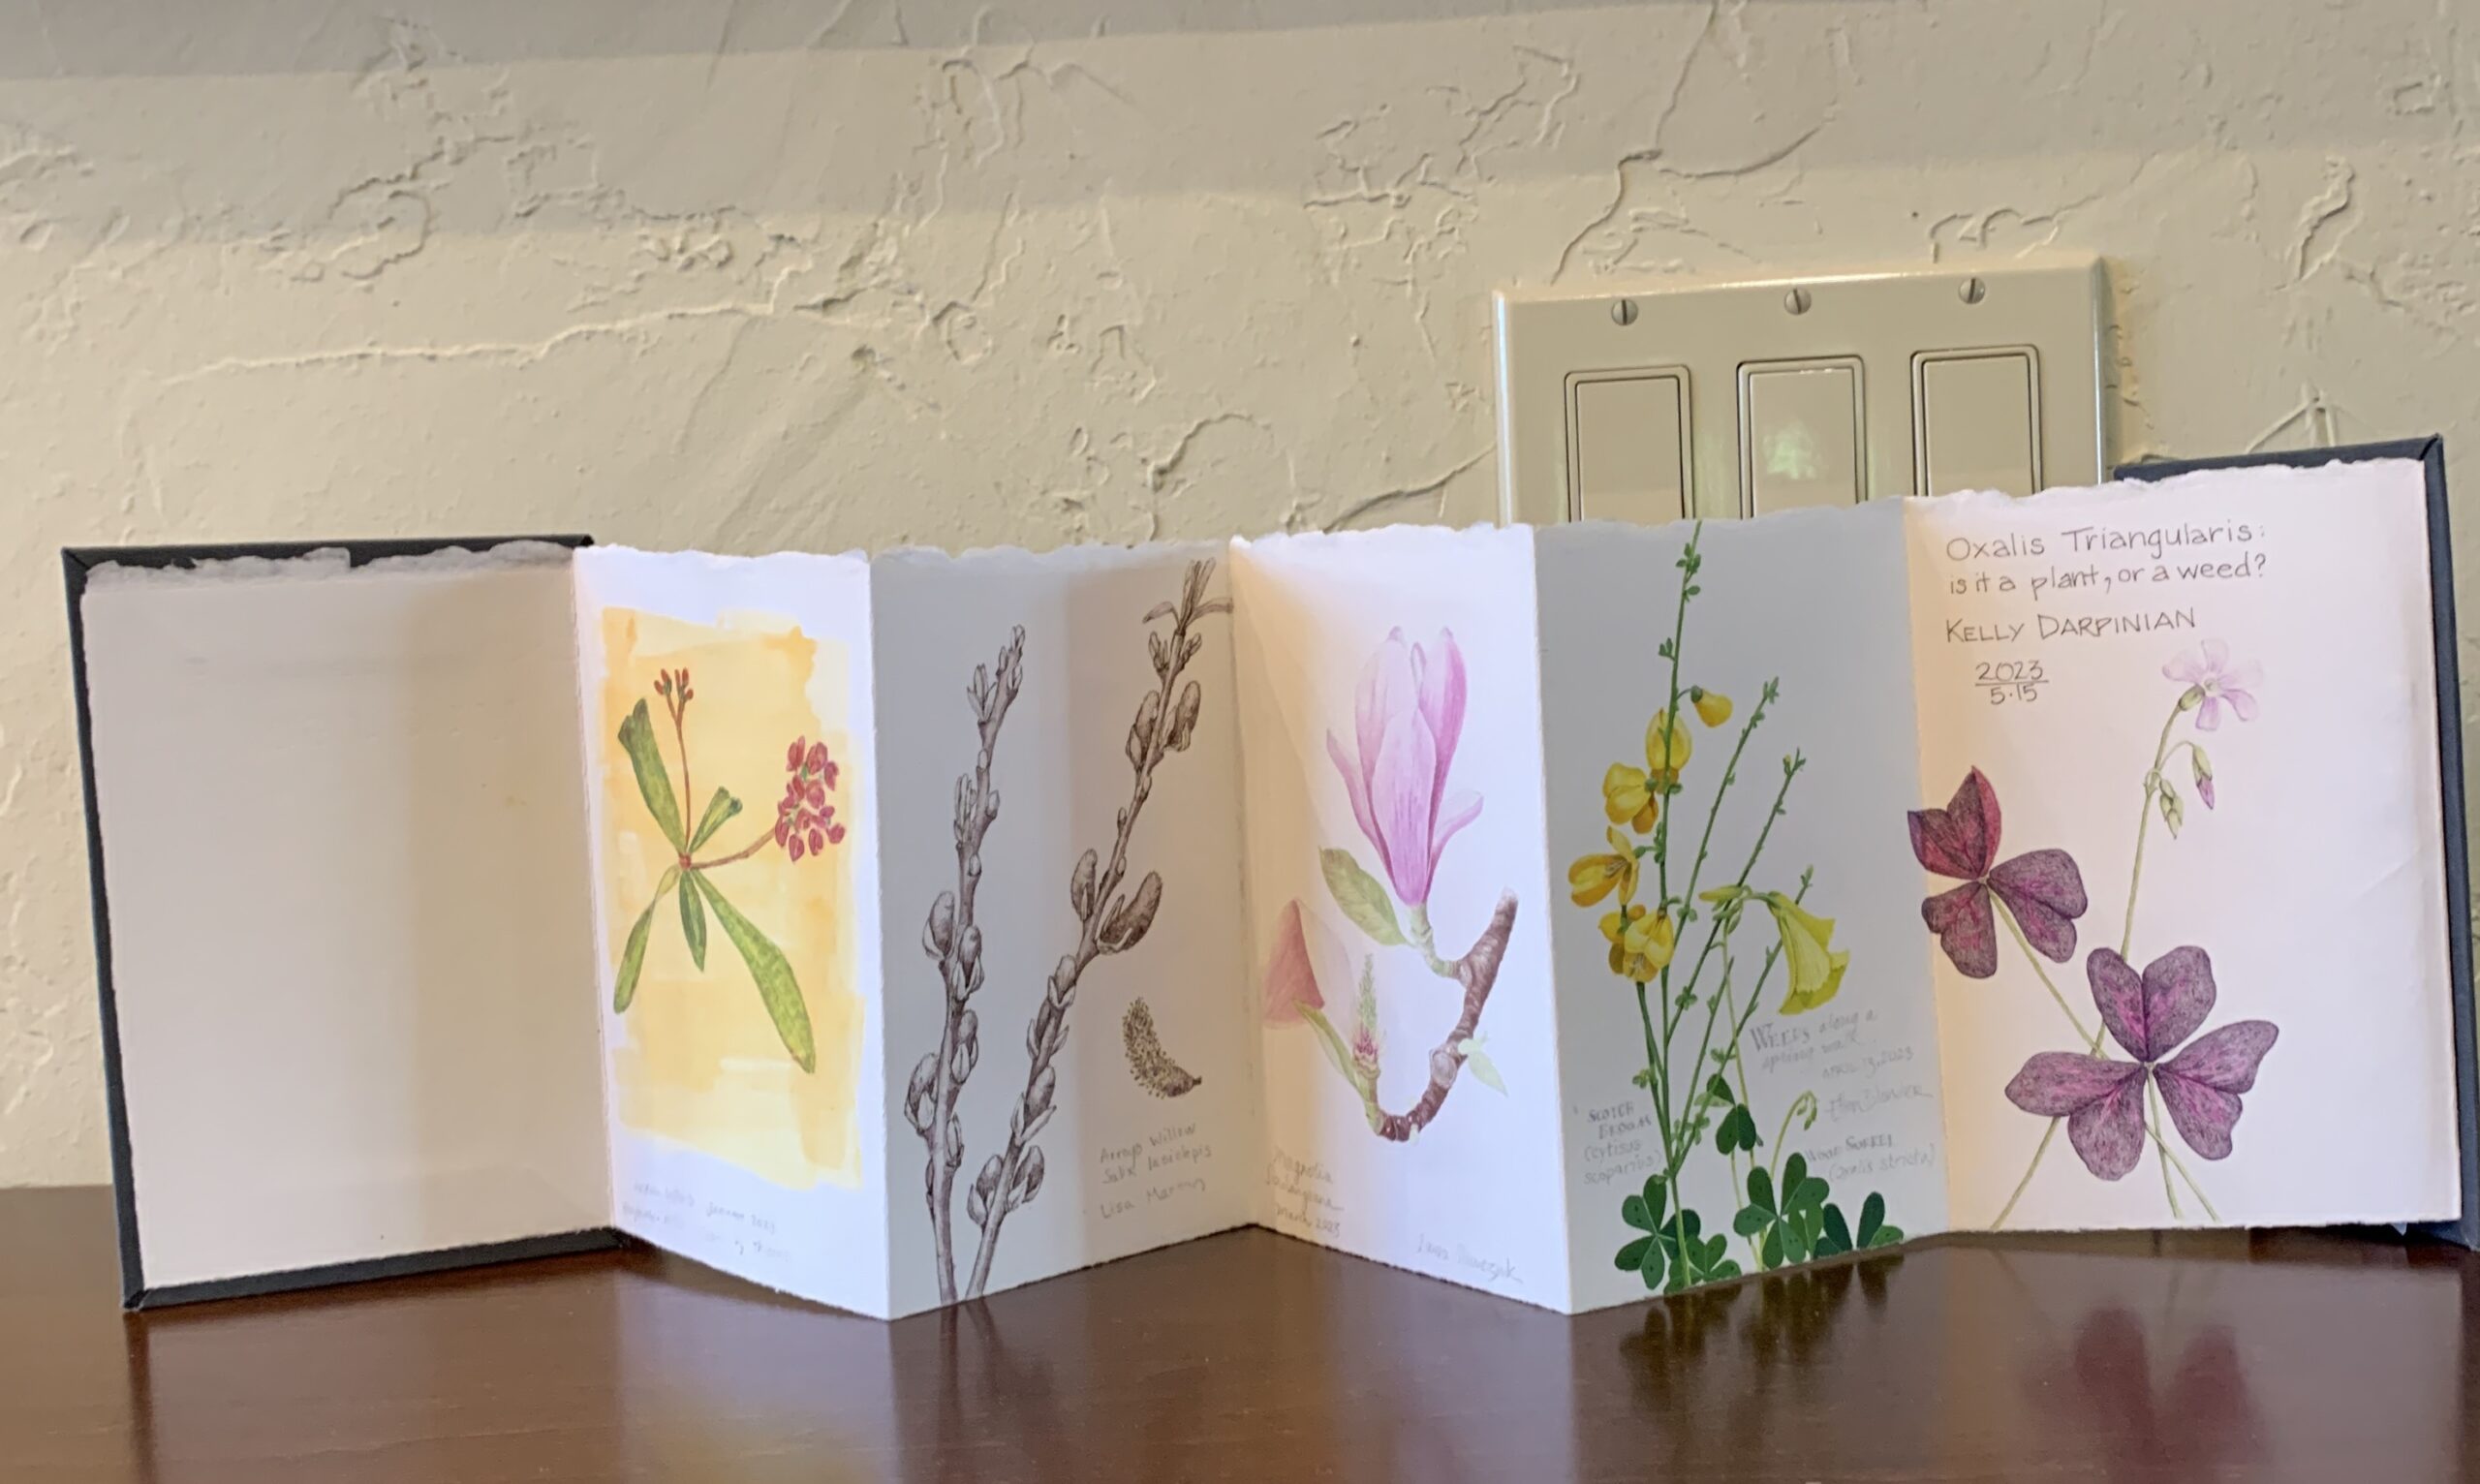
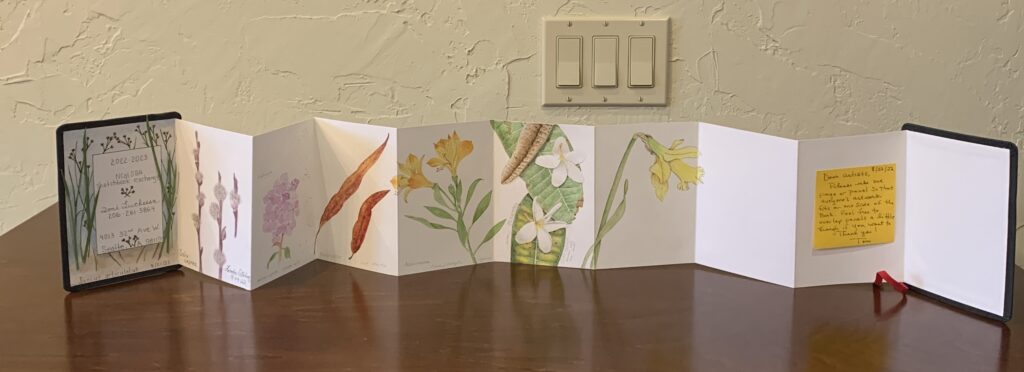
Below is a picture of the book to date. We only have 3 more illustrations to add: March, April and May, and then we look ahead to round 2. But everyone agreed a break would be nice so I’m thinking of starting the next one In January of 2024.

I can’t wait to get my book back at the end of May!

Sketching Right Along

During the holidays it has been a challenge to keep moving on the sketchbook project, but deadlines are motivating.  Here are images from the December and January sketchbooks:


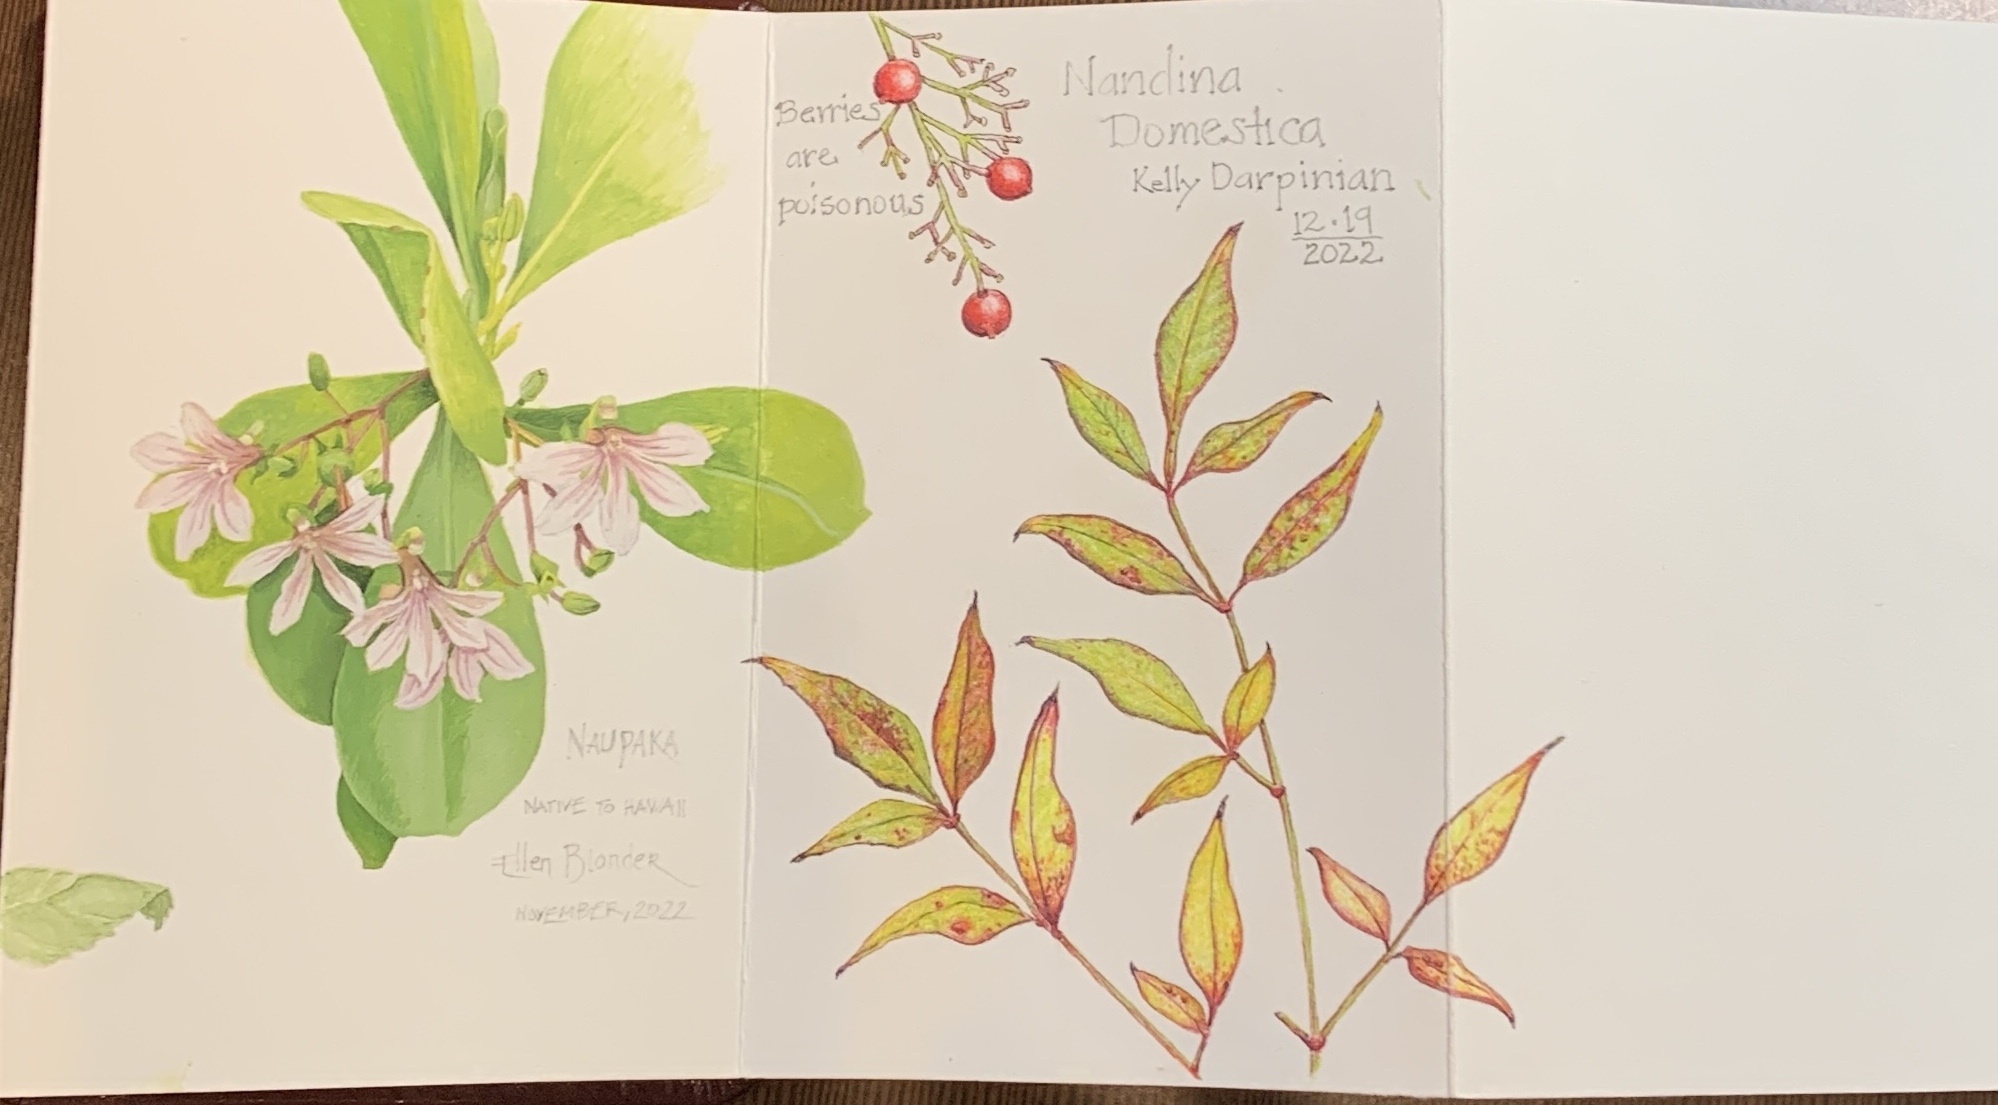
December in the garden doesn’t give much inspiration at first look, and Nandina is one of my least favorite shrubs, but it turned out to be exactly what I needed for this book.
And this shows how my image fits in with the ethos of this particular book. As the project has moved along, I’ve noticed that the books really develop personalities and each book needs something different to carry it forward. Often it’s NOT what I’ve planned to do for the month, but when the book speaks, the artist must listen.
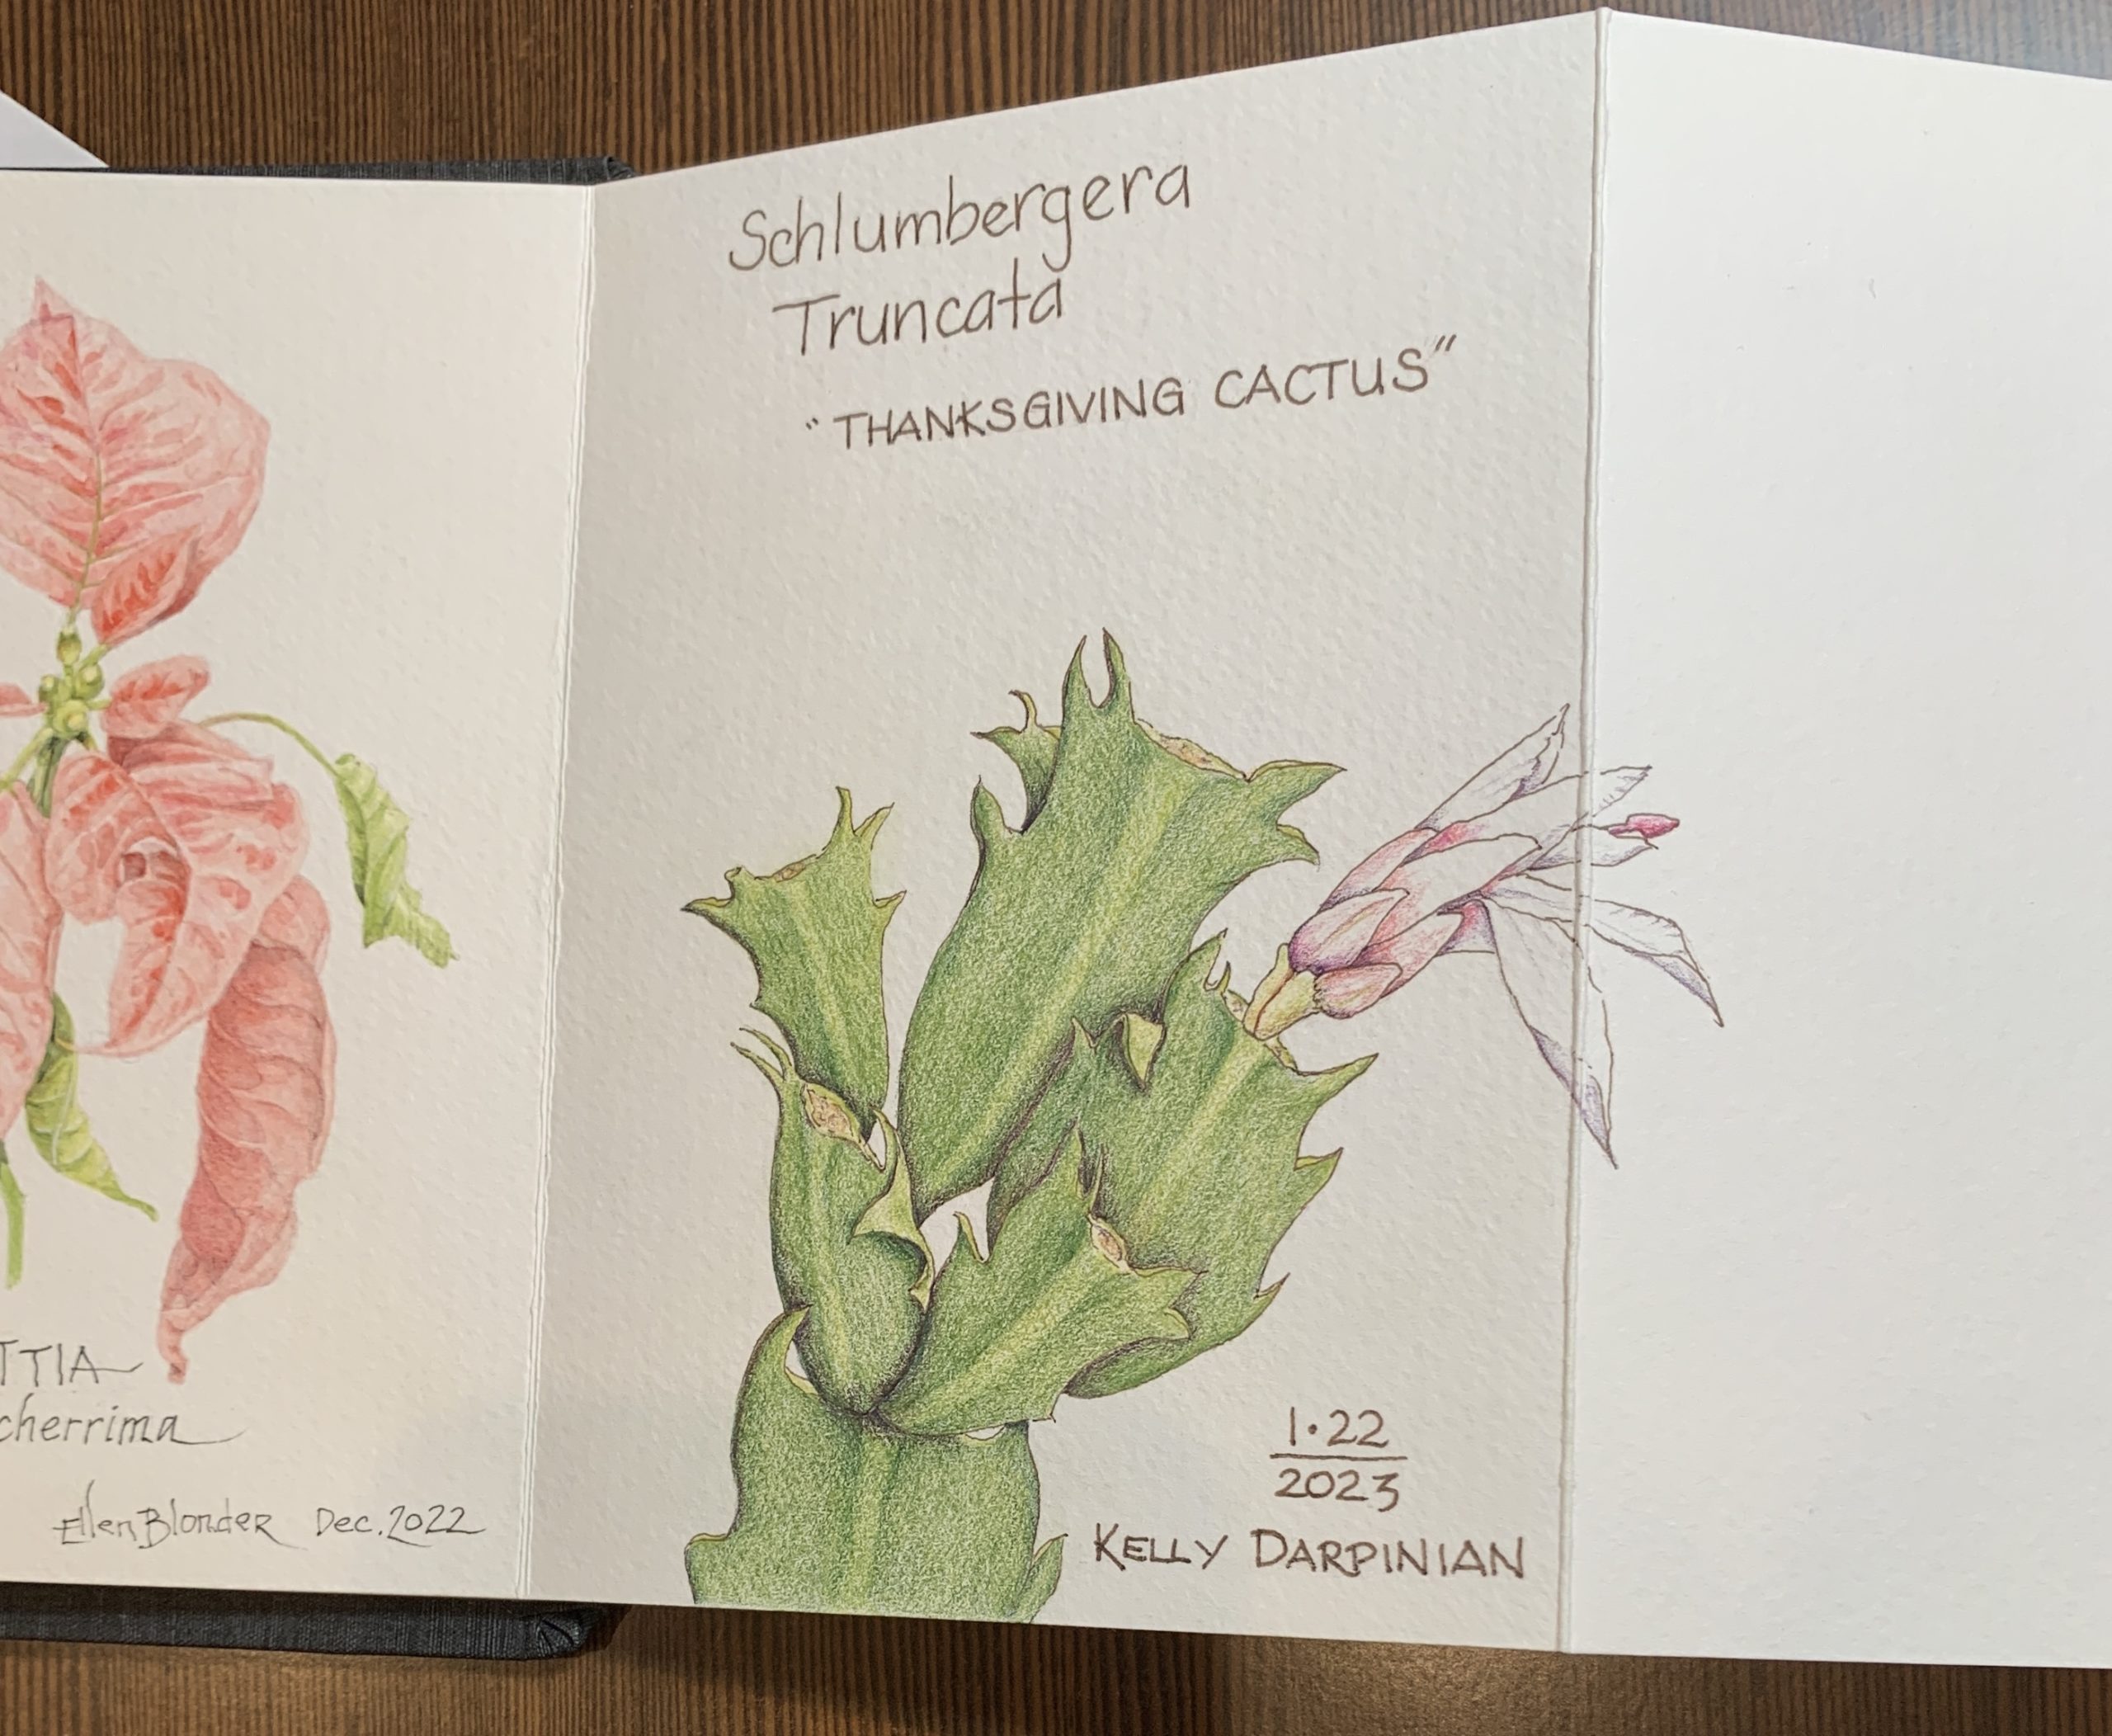
Who knew that something labeled as “Christmas Cactus” at the nursery or big box store could really be “Thanksgiving” or “Easter” Cactus masquerading as Christmas Cactus? This one definitely has all the characteristics of truncata and not bridgesii, which is the traditional Christmas Cactus. This image is on cold press watercolor paper and it shows the difficulties encountered when using colored pencil on highly textured paper. You get paper texture showing through and it’s harder to make smooth transitions. Hot Press Watercolor paper is the current standard for colored pencil drawings, but I still like the Stonehenge in my homemade journals best of all for mixed media sketches like this.
And finally, this is the full book. We are officially half-way through the project. I’ve over-emphasized the fleshy raised area at the center of each leaf, well, because I can in this project and I think it’s one of the things that makes these leaves interesting. Also, I rather like the pointy projections from the leaf body.

So that brings us up to date with the Sketchbook Exchange Project. What will February bring? Ellen Blonder, who comes before me in these books, said it’s like Christmas when you get a new book every month and then it’s like finals week when you are approaching your mailing deadline and don’t have your sketch done. That describes the project very well.

Lab lab, blah

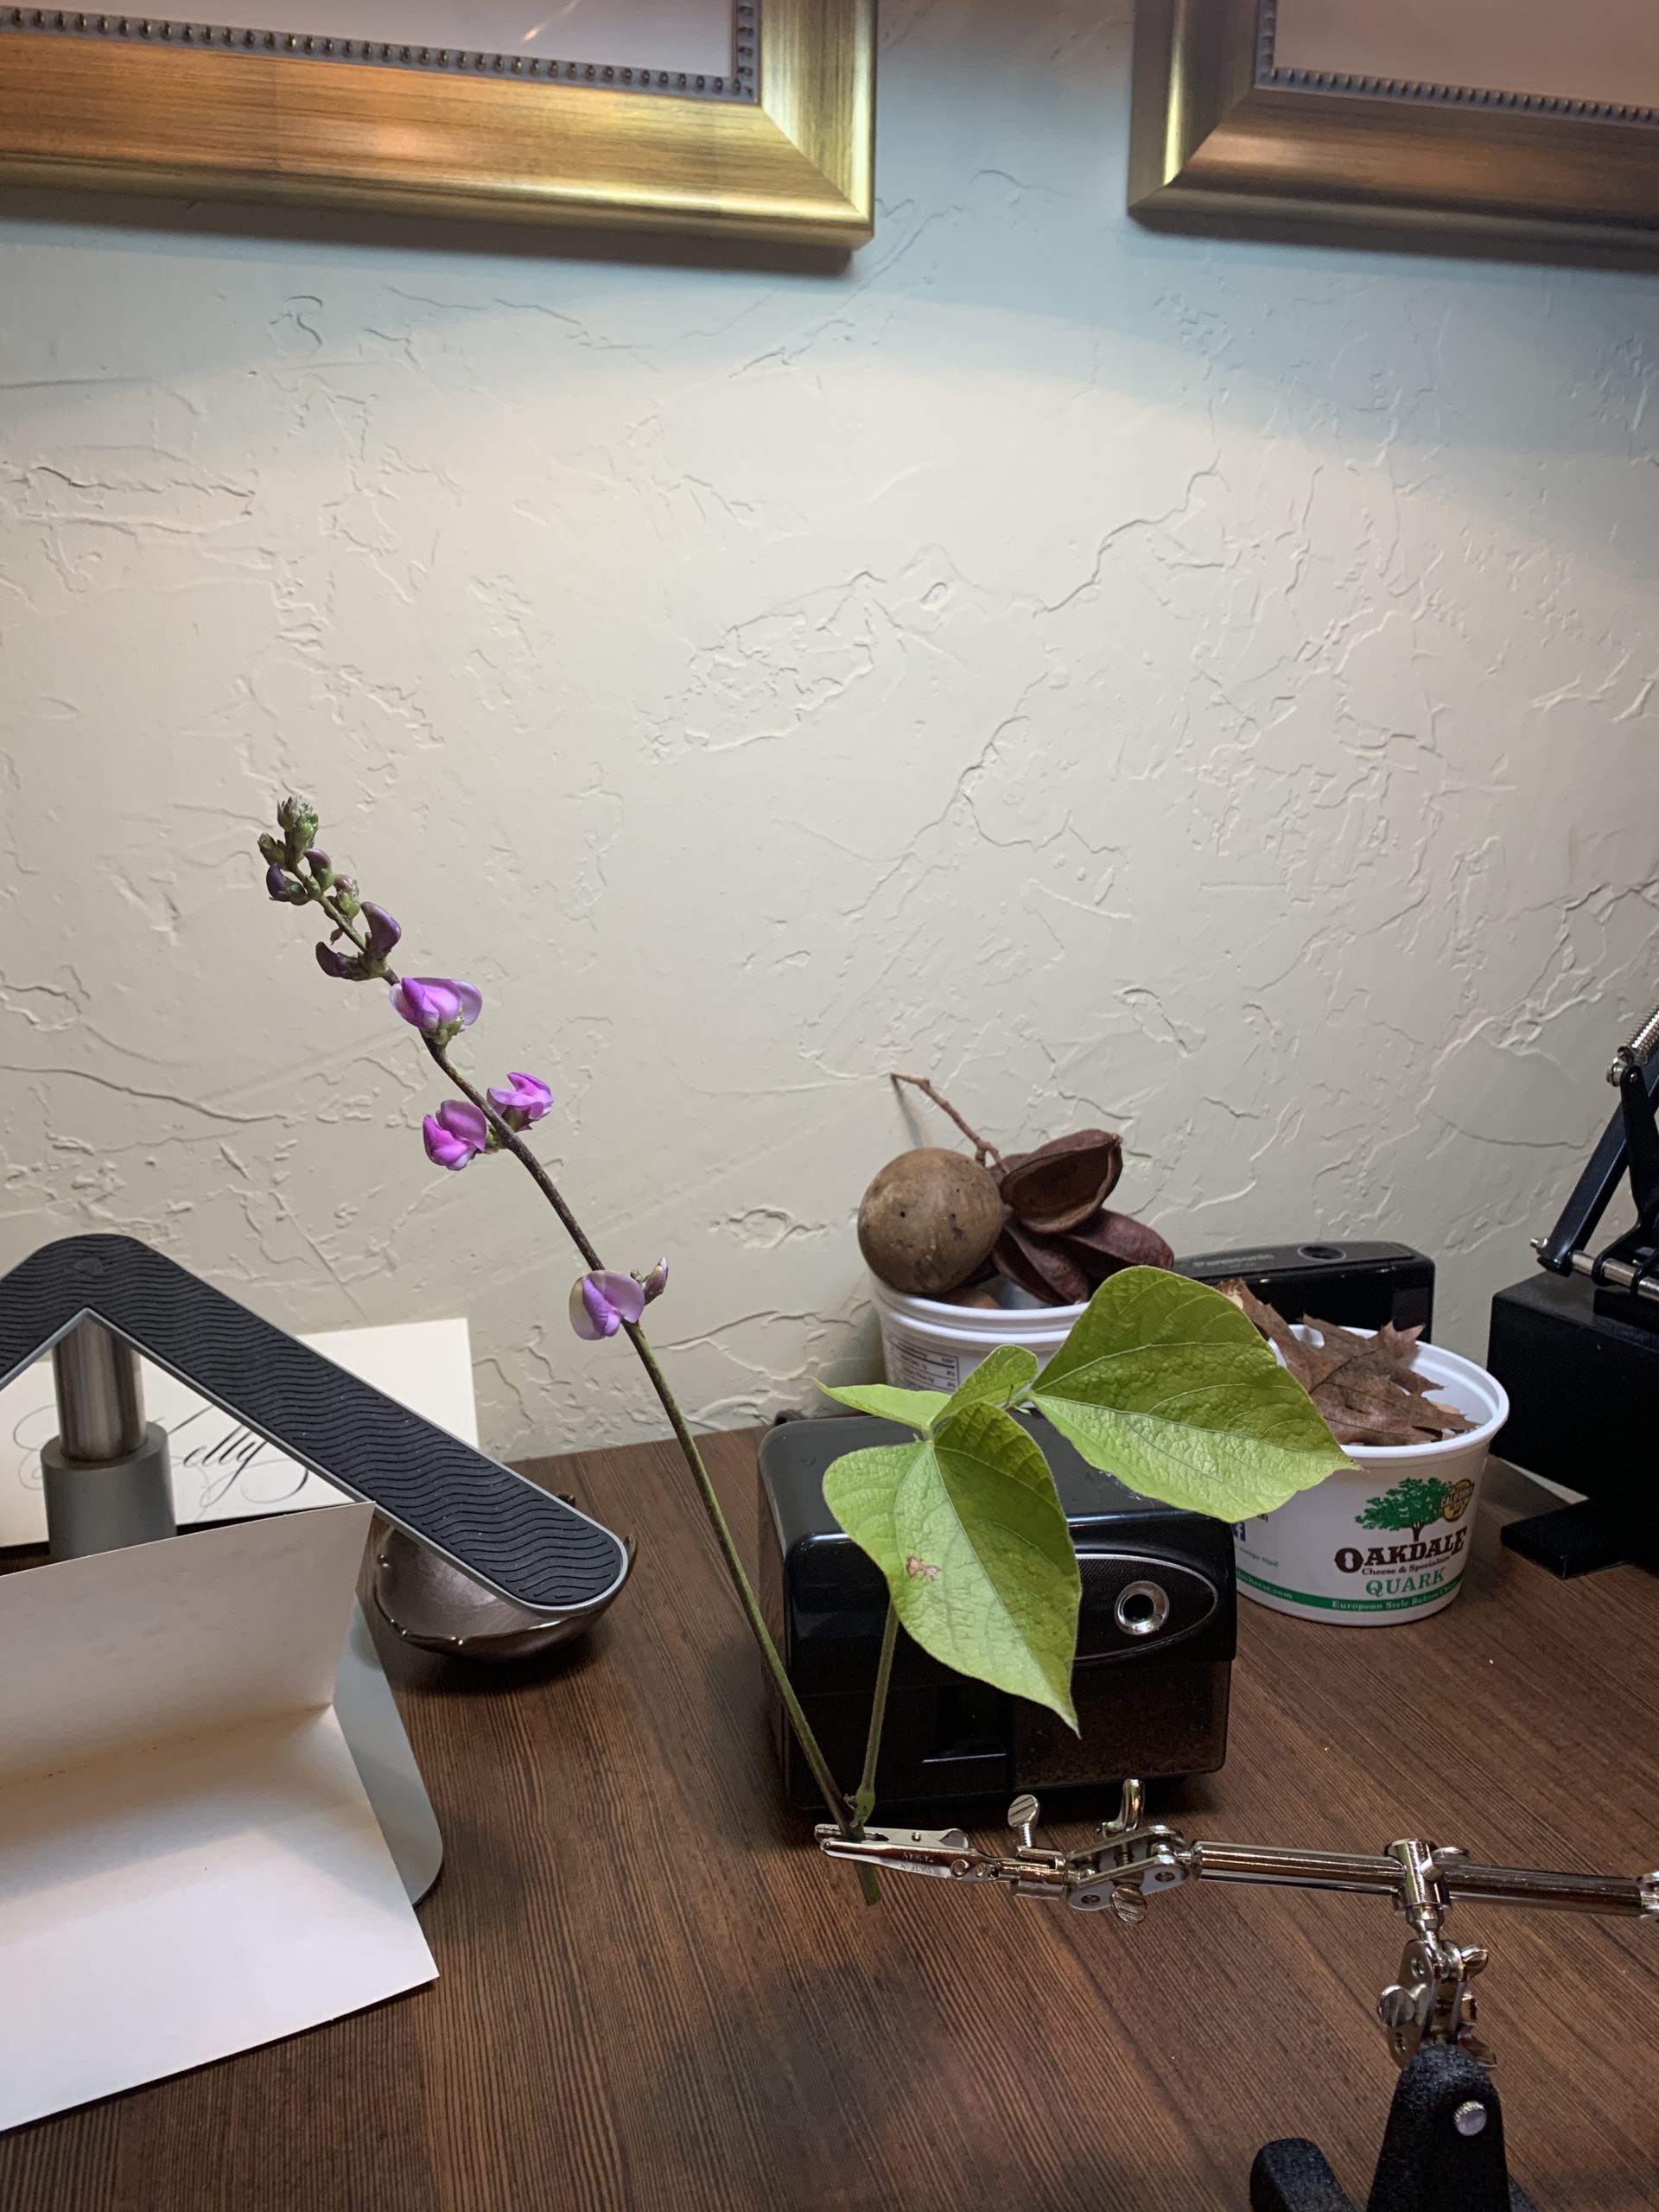
After seeing an enchanting spray of this plant, previously unknown to me, at a garden club meeting several years ago, I immediately determined I needed to grow it for myself and draw it. Research revealed that the name of the plant, which had sounded at the time like a direction in the back court from a tennis partner: “Lob! lob!” was in actuality Lablab, or Hyacinth Bean Plant. Fast forward several failed horticultural attempts later and finally this season I managed to get the dratted thing to bloom but it’s a pale imitation of what I remember as a gently downward arcing blossom spray with several deep pink blossoms measuring 2 inches across set against deep green heart shaped leaves. All of the blossoms I have are borne on upright stems as you see and they are quite small, barely an inch across, with the admittedly heart-shaped leaves being a bit of a sickly looking green. Hm. Well, I am still going to draw this in my journal after all that work, but if I ever attempt to grow this again I will need to rethink the requirements of this plant and check to see if there are some cultivars with showier flowers. I’ll update this post when the journal drawing is done.

November sketch 2022

The sketchbook exchange project proceeds apace. Each book as it comes along with more sketches in it seems to develop a personality of its own. It can be a bit of a challenge to find specimens that fit on the small pages of these little accordion books but this month I knew when I saw these seed pods littering the ground on my morning walk that I’d easily find one just the shape and size for this journal page and I also knew that they’d be perfect subjects for the ink drawing I wanted to do this month. Then I couldn’t help myself and added just a little colored pencil to highlight those fascinating wispy crispy structures curling about in the empty pods. I never had noticed those before.

Here’s an image showing the whole book to date:

I wonder what my book looks like now?

October Sketch

Here’s the sketch in progress.  I noticed the owner of the book had penciled in a rectangle behind her image so I thought I’d add a box behind mine.  This is a favorite technique of Lara Call Gastinger that I’d like to employ more often in my sketchbooks.  She does it with watercolor and it’s the work of a few minutes.  I did mine with colored pencil and it was the most time consuming part of this little sketch.

Here’s the finished sketch and below, the entire sequence to date.  The instructions for artists on this one indicated we could use one or 2 pages, our choice.  I opted for one page since I have had a LOT going on this month and want to get something done in my own sketchbook this week as well.

A big part of this project is encouraging people to work across the page boundaries to build continuity between images, so I thought I’d try it this month.   I’m moderately satisfied with that aspect of the work, but I hope that the next person to work in this book can integrate my image further with theirs. 

I have the November’s journal in my possession already and I can see that even with the same artists immediately preceding me, each book is taking on a character all its own that begins with the original illustration.  It’s fascinating to watch the images build upon one another as they march across the pages and to see how different the sketches are month to month from the same artists due to being inspired by that original image and subsequent entries.