Generally, when you say someone is ’embroidering a tale’ you mean they are adding details to the story that may not strictly be true, but I assure you the details of this story are quite true and the embroidery is, literally, embroidery. With a needle and thread. And hoops and scissors and needlebooks and all the accoutrements one collects for a hobby like this, but I digress. This story is about why I started a collection of embroidered kitchen towels to celebrate the seasons of the year and here they are:
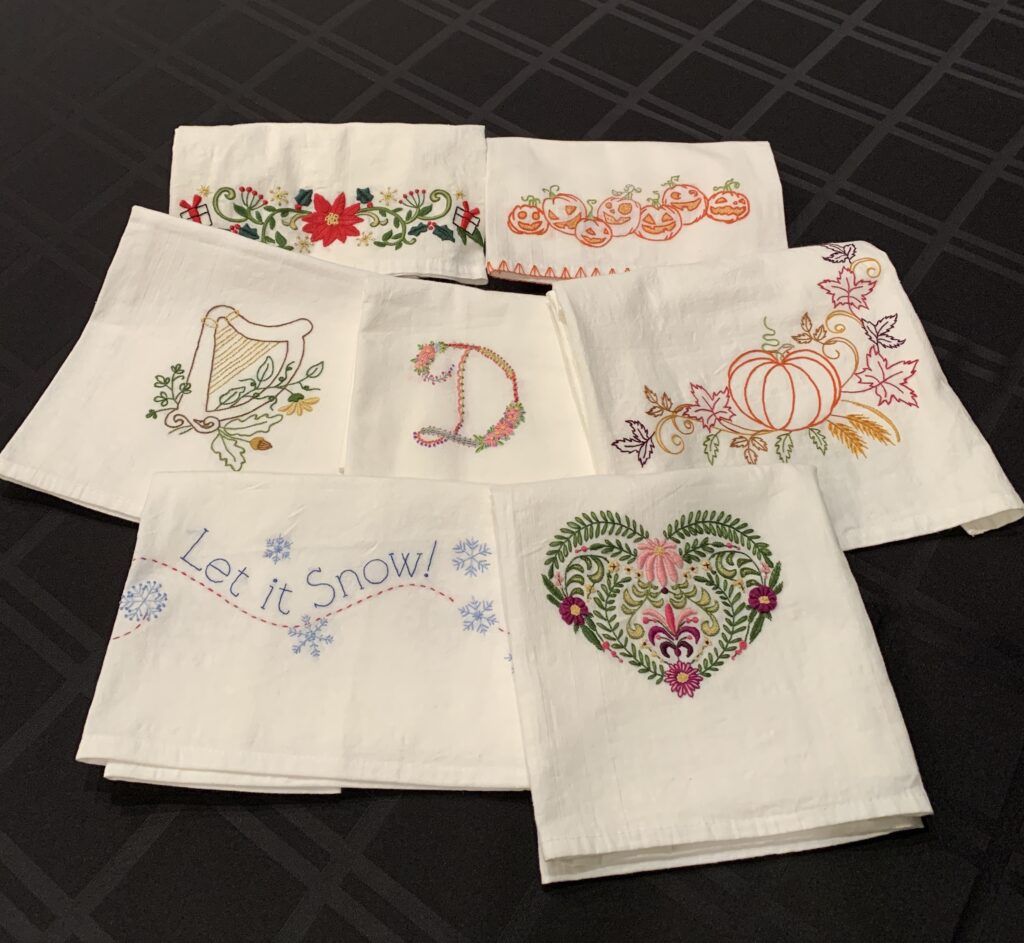
Why? To display on this cutting board:
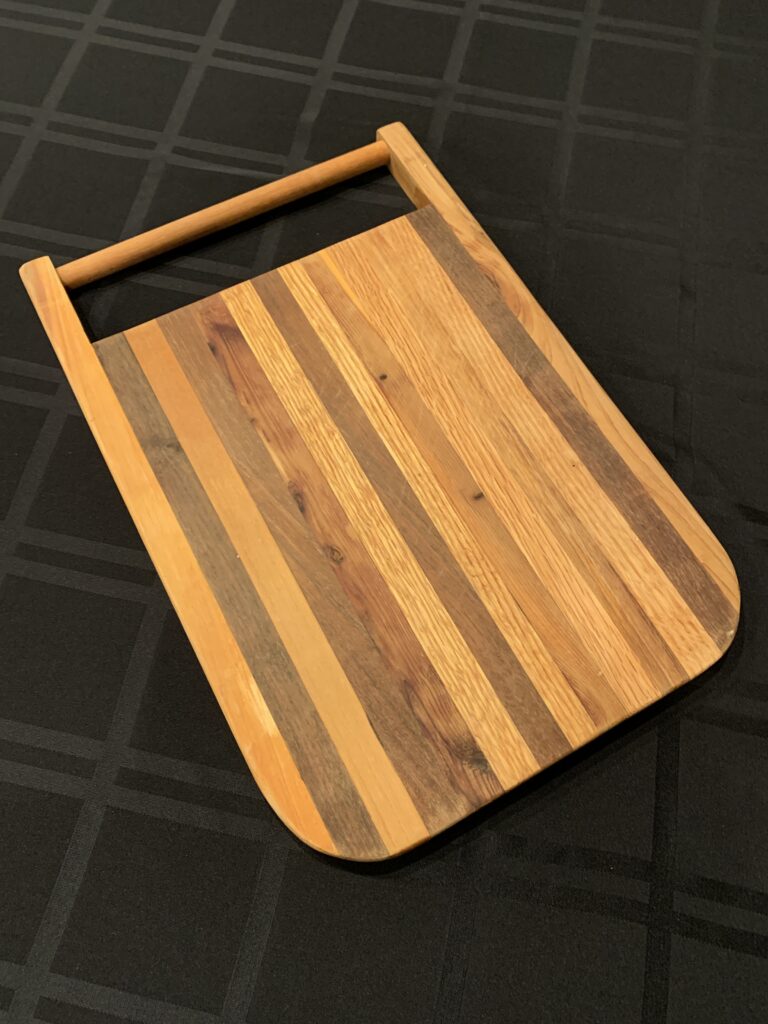
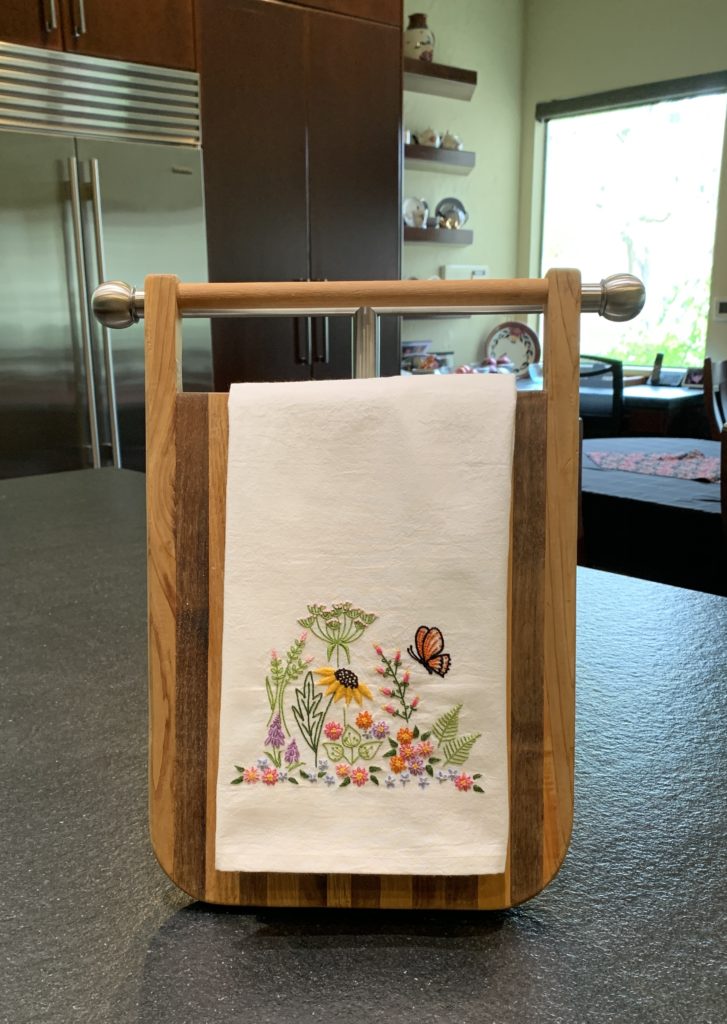
Like this:
And now for the tale, but it’s a bit of a shaggy dog of a teacher tale, I warn you, and it requires some setup that goes back a ways in time. I’ll be as brief as I can.
When our son James started high school, he and I went to collect his schedule and it seemed to have an error because it placed him in both Algebra and Geometry in his first semester. I asked the guidance counselor if that was correct because I’d thought those 2 courses needed to be in sequence and that Algebra was a prerequisite for Geometry. It seemed like a lot of math for a first-semester freshman in high school to take on all at once and James said he didn’t think he’d signed up the previous spring for 2 math classes at once but he wasn’t sure. The harried counselor took one look at the printed schedule and said, “Oh no, no, no, that’s not right…here we’ll just leave him in Algebra and sub in Wood Shop for Geometry, here you go!” And she handed the marked up schedule back to us and turned to the next parent/child duo in line to get their schedule confirmed. Wait, what? WOOD SHOP? I turned to James and asked, “Is this okay with you?” He shrugged and said something like, “Sure, I guess.” If I’d had more than 10 seconds to think about it, I’d have insisted they leave the schedule intact because he was more than capable of studying high school Algebra and Geometry at the same time, but we’d been summarily dismissed and I figured learning to use wood working tools was probably a good thing for a young boy who spent most of his time reading and noodling on his computer.
A little more background is required. The high school had just hired a new Ag/Shop teacher, a Mr. Butters, who was purported to be an expert in farm mechanics and shop with many years of real world experience. No amount of real world experience in any field can prepare one for the pressure cooker of the high school classroom environment and poor Mr. Butters was no match for the students in his shop class. James came home day after day with stories about the misadventures of Mr. Butters, but the ones pertinent to the story at hand are as follows. There were lockers for the woodshop students in which they were to store their projects in progress, but locks were not allowed. There was a final project assigned: a laminated cutting board. Each day, James would cut the wood he needed to make his cutting board and place the wood in his unlocked locker. The next day he would go back and his wood would have been stolen and he’d cut the required pieces again. This continued until there was no more wood left and he still hadn’t made his cutting board. So he went to the scrap wood pile and scrounged enough pieces of scrap wood to make a cutting board that was an exact replica of the one that was assigned, only smaller in every dimension (a real life Geometry problem if ever there was one…) and Mr. Butters took one look at the finished project and said, “It’s not the right size,” and gave him a low grade on that assignment, which brought his semester grade for wood shop down to a C because it was the final and most important project. Later that year after I’d gotten to know the principal and was meeting with him in his office on a completely different subject I did tell him the story and said, “There goes James’ chance at Valedictorian…” thinking it was a pretty good joke. And indeed, he DID miss being Valedictorian four years later by a very few grade points, which was just fine by him since he didn’t want to give the Valedictory address anyway and his nearly perfect SAT scores secured his place at his college of choice. All’s well that end’s well, although Mr. Butters was summarily dismissed at the end of the next year.
Now, this cutting board became a decorative fixture in my kitchen because James had made it and given it to me and it was a reminder of a very funny story and a visual aid should I care to tell the story of how James, our National Merit Scholar, was graded down and got a C in wood shop for figuring out how to shrink the cutting board pattern to accommodate the scraps of wood left to him after he’d cut pieces for nearly everyone else in the class at the proper dimensions. All for the lack of a lock on his woodshop locker! But then, I came into my kitchen one morning and found someone had USED the cutting board and made scratches on it! Now that would not do at all. I had to find a way to send a message that this cutting board was decorative only and never to be used. So I looped an obviously decorative kitchen towel over it. Then I got the idea that it would be fun to have a rotating seasonal display of embroidered kitchen towels. And a collection was born. And a cutting board saved. And a family story memorialized.
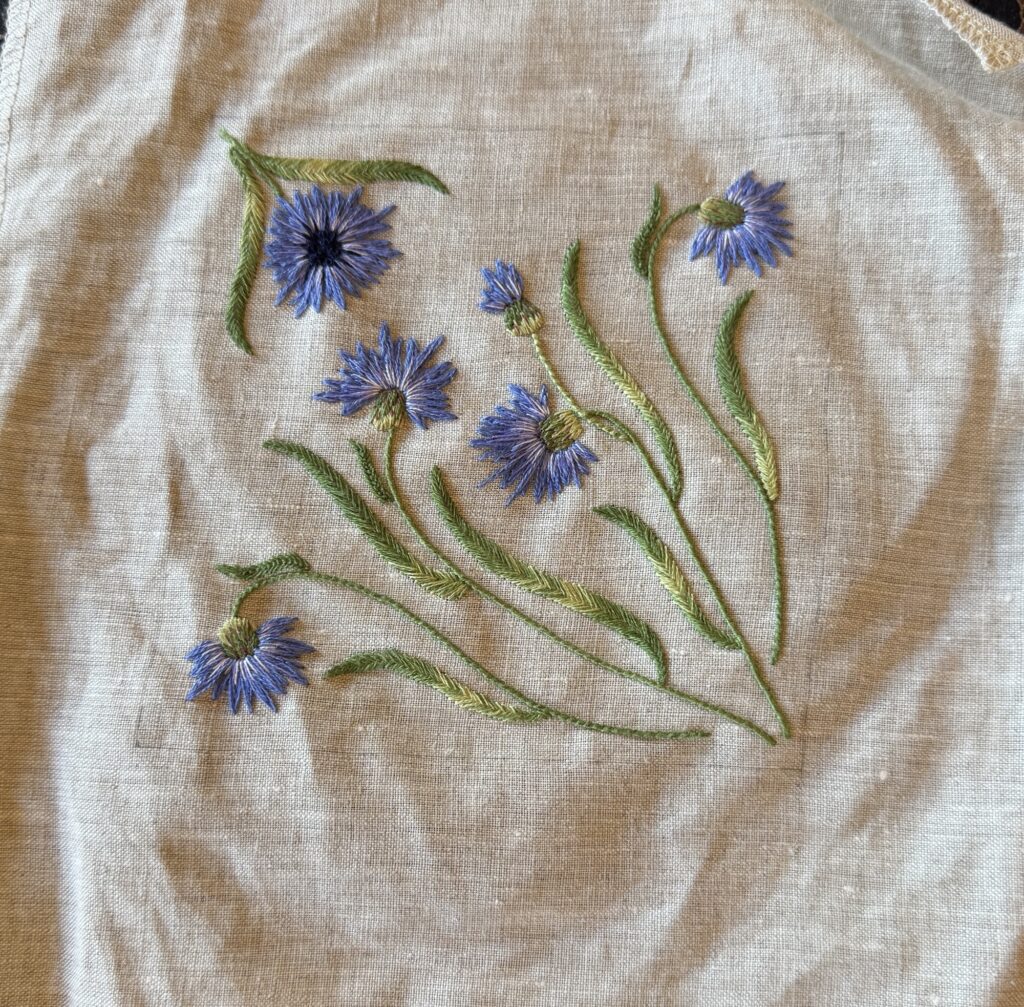


 Here they are all ready to receive spent thread ends.
 They are both quite light small and yet can hold a lot of thread snips so I think both will do the job nicely. I’m partial to the way the circular one closes like a camera aperture with a twist of the wrist, but I’m also a fan of the triangular one because it gets flatter, has an interesting shape when closed and is cuter because of the buttons. What is it about non-functioning buttons that makes things so cute? The buttons do serve a purpose here, which is to hold the flaps in place when the box stands open, but that job could be done as well or better with any bit of felt stitched in place or just a simple thread tack. The buttons definitely add panache.


